
This is a complete guide to accessing Arduino IDE online using the Arduino Web Editor. It’s very close to Arduino desktop IDE in terms of features and capabilities. We’ll learn to transfer key programming activities to the cloud-based web editor. Additionally, we’ll expand these methods to connect our devices to the IoT cloud and create dashboards for sharing.
1. Getting Started
- Sign into Arduino online from the official link. You can use Chrome, Edge, or Firefox browsers (desktop versions).
- Access the sign-in page using a Google, Facebook, GitHub, or Apple ID. You don’t need an Arduino account.

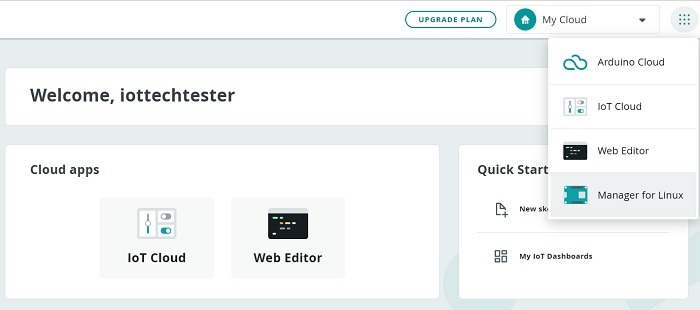
- You’ll find two cloud apps on the home screen: IoT Cloud and Web Editor. The first one is used for connecting IoT “things” whereas the second one resembles the Arduino IDE.
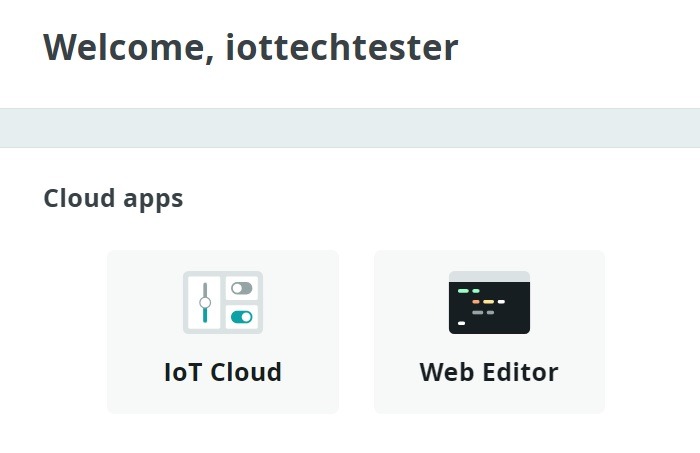
- Let’s start in web editor mode. It takes a few seconds to load properly.
2. Working with Arduino Web Editor
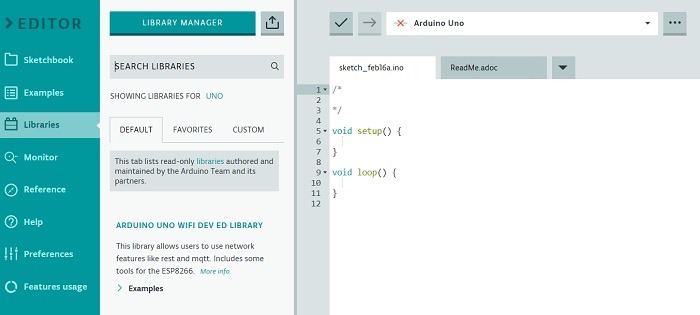
There are three main vertical sections in the web editor.
- the leftmost green section with menus of sketchbook, libraries, monitor, preferences (settings), and features usage.
- a middle section detailing the above menus. Here you can scroll down for libraries, examples, and references.
- a programming window to the right where you can import sketches, add and save the files, select boards, and much more.
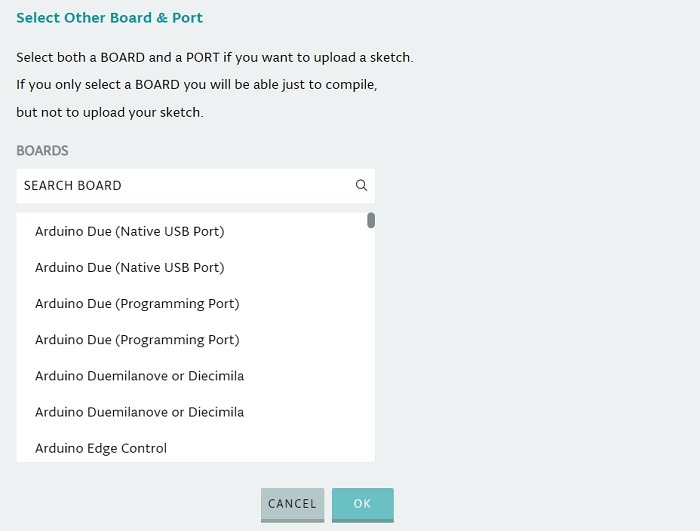
- Select your board from the default board provided using an option called “select other board and port”. In this case, we are choosing Arduino Uno as the default board.
If your third-party board is not available in the menu options, it can be separately configured from the Arduino IoT Cloud app.
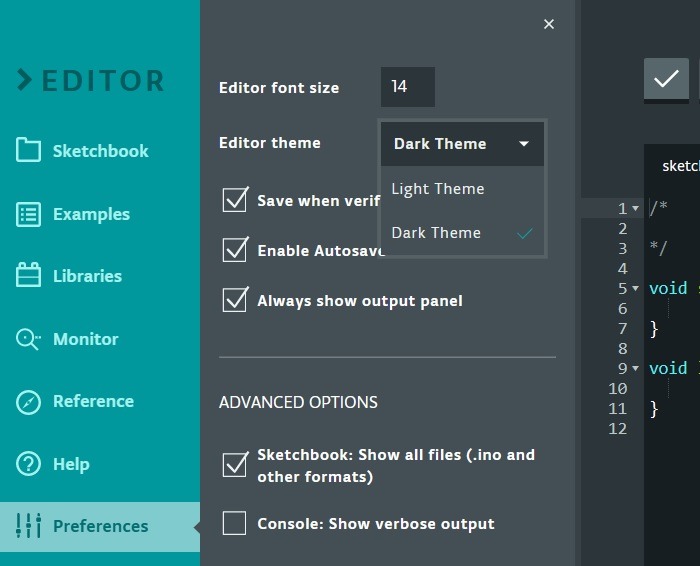
- Go to “Preferences” where you can do minor settings changes such as font size and modify the appearance of the web editor.
Here we have chosen the dark theme for the IDE, but you can choose more using GitHub .zip files.
- Use the library manager in the menu options to add multiple third-party libraries into the programming window.
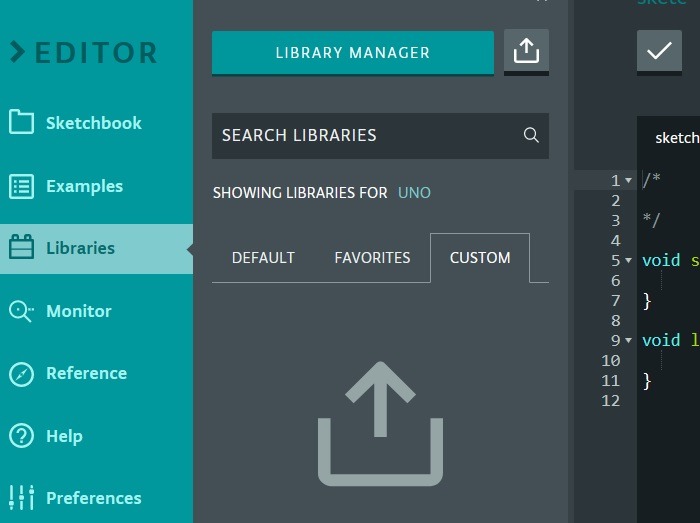
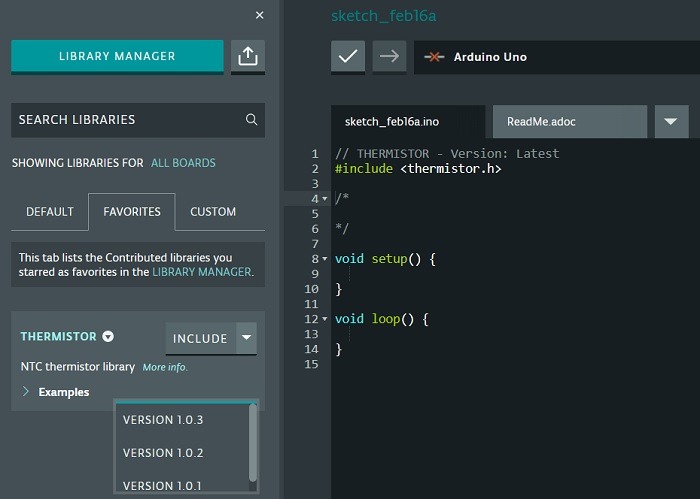
- Here we are adding a library from the favorites menu. This allows us to reuse them for new projects.
- The libraries are usually known by the
#includecriteria. Click “include” on the favorites among your libraries to get them into the sketch window.
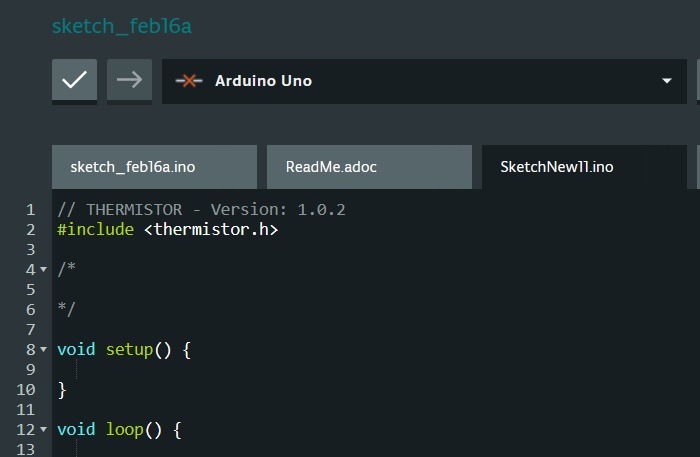
- Do you have any other sketches? Go to the screen dropdown menu shown here and click “import file into sketch.”
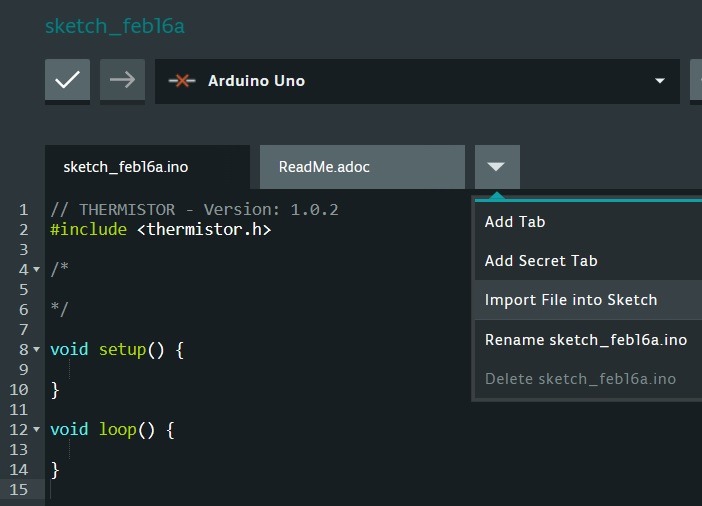
- If you have an Arduino desktop IDE, you can locate the .ino sketches from the “show sketch folder” option in Sketch menu. These .ino files represent the format in which Arduino IDE sketches are saved.
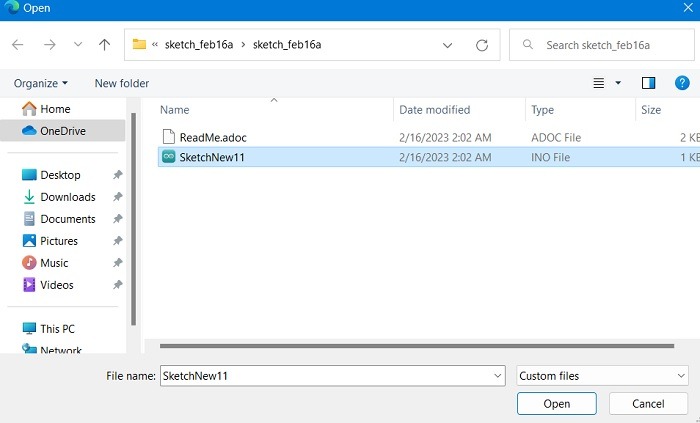
- Here an .ino file called “SketchNew11” has been imported into the main window. You can easily rename or delete it.
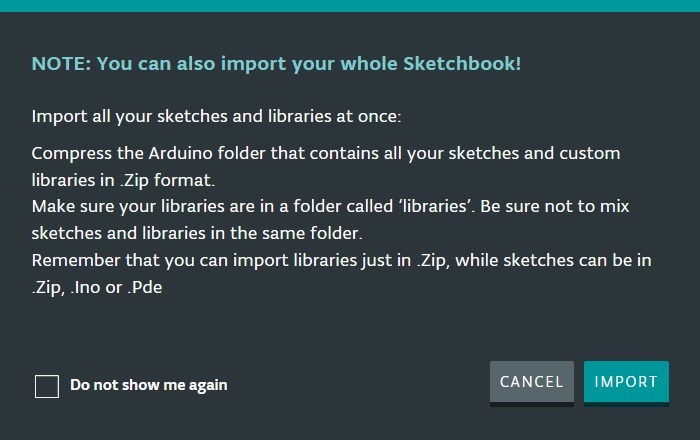
- It’s also easy to import your whole sketchbook into the Arduino web editor. This is useful if you plan to entirely migrate from the desktop version to the cloud. These sketchbooks are imported in .zip format.
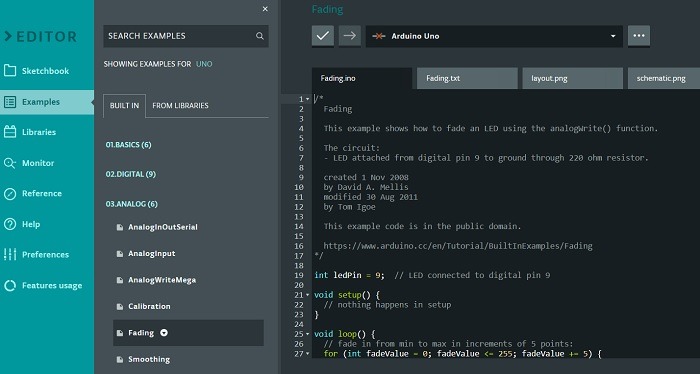
- Just like the desktop IDE, you can import many board examples into the programming window.
3. Install Arduino Create Agent on Windows
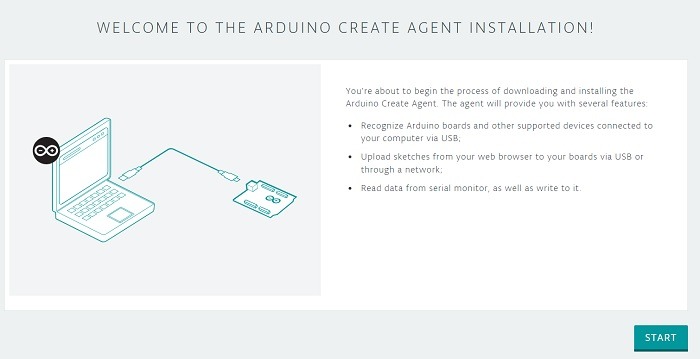
Let’s discuss an important plug-in of the web editor called “Arduino Create Agent”. If you don’t have this agent installed on your computer, you won’t be able to upload sketches to the Arduino device connected via USB. The agent’s job is to recognize Arduino and other boards and read/write data from the serial monitor.
- Go to the Arduino Create Agent online page and click “Start.”
- In the next page, download the agent for Win32 or Win64 systems.
- Wait for the download to finish.
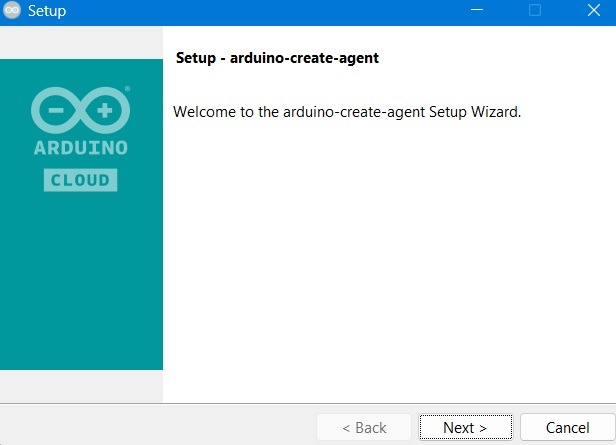
- On Windows devices, the setup procedure of this agent is similar to any other program. It currently doesn’t support Mac or Linux.
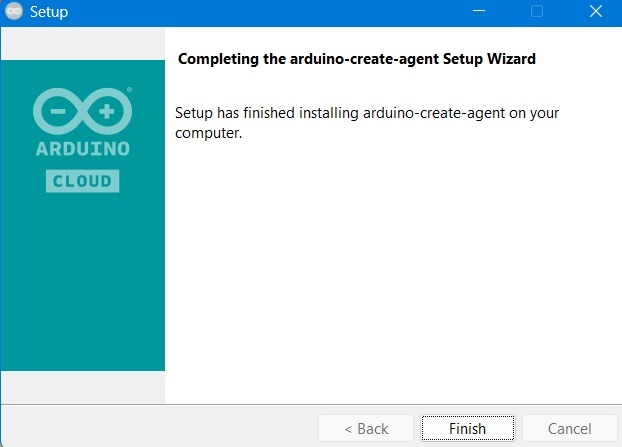
- The installation will finish in a while. Some additional drivers are installed, and you need to agree to those requests.
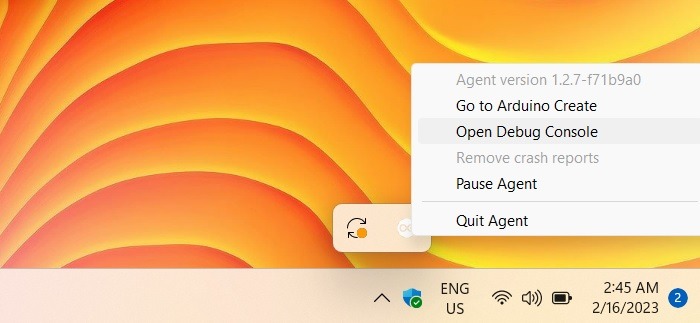
- This is what the agent looks like on a Windows 11 computer. You can directly go to your Arduino IoT cloud page from this right-click menu option.
4. Set Up Arduino Web Editor for Linux Devices (Optional)
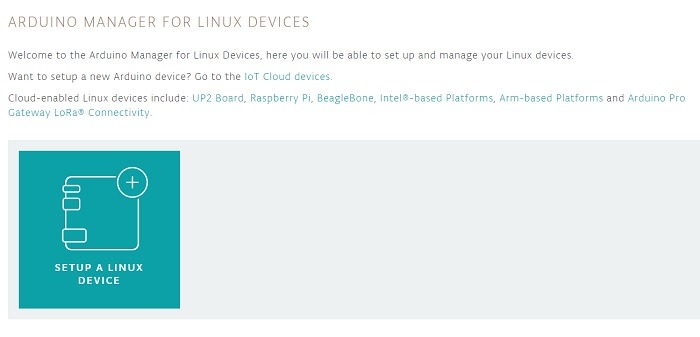
You can also set up Arduino web editor to work with Linux-based boards such as Raspberry Pi, Beaglebone, and many others. This option can be accessed from “Arduino Linux Manager” on the online Arduino homepage. Click “Set up a Linux device” to proceed with this option.
- Click the icon for “Set up a Linux device.”
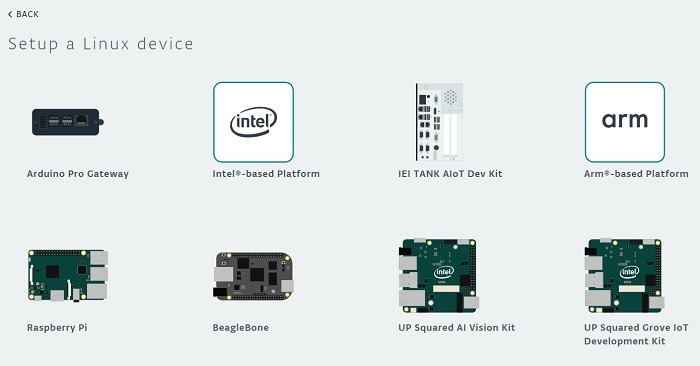
- Choose your Linux-based device/board.
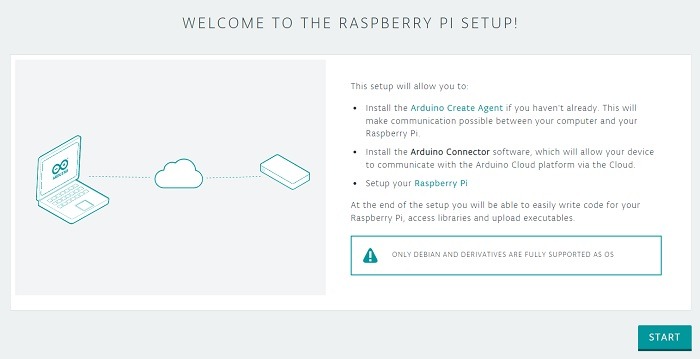
For Raspberry Pi, you need to set up your Arduino Create Agent, securely set up your Raspberry Pi, and install the Arduino editor.
5. Using Arduino IoT Cloud
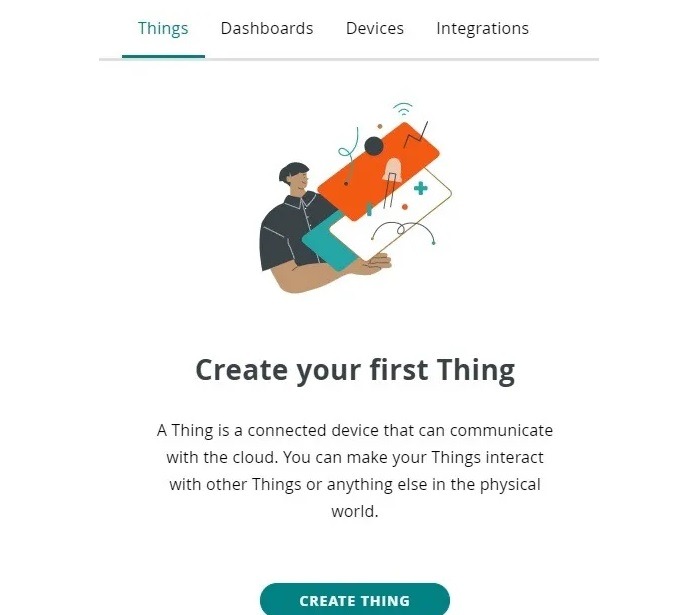
The online Arduino home screen has a key app called “Arduino IoT Cloud”. You can see this option on the main sign-in page. Once you choose the app, you will go the screen below. It has four options: “things”, “dashboard”, “devices”, and “integrations”. Here we will show you how to create your first “thing” on Arduino’s web editor. We can have several of these “things” running simultaneously.
- Sign in using your Arduino, Google, Facebook, GitHub, or Apple accounts.
- Under the “things” tab, you can find the option to create your own Arduino design.
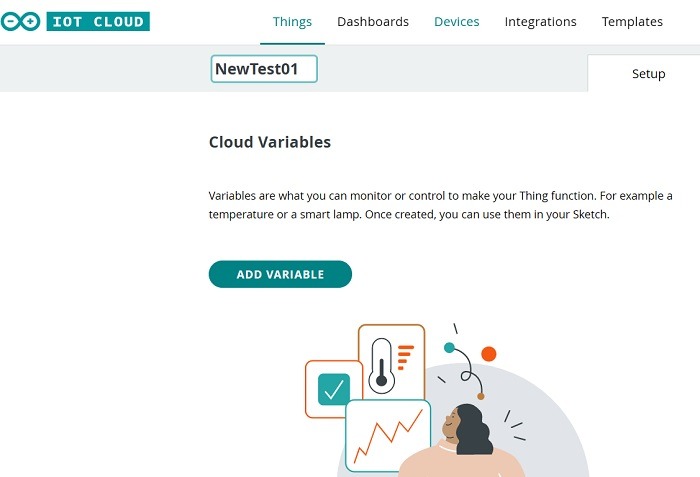
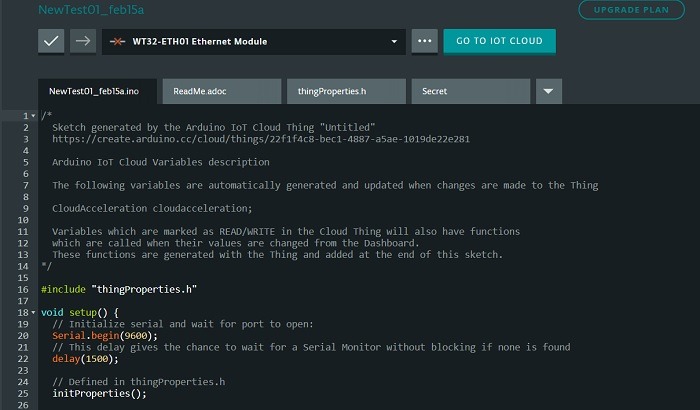
- Rename the IoT Cloud thing. Here it is being renamed as “NewTest01”.
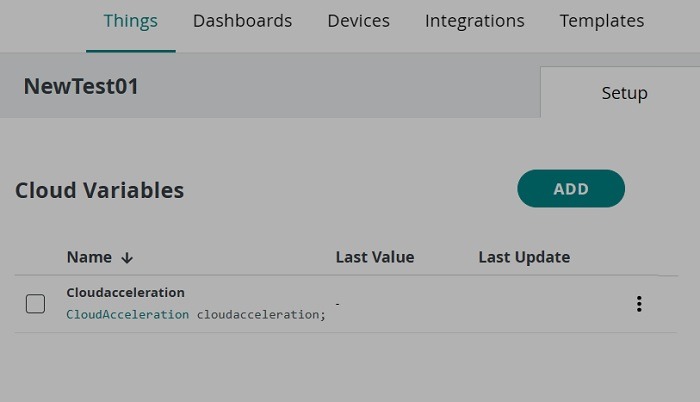
- We have to create variables which are some parameters such as acceleration, velocity, temperature, humidity, etc. For this, go to “Add variable”.
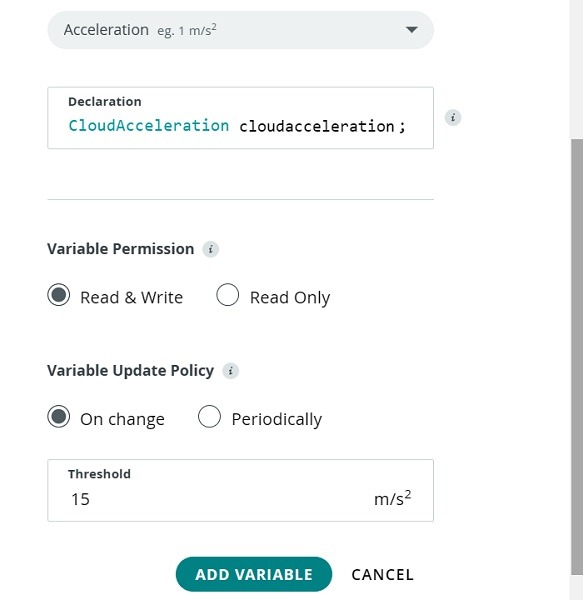
Let’s take the example of robot cars. Here we have added “cloud acceleration” variable.
- Enable “read & write” in the variable permission if you want to deploy the sketch. Also, put the threshold value as per your needs.
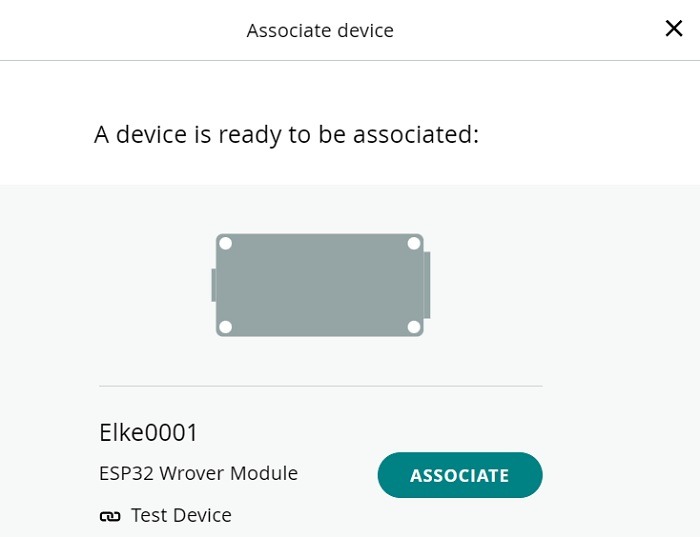
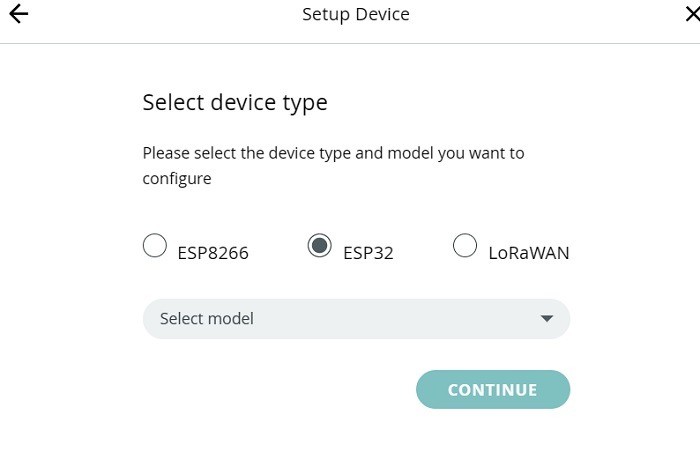
- In the next step, you will need to set up a device. It can be either any Arduino device or a third-party device. There’s a large range of compatible devices to choose from.
- Here we can connect Arduino Cloud with ESP32 Wrover module which was already used previously. You can find an option called “Set up new device” for more boards.
- An ESP32 device type is being installed.
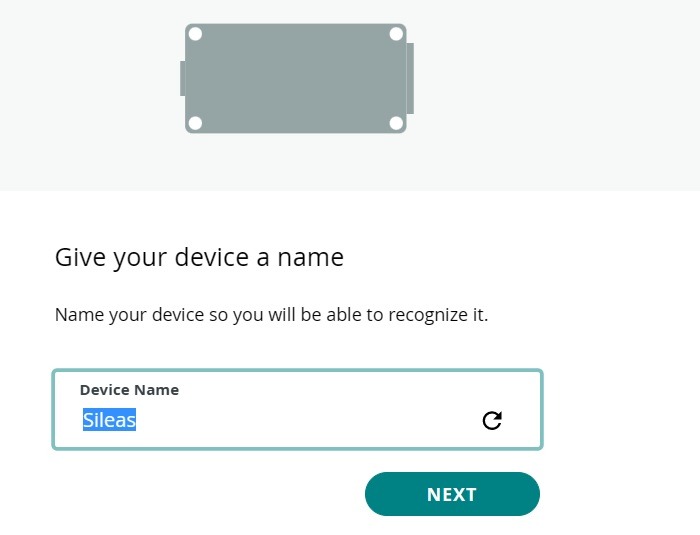
- Give your connected device a name.
- You will also need a device ID and secret key. Save them to continue.
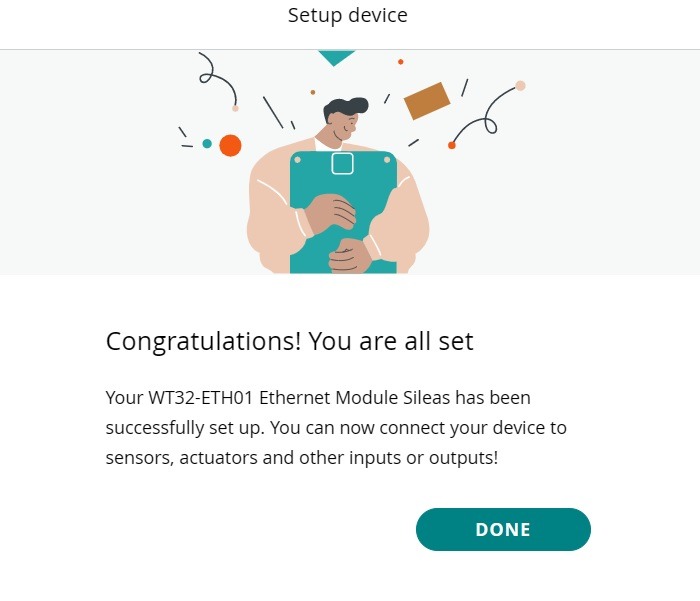
- You can see a congratulations message after the setup is over.
- You can visualize your entire setup of variables and devices in the Things dashboard.
- Since all Arduino web apps are interconnected, you can import this configuration into your Arduino web editor. The board has been automatically updated to the newly created device type module as shown here.
6. Creating a Dashboard with Arduino IOT Cloud
For collaboration and sharing, you need a dashboard. Dashboards are defined as visual user interfaces for interacting with your boards over the cloud.
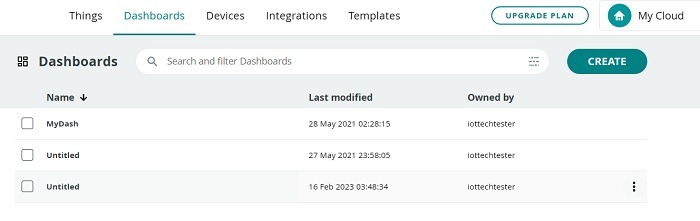
- Dashboards are the second option you can access from Arduino IoT Cloud.
- Click “Create” in the Dashboards tab.
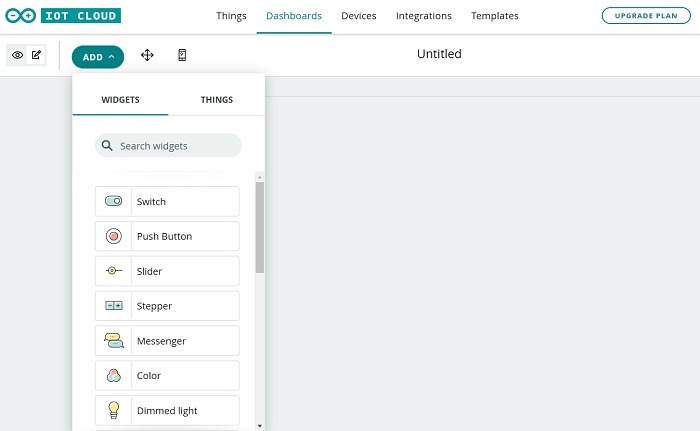
- There are various options here. You may add a “widget” of switch, push buttons, sliders, steppers, colors, and so forth.
7. Pricing Plans: Arduino Web Editor
Arduino web editor is free to use, and you can create unlimited sketches for your needs. But the free account has some restrictions.
For example, you can only save the sketches for 1 day (can download them easily), and only100 MB space is provided, with only 200 seconds per day compilation time. This is enough for a beginner. For more advanced Arduino users, there are other plans at reasonable cost starting only $6.99 per month. You can keep track of your quota and storage from the web editor under “Features usage.”
Frequently Asked Questions
How to select port in Arduino web editor?
If you want to select serial ports for display, Arduino’s online editor has a dedicated “Monitor” option. For all the remaining ports, select the required board from “Other board and port” and choose the port options as available for that board.
Is Arduino IOT cloud safe to use?
According to Arduino website, the connected Arduino boards have a crypto chip which make them safe from false authentication. The online web editor used is hidden behind a 256-bit encrypted data wall which can only be accessed by your account. If needed, you can add two-factor authentication to keep your account data safe.
Can Arduino damage laptops?
Arduino IDE is safe to use for any laptops or PC as they are a browser-based software. However, you need to be more careful with Arduino device hardware as they may draw more power compared to your computer. The best way to get around this is to use an older laptop. You can avoid breaking Arduino boards by following these tips.
Image credit: Daan Lenaerts at Pixabay. All Screenshots by Sayak Boral.
Get the best of IoT Tech Trends delivered right to your inbox!


