
Thinger.io is a decently popular IoT platform for a number of reasons. It’s completely open source, hardware-agnostic and features a user-friendly Admin console with a proven zero coding experience. The solutions you create with Thinger.io can easily be deployed with leading cloud providers such as AWS, Google Cloud, and Microsoft Azure. As this quick start guide will show, it is rather easy to get started with Thinger.io.
Getting Started with Thinger.io Console
Everything you want to do with Thinger.io platform, you can do it from a readily available web Admin console.
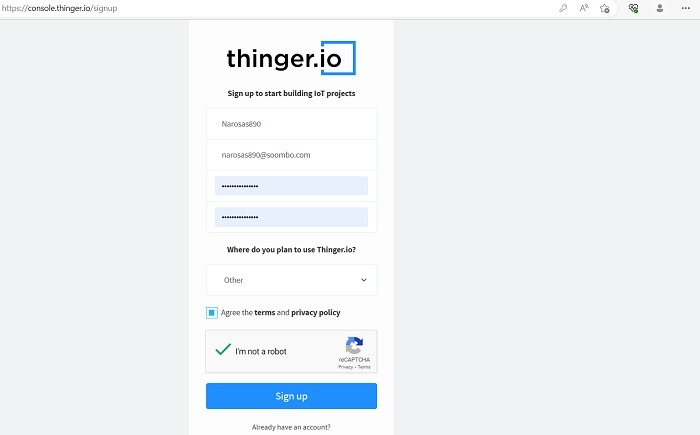
- To access this, go to the sign up page and create your Thinger.io account.
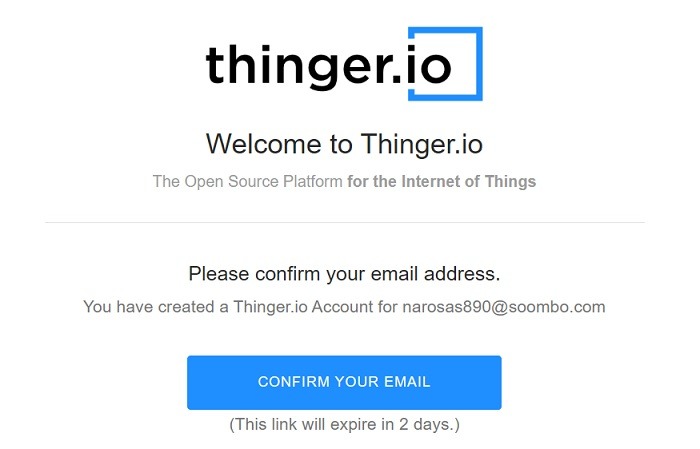
- Confirm your email address to verify this account.
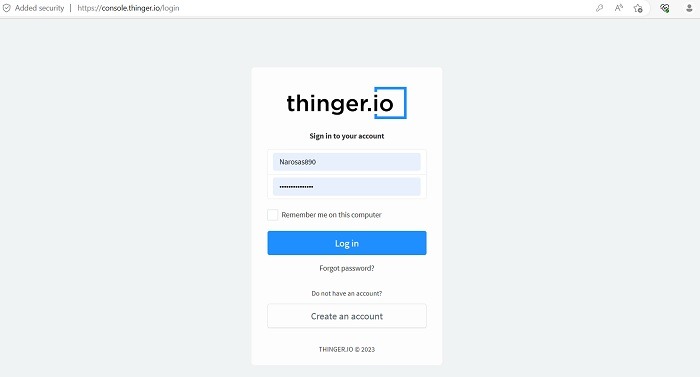
- After confirmation, you will automatically be redirected to a sign-in page where you have to re-enter the login credentials to access the web admin console.
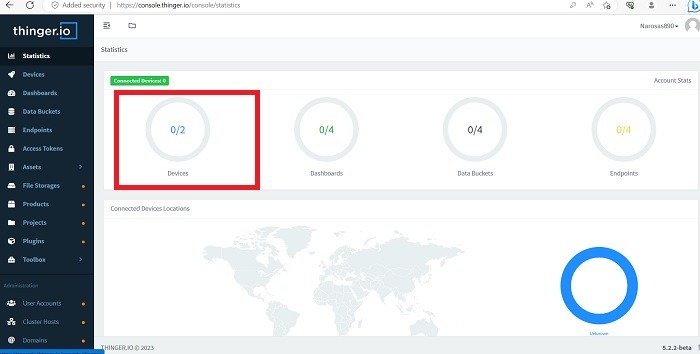
You immediately get access to a browser-friendly Admin console for Thinger.io. Some options are available in the free maker version – for the rest, you have to upgrade to a paid version. Let’s look at the free options here.
- To add a device, click on the first circle named “device” and the dashboard will walk you through what has to be done.
- Click the “create a device” button to proceed ahead.
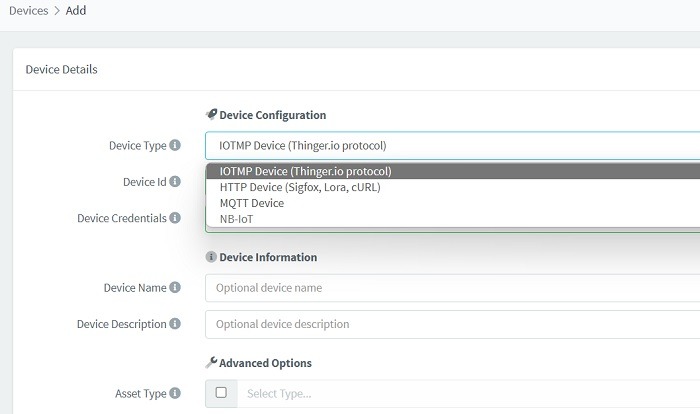
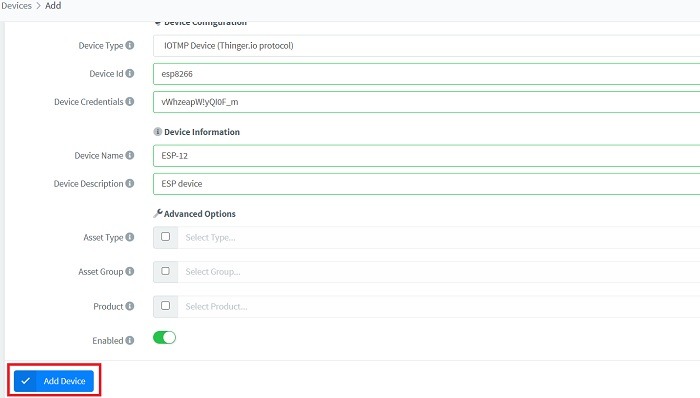
- Under the Device Configuration subheading, you can add different device types such as a generic device for Wi-Fi, Ethernet, or GSM, an HTTP device for SigFox, cURL or LoRa, an MQTT, or an NB-IoT device.
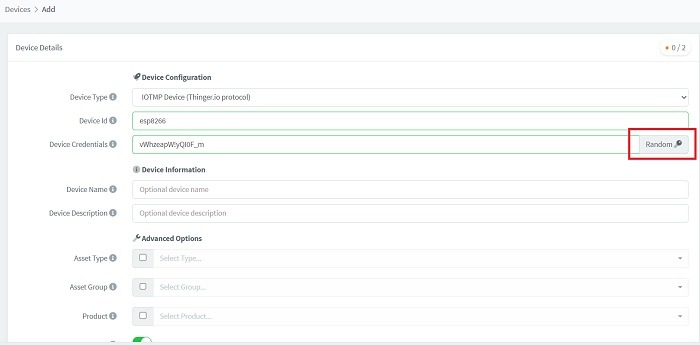
- If you have a Raspberry Pi, Arduino, or ESP32 device, enter the Device ID which is a unique device identifier for the hardware.
- Click “generate random credentials” for connecting your device.
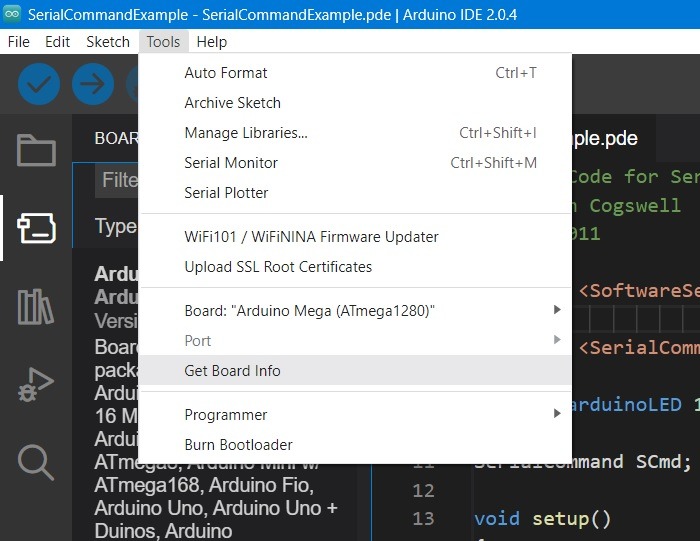
- With Arduino, go to “Tools -> Board Info” in its IDE to get the details. Thinger.io advises to store these device credentials in a safe place.
- Click “Add device” after entering other optional information such as Device Name, Device Description, Asset type, Asset Group, and Product. Keep everything enabled.
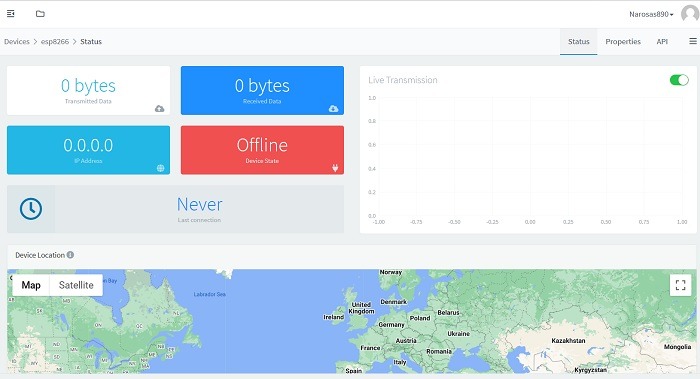
Once you connect your device properly, you can check its global locations, live transmission and receiving of data, IP address, and online/offline status on the Thinger.io console itself.
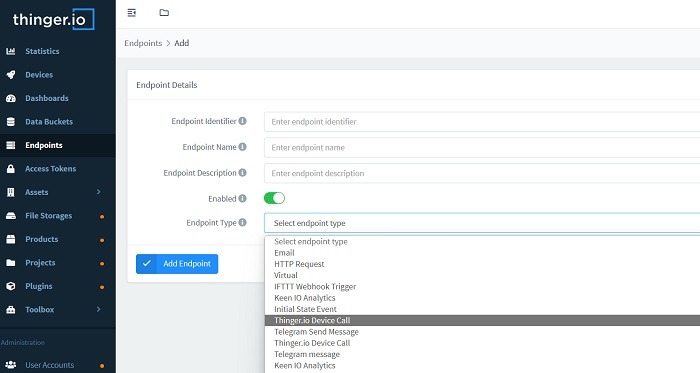
What do you want your connected device to do with the Thinger.io network? This can be decided by adding endpoints such as making a Thinger.io device call, sending HTTP request, emails, or creating an IFTTT event. The option can be accessed from the Endpoints menu item on the left.
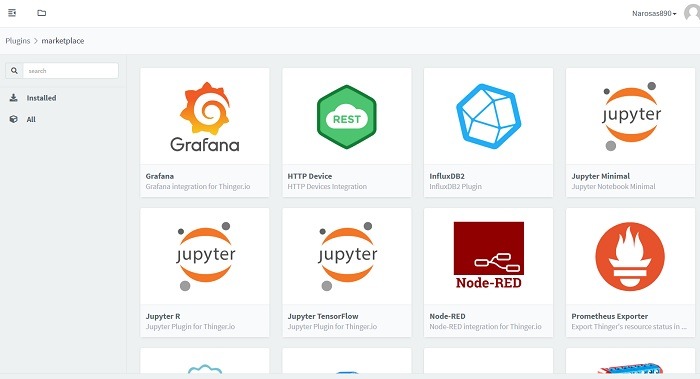
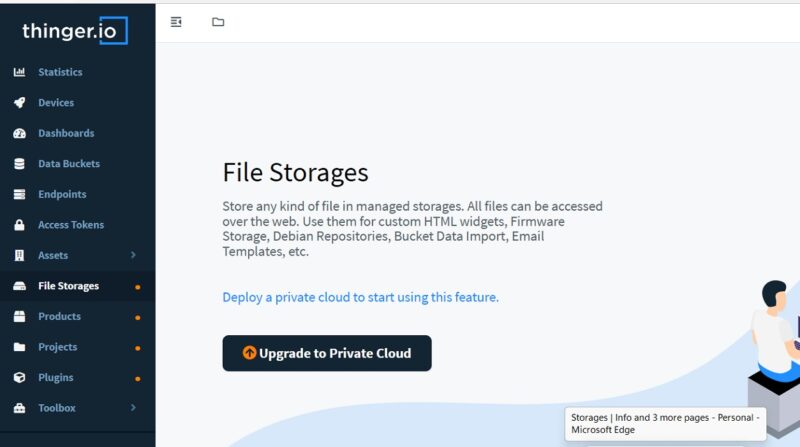
You can connect extra plug-ins for Sigfox, HTTP device, The Things Stack, Node-Red, VS Code, Docker Registry, and other protocols.
The console has an Admin area to enable adding user accounts, domains, proxies, Oauth2 client management, brands, and cluster hosts. There is also a section for file storage, toolbox, project management, and product management.
All of these features, however, are locked in a paid version of your Thinger.io account. If you’re just an IoT lab tester, the starting account is a “small” version that supports up to 100 devices.
Connecting Various Devices to Thinger.io
The developers will need to connect various devices to the Thinger.io cloud platform. For example, while working with Arduino, you will have to enter username, device ID, and device credentials using an Arduino client library.
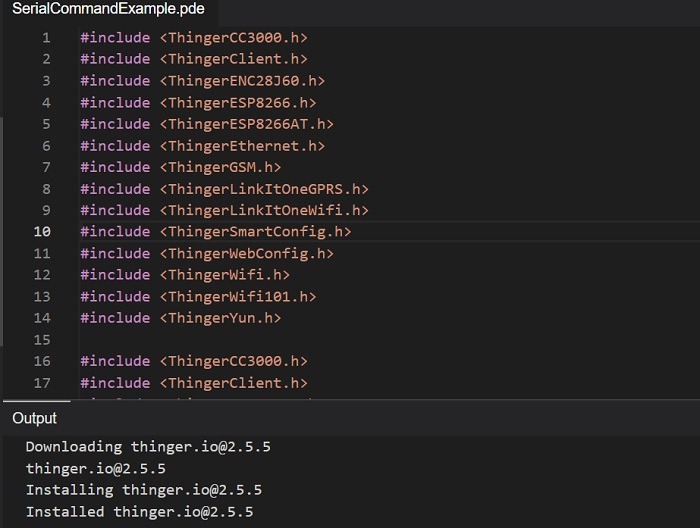
In this example below, we have searched and identified the Thinger.io client library from “Sketch -> Include Library -> Library Manager.” Then it’s a simple case of adding the library to your project by clicking the “Install” button.

Once installed, you can import the Thinger.io library in your serial command projects and thus, connect your Arduino device to the Thinger.io web admin console discussed in above section.
For Linux/Raspberry Pi connections, you need to first register the Raspberry Pi device as shown in above section. After that, you will need access to a terminal on the Raspberry Pi. Check the documentation part of Thinger.io to check the list of codes and dependencies you need to enter to ensure Thinger.io is connected to your Raspberry Pi projects. Here is a list of interesting DIY projects to get started.
The official website (see below) has more such information to connect MQTT devices, LoRaWAN, Sigfox, and HTTP devices.
Frequently Asked Questions
Where to find more information on Thinger.io?
You can find more detailed information on connecting any device to Thinger.io console at its official documentation link. For Linux/Raspberry Pi, the complete connection steps have been explained here.
What are the alternatives to Thinger.io?
Thinger.io is a cross-compatible platform that has zero code requirements. If you want a similar experience, you can try Kaa IOT, Eclipse, ThingsBoard, and Adafruit.
How do I set up SDK for Thinger.io?
To work with software development kits (SDK) in Thinger.io, the official site recommends you install Visual Studio Code in Windows. It’s also available as one of the plugins on the Thinger.io main admin console.
Get the best of IoT Tech Trends delivered right to your inbox!


