
Arduino has a great IDE, but it lacks serious coding features and attractive dashboards. Such limitations can be overcome by integrating Arduino IDE with professional software environments such as Unity 3D (or just Unity), a famous gaming engine. The following guide will show you how to integrate Arduino with Unity and help you make the Unity games technically compatible with Arduino for all your project requirements.
Did you know? You can use different operating systems to work with Arduino? Here is a short list of the best operating systems.
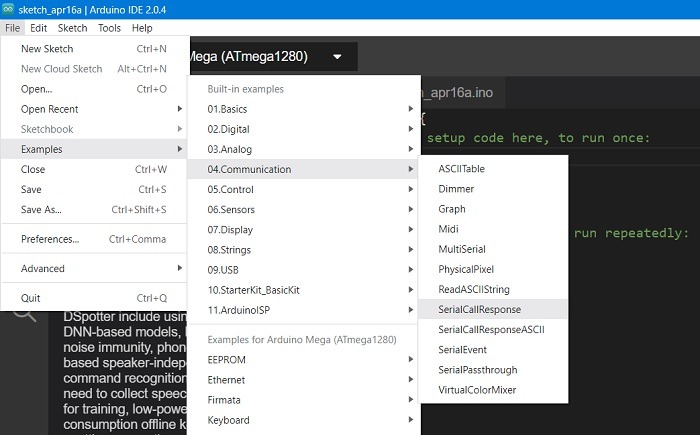
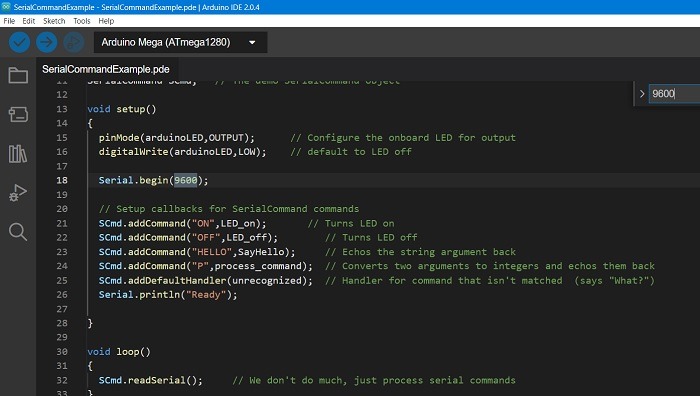
1. Install Serial Command Library in Arduino
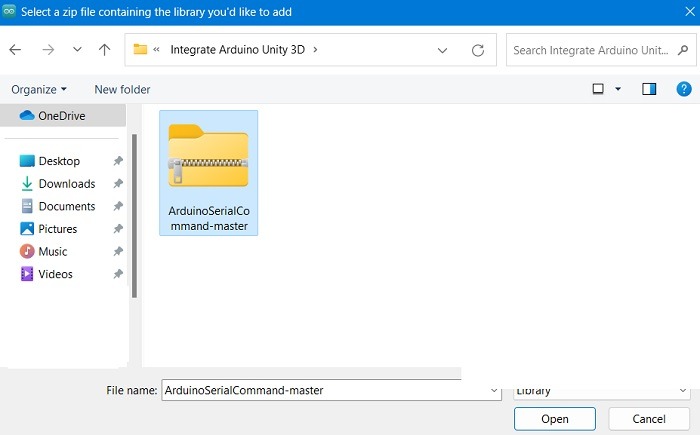
- You need to have a proper serial command library in Arduino which can be imported from “Add .ZIP library.”
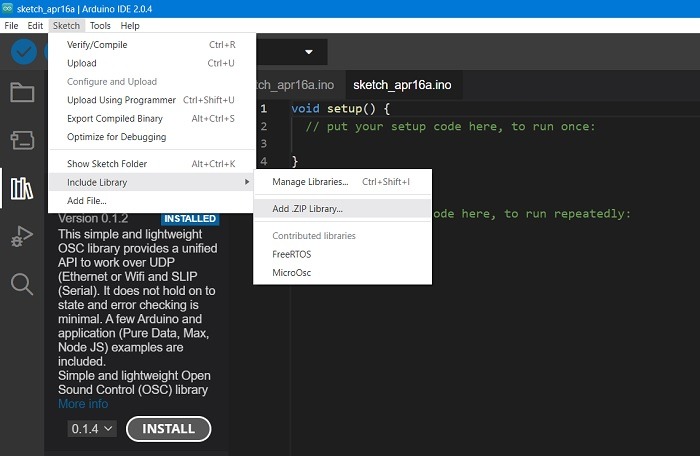
For our demo, add the required Serial Command library from this GitHub link. This is used for communication between the Arduino board and a computer or other devices. Once uploaded, it will be visible in the contributed libraries. (Learn how to add a library in Arduino here.)
- A better way though is to use “File > Open” and import the required sketches for working with Unity, which will help you sync both programs in Windows and other operating systems.
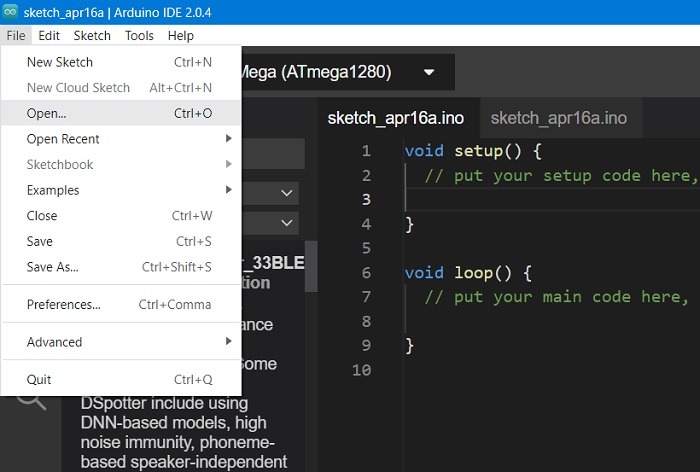
Here we are importing the downloaded Serial Command Example as a Processing IDE (or PDE) file. This would automatically install in Arduino IDE.
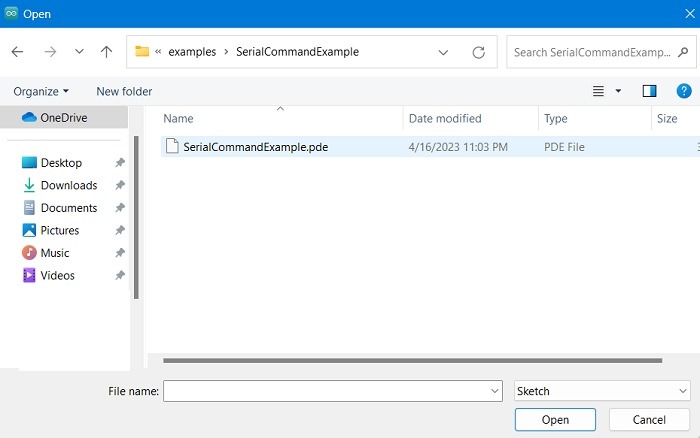
- Once the Serial Command Example has been opened in Arduino IDE, you can modify its values based on comparable parameters in Unity which we will demonstrate here.

If you don’t like the plain theme of Arduino IDE, you can always modify it from the various settings options available in the editor.
2. Getting Started with Unity Hub
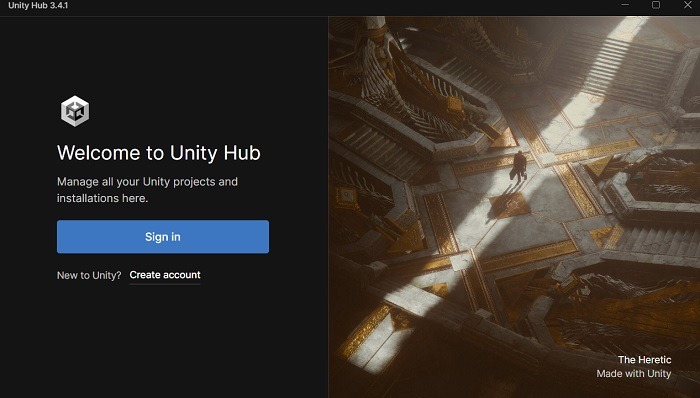
If you’re new to Unity Hub, you can download its package for Windows, Mac, and Ubuntu.
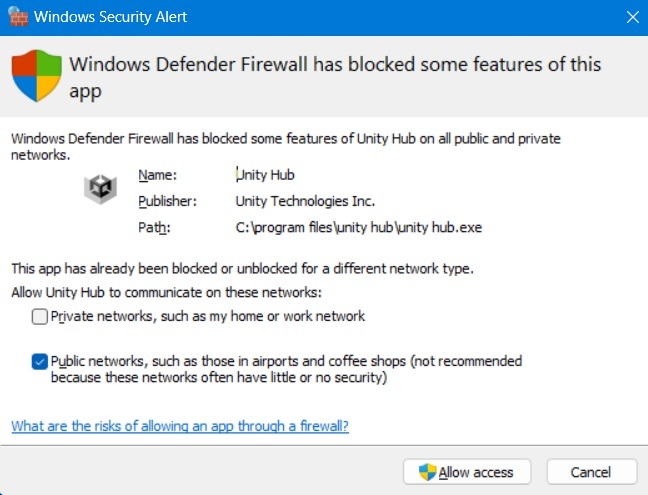
- In Windows, you will be dealing with a third-party .exe file, which a firewall would block, so special access should be enabled before or after installation if such a message appears.
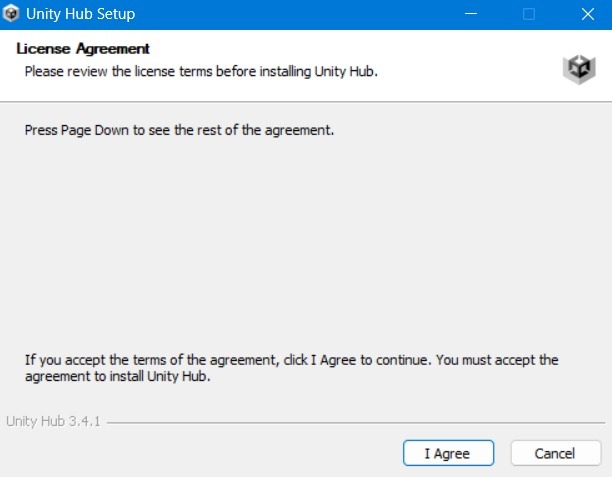
- Give your consent to a license agreement to proceed with the installation process.
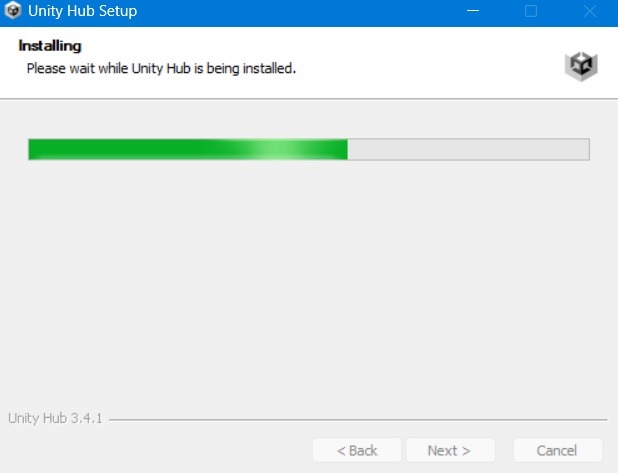
- It takes a few minutes for the installation to complete on your computer.
- In the meantime, you can register to create a Unity account and subscribe to a free personal plan for individuals.
- Creating a Unity ID is part of the process. This is what you will use to link your Arduino projects with Unity account details.
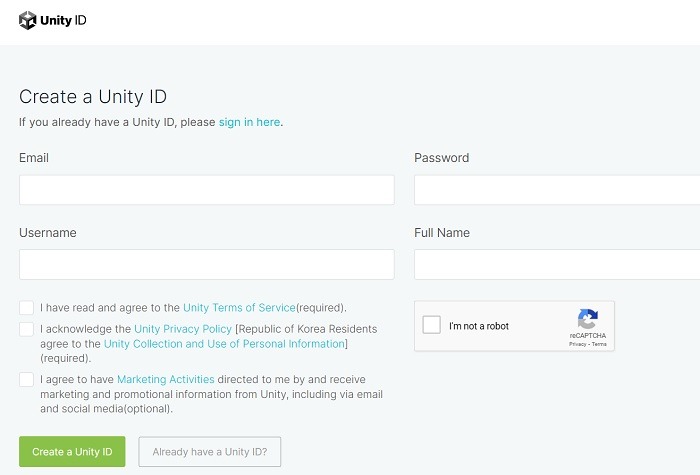
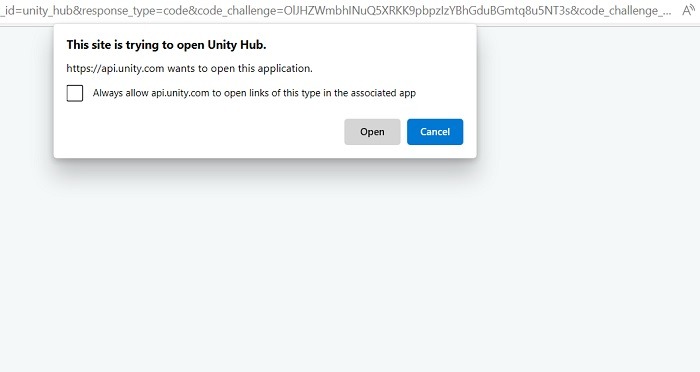
- The Unity ID registration will take you to a browser page where you will get the option to directly launch Unity Hub from the browser itself.
- In latest versions of Unity for Windows, you must install a Unity Editor software separately. It requires considerable space and time as the installer file is several GB in size.
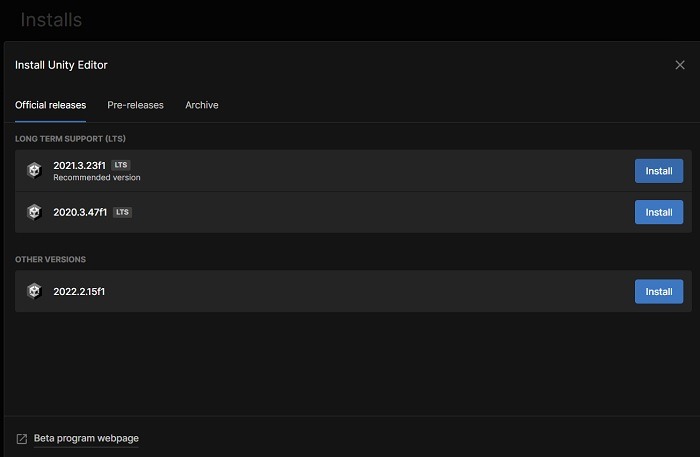
- Wait for the interface to launch properly while the modules and components are imported gradually. The installation can take a while, so be patient.

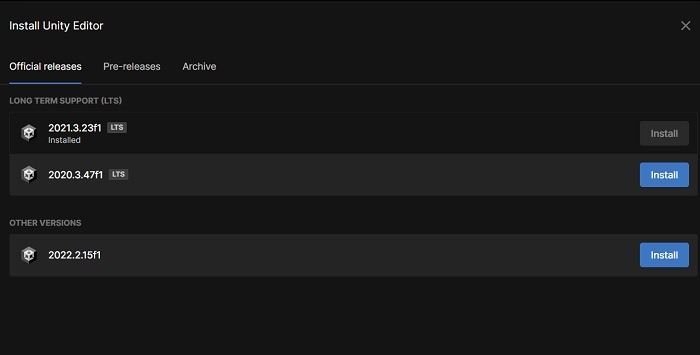
- Once your Unity Editor is installed properly, you are ready to begin.
3. Create an Arduino Staging Environment in Unity
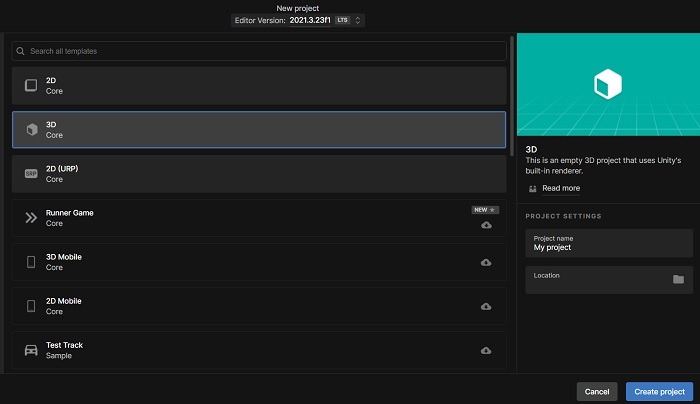
- Go to “Projects” in the newly installed Unity Editor and launch a new project from the “New project” menu.

- Choose a 3D project and give it a name of your choice. Again, wait for the Unity window to be launched.
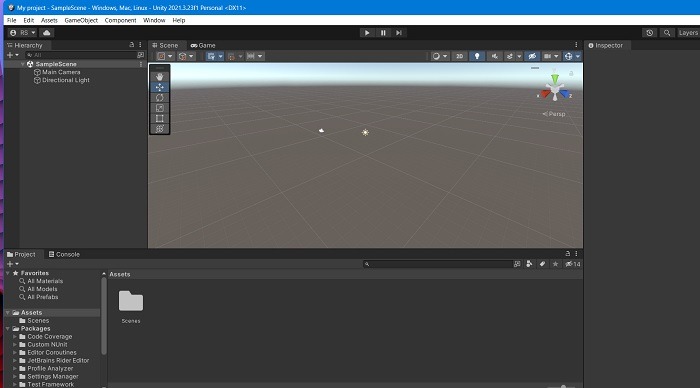
The project homescreen should now be visible. This is your main interface to design various games on Unity.
- To allow bidirectional communication between Arduino and Unity, you will need a free plug-in. We recommend Ardity, and you can download a GitHub package for that.
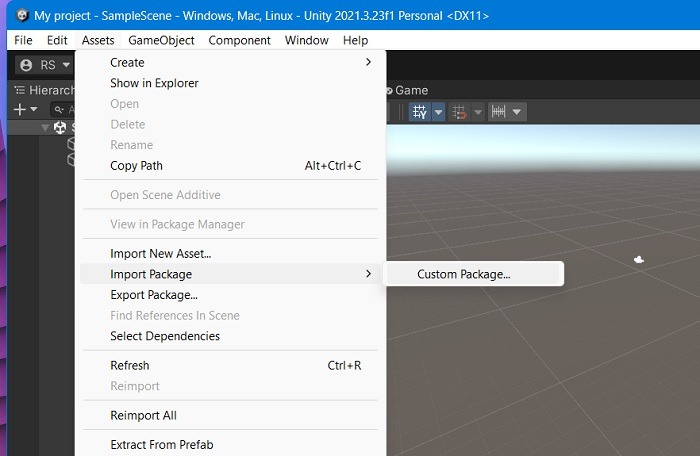
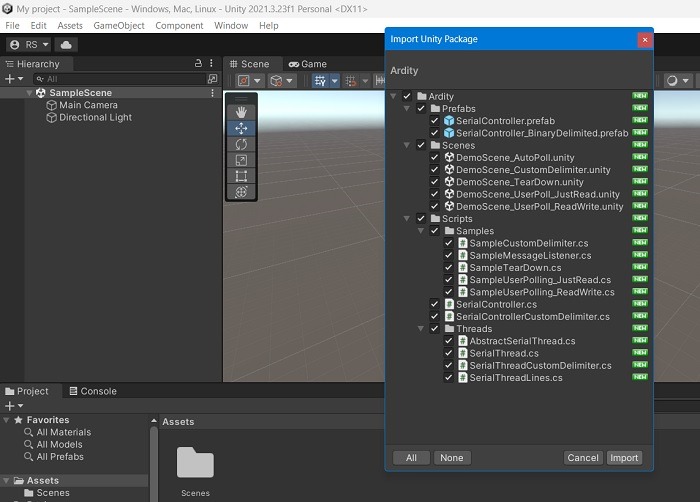
- Once done, import the free communication utility as a “custom package” from Unity’s Assets menu as shown here.
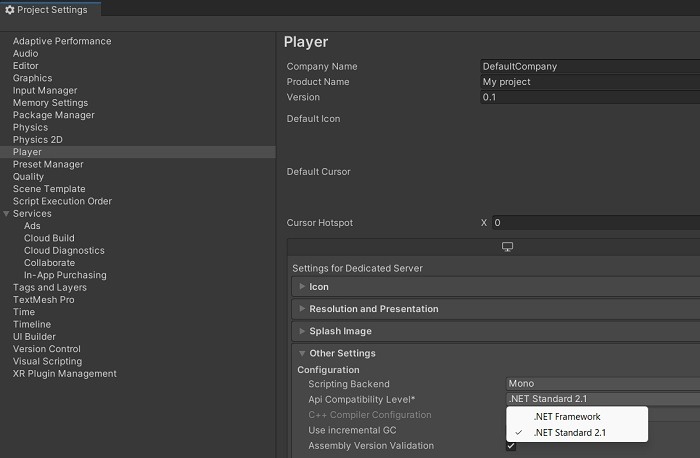
- If you notice any errors while importing the package, you will have to fix the outdated Unity build which came as a default. Go to “File -> Build Settings -> Player Settings,” and modify the API compatibility levels to the latest .Net version as shown below.
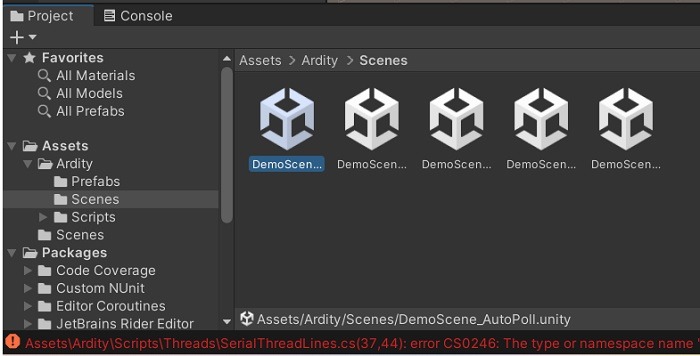
As shown, navigate down to your imported asset and select a DemoScene which you will integrate with Arduino IDE. Selecting it will open a serial controller.
- Take note of the port name which is COM3 as a default. Once you connect your Arduino device to a PC, you can trace the exact port in “Device Manager” (for Windows 10/11) from Portable Devices option. If it’s COM6 or anything else, manually edit the port name so that it matches Arduino’s.
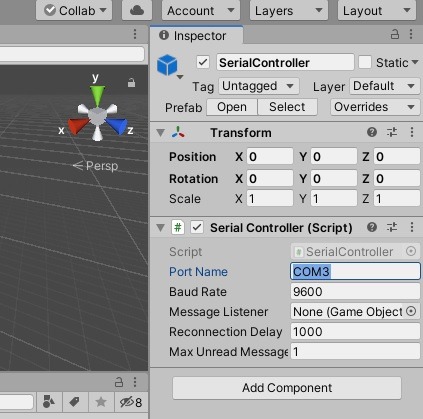
- Note the Baud Rate frequency which we will use in Arduino IDE settings. This is a messaging frequency – for example, 9600 bits per second – which Unity’s serial port will be transferring to Arduino. The vital information will be used in the next section.
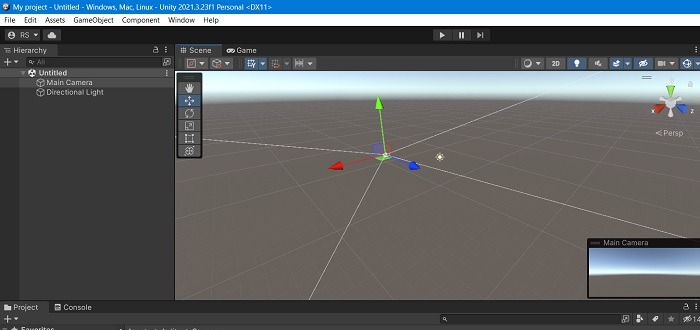
- To create a new scene that you want to work on, go to “File > New Scene” and use a basic built-in scene or create from an “empty” scene.

The following shows a new scene with a cube gaming object which can move along an X-Y-Z trajectory.
After the scenes have been properly created and the Arduino port connections match, you can hit “Play,” and Unity will spring into action.
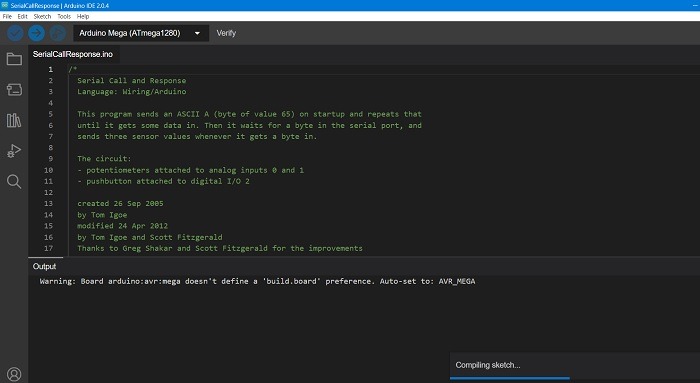
4. Integrate Arduino IDE with Unity
For the last step of communication, you will need your Arduino to interface with Unity. Let’s use one of the example sketches: “SerialCallResponse.” It allows multi-byte communication from the Arduino or Genuino board to the computer using a call-and-response (handshaking) method.
- Open the sketch from any Arduino window using “File > Examples > Communication > SerialCallResponse.” You can also use an imported library sketch as shown in the first section on top.
- Refer the baud rate in the Unity plug-in as shown in the above section. It gives the example frequency of 9600 bps which already matches the two-way protocol frequency for our example Arduino sketch.
- If your Arduino example code does not have the same frequency, you need to edit this value to match the Unity plug-in’s baud rate.
- Now, go to “Tools” and select the Arduino board you are using and the port (“COM3/COM6,” etc.). Once done, click verify and upload to set the Arduino sketch in action. Correspondingly, if Unity 3D is also running at the same time on your PC, you will notice a “message established” status update.
To recap our integration sequence, you need the following things in common to connect Unity 3D with Arduino IDE.
- Arduino’s serial frequency should match Unity engine’s Baud rate.
- The same port should be enabled for both software interfaces.
- Both should be on the same network and remain connected to the same peripheral device, such as a PC.
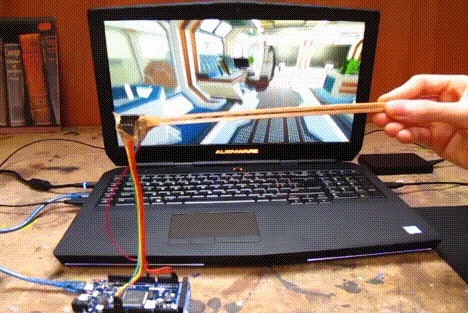
Whatever action scenes you create using your imagination in Unity 3D, the same motion sequences and trajectories can be transferred to an Arduino physical device over Arduino IDE. This is a good related example by a developer that was published with Arduino’s official website.
Frequently Asked Questions
What are the applications of Unity Engine in Arduino?
Unity is a popular 3D software environment widely used in mobile games, along with augmented reality and virtual reality devices such as Microsoft Hololens and Samsung Gear VR. There can be so many applications of a Unity-Arduino merger: from designing your own gaming joystick to an Arduino-based VR headset.
Can I connect Unity to Arduino using plugins?
Unity has a few built-in plug-ins available which can connect to Arduino, such as Uduino. Apart from them, you can use external open-source plug-in components such as Ardity.


