
It’s one thing to use your laptop’s USB port, but there’s a lot more ways to power an Arduino besides that. We’ll go through 11 ways, starting from the most common to the most, well, unique to say the least.
And if you want to make sure you don’t break your board before getting to this point, try out our guide on keeping your Arduino not broken up by whatever crazy shenanigans you come up with.
1. Using a Phone Charger
This is the best, simplest, and most beginner-friendly way to run an Arduino. Take your phone charger, replace the USB cable, and now you’ve got an appliance. Almost all phone adapters output in 5 V, which is exactly how much voltage most smartphones nowadays need to charge.
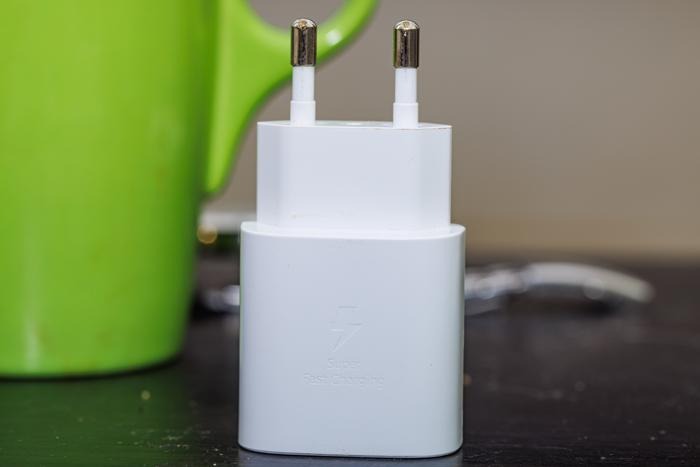
The same goes for the Arduino. It only needs that much and hardly over 200 mA of current to work.
2. With a Shield or Module
A wall adapter is one thing, but that’s gonna be a bad idea if you’re running motors off an Arduino’s pins. The best way is to do things the other way around – provide power to the shield or module which then powers the Arduino!
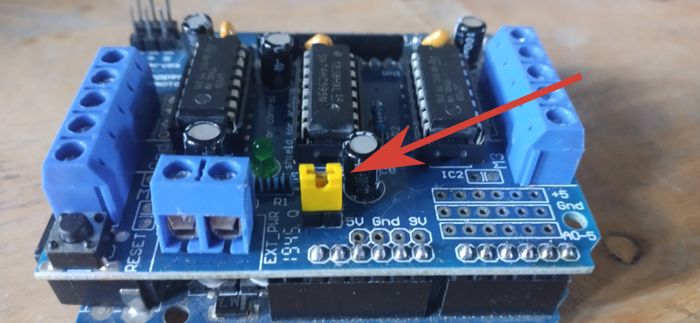
Most shields and modules like the L293D motor driver shield come with a power jumper. In most cases, removing the jumper provides power to the Arduino. This provides power through the Vin pin or 5V pin, depending on the specific shield or module used. Just make sure you disconnect all other power sources (including the USB connection) before you connect your Arduino to one.
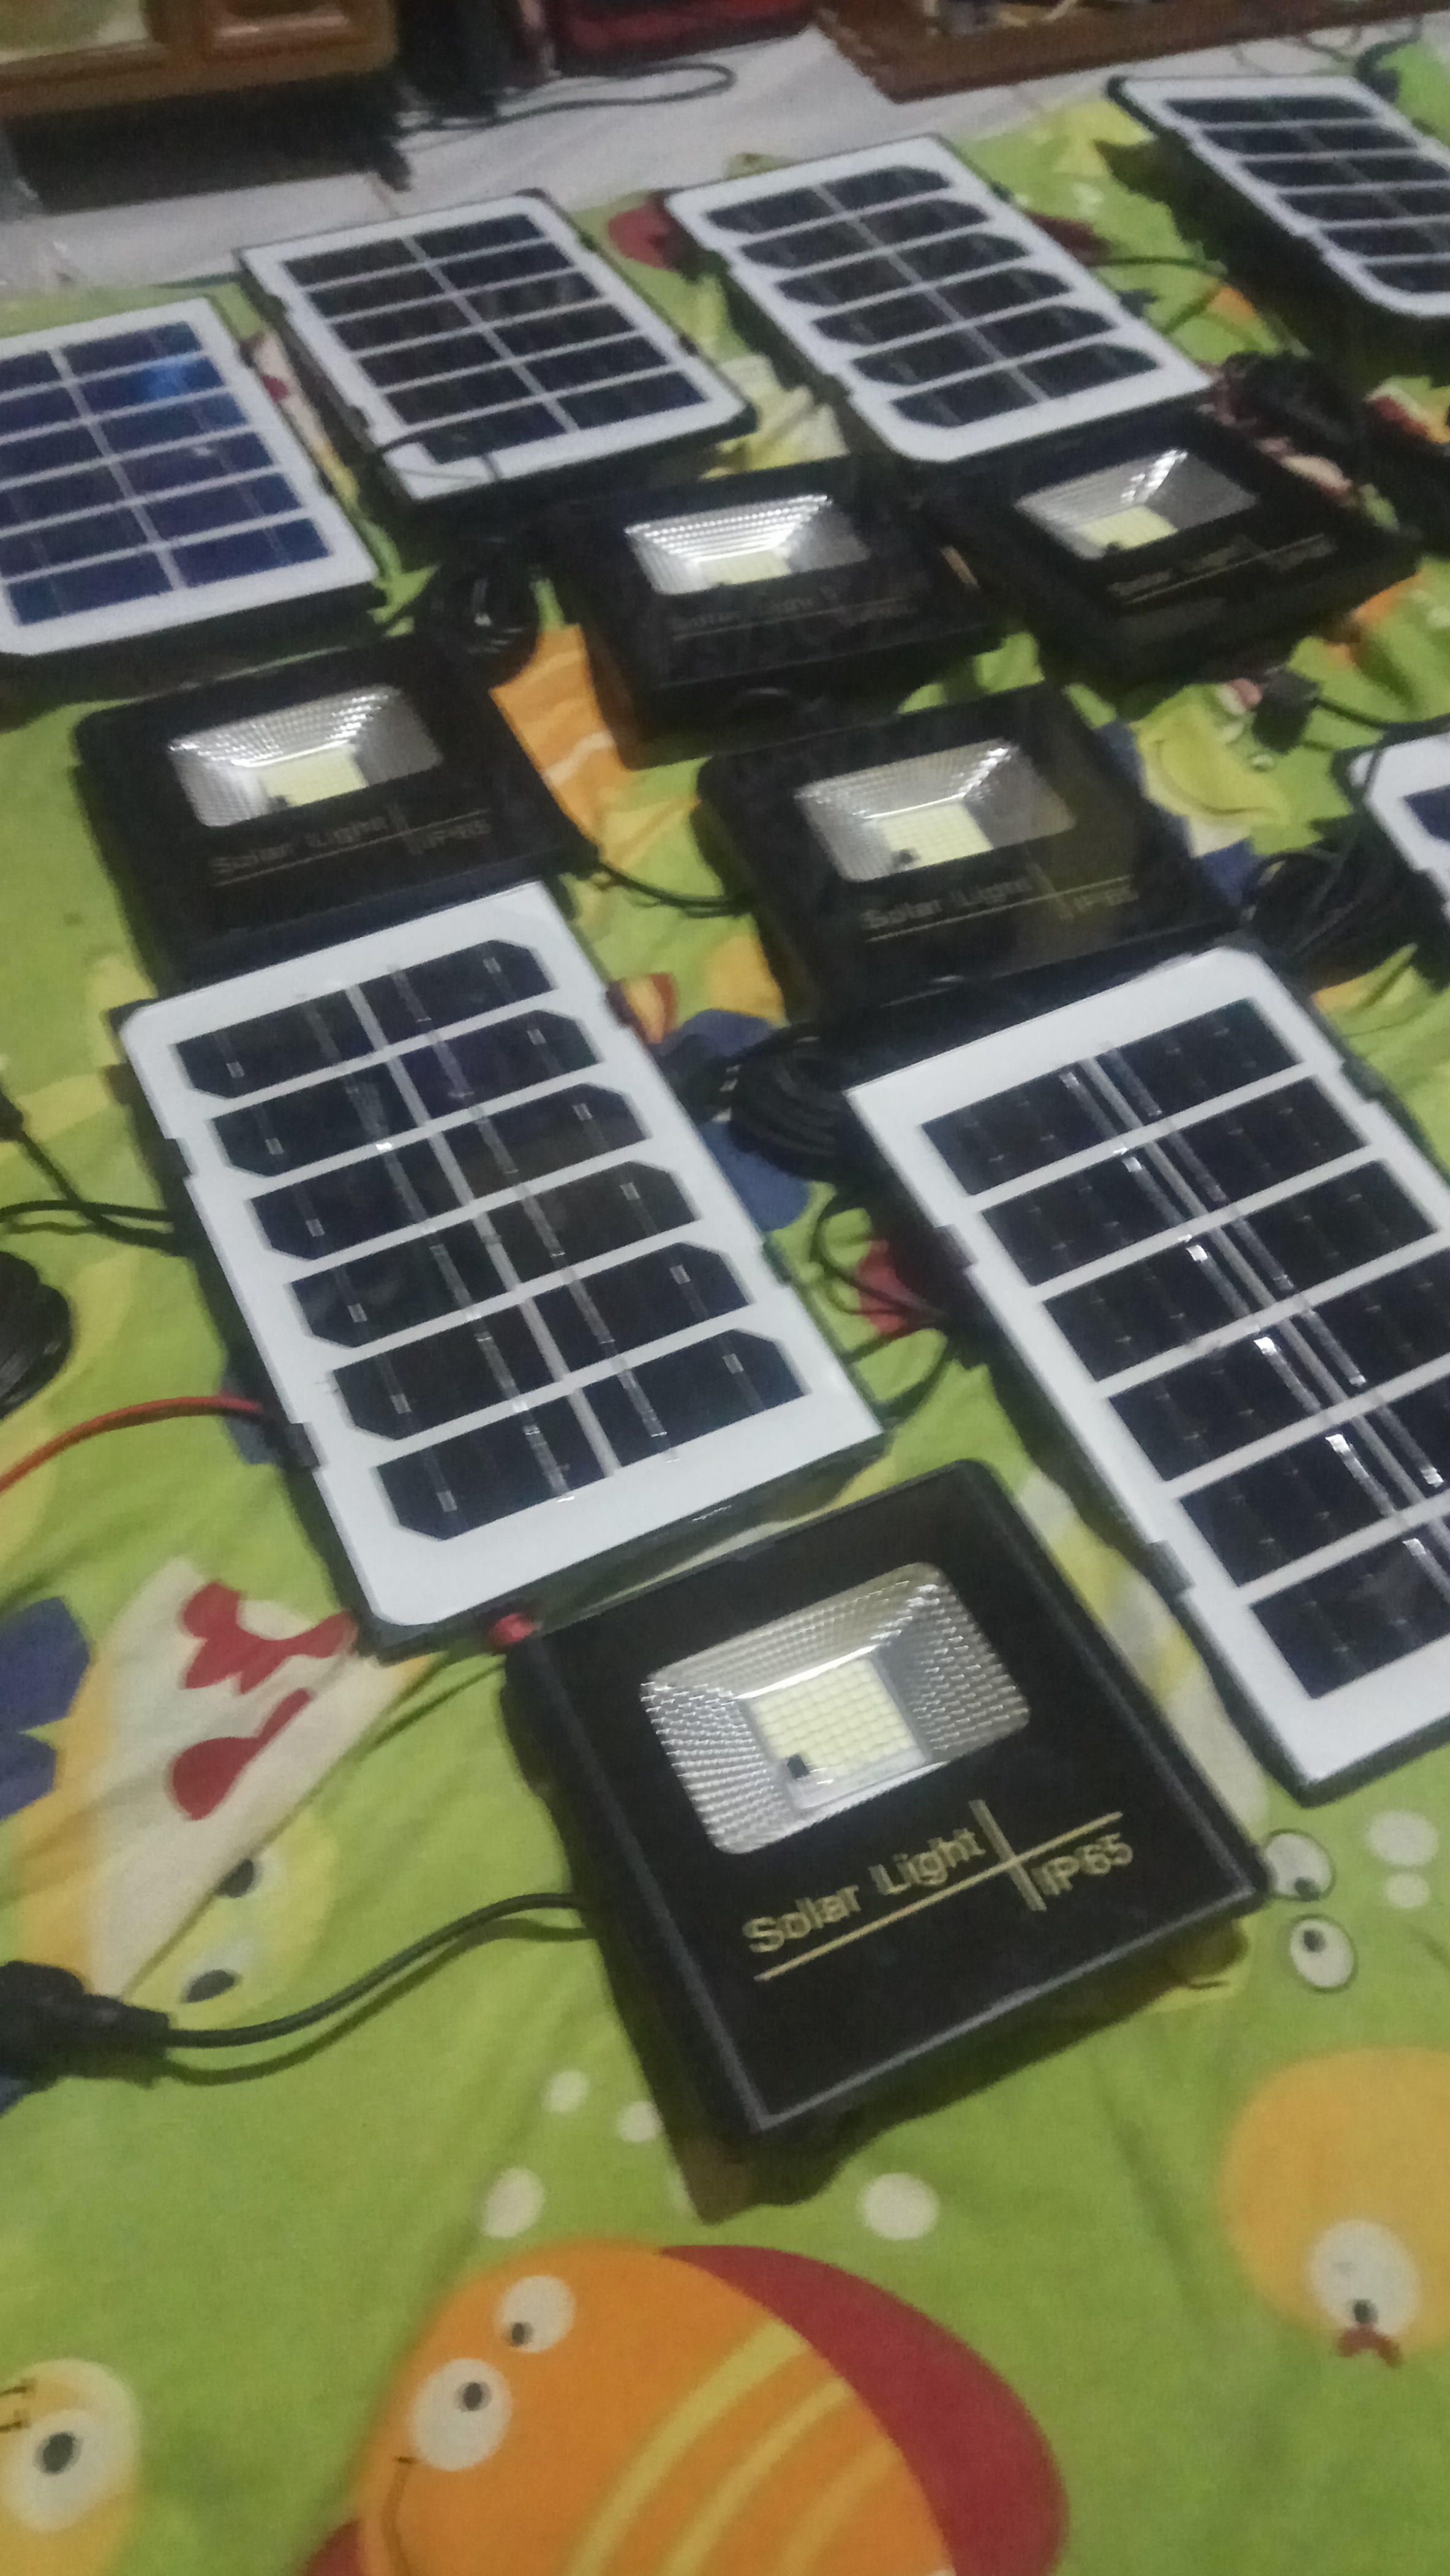
3. Solar Panels
Solar panels – the hobbyist’s best friend! You can grab a tiny one and fit it into an Arduino car or hook a big one up to a an Arduino-powered solar tracker.
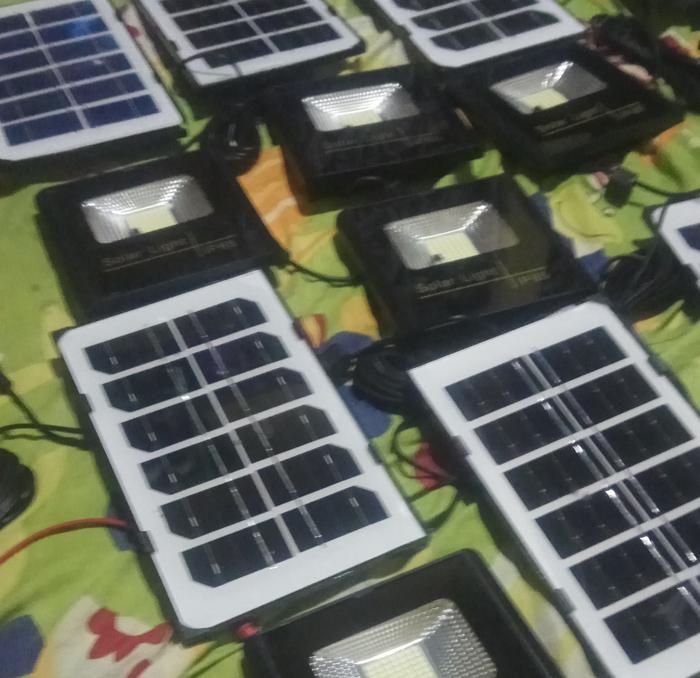
While solar panels do output in DC, the voltage levels do tend to change a lot. You’ll need a charge controller for this. For smaller projects with smaller panels, a TP4056 charge controller works well. They’re light, small, and can handle the highest output of most solar panels about as wide as two of your palms. But for larger projects, you’ll need a dedicated solar charge controller. They’re big and heavy, but can handle larger amounts of voltage and current.
4. A Pair of 18650 Batteries
In case you haven’t heard of them, 18650 batteries are the kinds of battery cells you’ll find in larger Li-ion batteries, rechargeable flashlights, and cellphone power banks. It’s a battery size, much like the AA, AAA, C, and D cells.
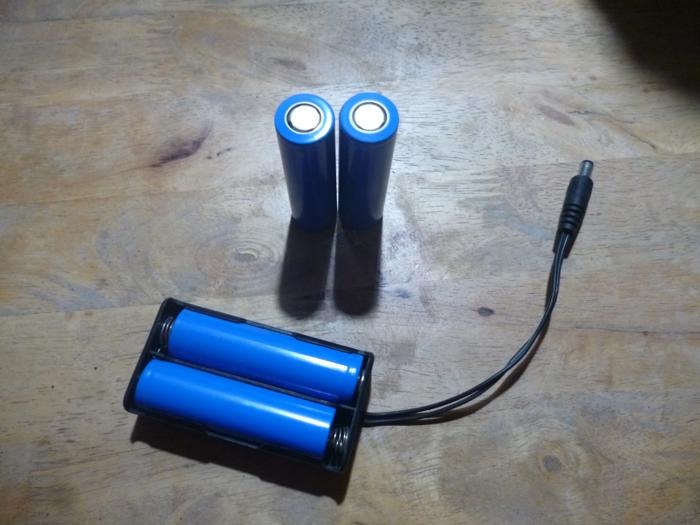
18650 batteries output in 3.7 V. That’s a bit more than half an Arduino’s voltage requirement. But hooking up two of these in series gives 7.4 V, which works great through the regulated power supply. Normally, you’ll need a 2×18650 holder and a male DC barrel adapter to connect this to the Arduino DC barrel jack.
5. LiPo Rechargeable Batteries
If you want something that takes up less space, LiPo batteries should do the trick. That is, assuming you’re okay working with less battery juice. LiPo batteries come in all manner of capacities, with smaller ones coming with around 600 mAh.
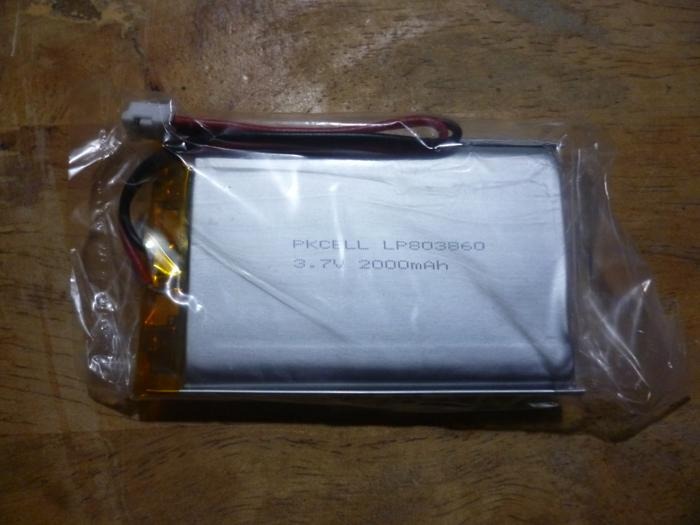
Just do be careful with handling these. Since they commonly don’t come in holders (unlike 18650 batteries), it’s easy to poke these by accident and cause a leakage. You’ll need to secure them somehow, perhaps with tape or a properly-shaped space within the enclosure.
6. Three AA Batteries or One 9V Battery
Here’s to the more common kinds you’d see in a department store. An AA battery has 3.7 V in it. Two of those can power an Arduino. Or you could get a 9V battery and use a 9V to DC barrel jack adapter to connect it straight to the DC barrel jack.
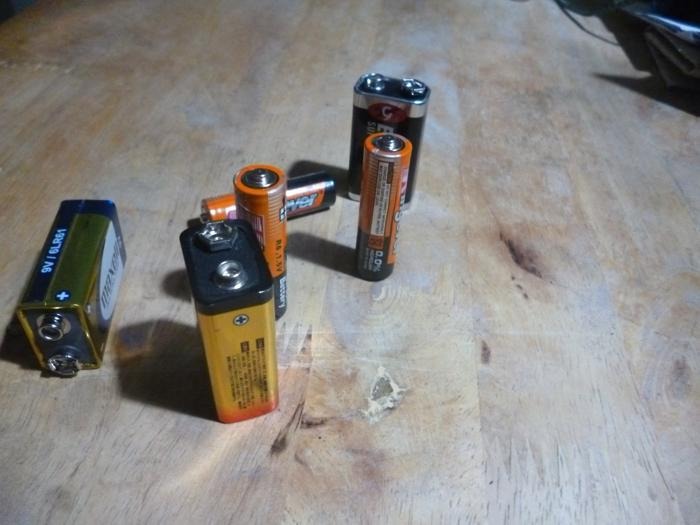
In fact, you’d be hard-pressed trying to connect these somewhere else besides the DC barrel jack. If you really have to go the jumper wire route, though, you can use a 9V snap connector to connect a 9V battery to the Vin pin.
7. A Car Battery
Just about anything with a voltage difference can be a power source. A car battery is no exception – it’s just a little bit over 12 V after all.
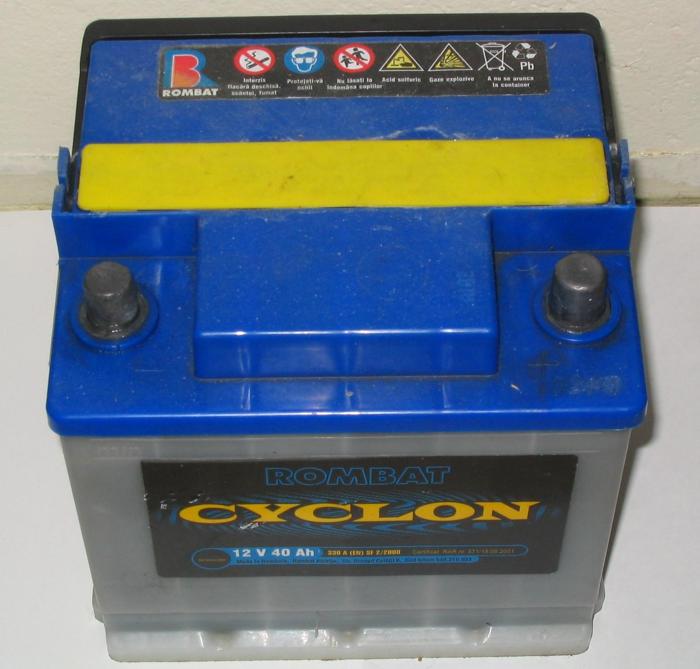
You can connect it directly through the regulated Vin pin assuming you’re using a standalone battery. This means no sudden voltage changes. But if you’re using it to connect to a battery connected to the car, itself, then you might want to protect it from sudden surges. An LM7812 can clean the power output to a stable 12 V. You can process this further with a 5V regulator so you can use it even in the unregulated Vin pin.
8. Car Adapter
Why go through all that trouble when you can use a car adapter, instead? After all, it’s not like you’re using the cigarette lighter receptacle all the time.
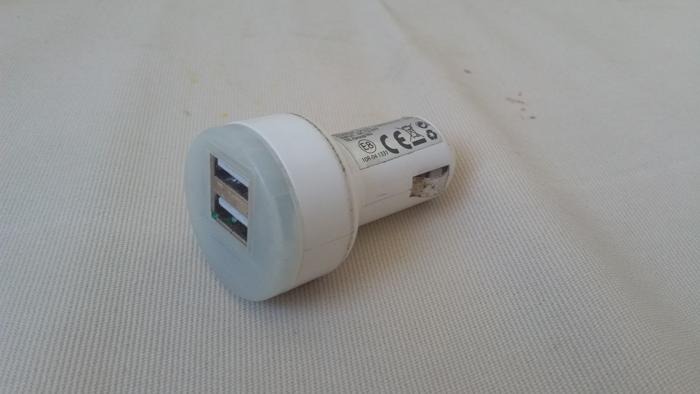
A common car adapter or charger outputs a steady 5 V, much like a wall adapter does. The amperage works just as it would with a normal wall charger too – the Arduino only takes what it needs, usually no more than 500 mAh even with a lot of components attached to it.
9. Capacitors
Before you think about it: no, I’m not talking about those tiny capacitors the size of a fingernail. I’m talking about large-capacity supercapacitors – the kinds you’d see in regenerative brakes, camera flash lights, and MP3 players.

While capacitors can easily run out of juice, you can recharge them just as quickly as they do. They’re useful for when you only need to run the Arduino in short bursts, like using it as an advanced switch using relays with non-volatile memory for storing variables for the circuit’s logic.
10. A Bicycle
Or practically anything that moves in a circle (like a paper windmill on a bike). The trick is to use a permanent-magnet generator that turns while you’re riding the bicycle. Then you can store the energy in a battery.

Another way to do it is to connect this directly to an Arduino with a 5V regulator and a capacitor. No batteries needed. If you have a basic exercise bike, the Arduino will keep running for as long as you are hitting the pedals. Then the capacitor will smoothen out the voltage drop for when you’re slowing down or halting to a sudden stop.
11. With Fire
Where there’s creativity, there’s a way. Using a thermoelectric generator (TEG), you can convert the heat energy from a fire into a voltage difference through the Peltier effect that can be used to run your Arduino. Just, well, be sure to protect the generator from getting burned.
What’s even better is you can enhance this with ice. You can try this with fire underneath and ice or snow placed above. The higher the temperature difference between the fire-facing side and the ice-facing side, the higher the voltage difference is gonna be. Neat, right?
Frequently Asked Questions
Do power requirements differ across Arduino boards?
With all Arduino boards, 5 V is the standard. Current can depend on the board, as some that have wireless functionalities will naturally use more current when using these. But for the most part, they don’t. Or at least, not much.
Does the code I'm using affect my Arduino's power needs?
Your code can affect your Arduino’s power consumption. For instance, using sleep mode reduces the power consumption to almost nothing (not literally zero since it still uses a tiny bit of electricity).
Can I power an Arduino with potatoes?
Anything with a voltage difference of 5 V can power an Arduino as long as it has enough capacity to maintain that voltage to do anything useful with it. And that also goes with potato batteries. But whether you can hook up enough potatoes to run an Arduino might be difficult on its own.
Do 18650 batteries leak?
Normally, they don’t. 18650 batteries, as with all other batteries, keep their chemical bits inside of a leak-proof container. A leak means bad news, and you have to throw it out immediately.
Get the best of IoT Tech Trends delivered right to your inbox!


_01.jpg)