
When you think about a Raspberry Pi, you probably imagine the single-board computer running some variant of Linux. That makes sense, as there is an awful lot you can do with the combination of a Pi and your favorite Linux distribution.
That said, Linux is far from the only operating system that will run on a Raspberry Pi. If you’re feeling especially adventurous, you can even install and run Android on these devices.
Why Install Android?
There are a few reasons you may want to install Android on your Raspberry Pi. If you’re an Android developer, for example, it’s a cheap way to add another device for testing to your arsenal. That’s not the only reason though.
Touchscreen support is improving in Linux, but it’s still not fantastic. If you’re putting together a project with a touchscreen, Android will likely be your best bet. Android developers have had plenty of time to work on multitouch and other features, so it’s nice to take advantage of that support.
Before You Start
This guide focuses on running Android on the Raspberry Pi 3 and 3B+ model boards. Older versions aren’t powerful enough, and there is no officially supported build for Raspberry Pi 4 yet. Users have tried with varying levels of success to run Android on Raspberry Pi 4, but it’s far from working as well as Raspberry Pi 3 models.
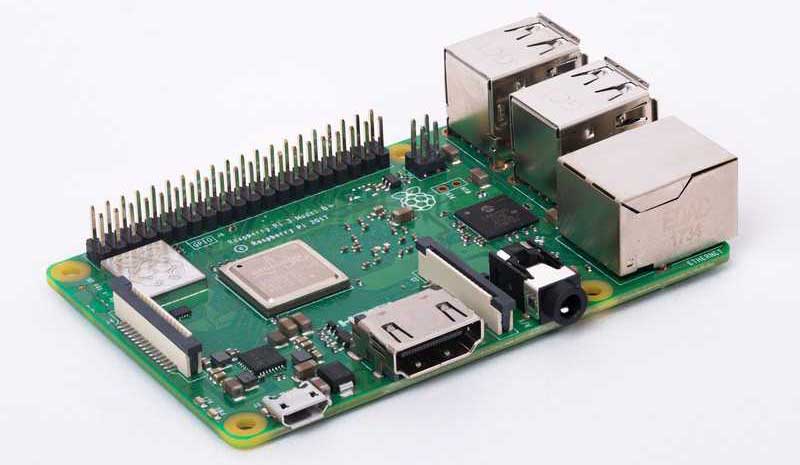
You’ll also need some things before you start. Obviously, you need a Raspberry Pi and a power supply, as well as a display, preferably a touchscreen. Otherwise, you’ll also need a mouse and keyboard. Finally, you’ll need a microSD card with at least 16GB capacity.
Flash Your SD Card
To prepare the SD card, you’ll need two things. First, you need to download Android for Raspberry Pi 3. You’ll also need a tool to write the image on to your SD card. If you’re not sure which to pick, we’d recommend downloading balenaEtcher.
Now, make sure your SD card is inserted in your card reader. This process will overwrite everything on your drive, so be sure you’ve backed up.
Now, launch balenaEtcher and click “Select Image,” then choose the image file for Android for Raspberry Pi 3 that you downloaded. Click OK and balenaEtcher will flash your card.
Boot the OS
Now that the card is flashed, you’re ready to boot your device running Android. This will take a while, and you’ll notice that the operating system will feel like it’s running very slowly.
After a minute or two, performance should pick up. From here, you can connect to Wi-Fi unless you’re already connected via Ethernet. The standard apps are included, but for anything else, you’ll either need to sideload apps or use a Google Play alternative like F-Droid.
Conclusion
As you can see, there really isn’t all that much involved in getting Android running on the Raspberry Pi. Of course, if you’re running a Raspberry Pi 4, it’s not easy, at least for now. After the board has been in the hands of developers for a while, we’ll see that start to change.
If you’re looking for another OS to run on your Raspberry Pi, Windows 10 IoT Core is an option. If you’re using the latest version of the board, make sure to take a look at our guide to installing Windows 10 IoT Core on Raspberry Pi 4.


