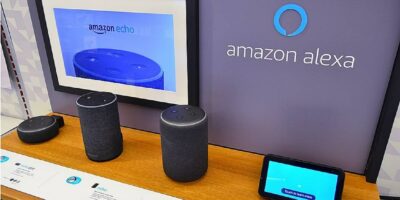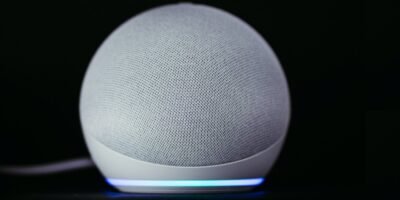
This guide shows how to connect and control any smart ceiling fan with Alexa or Google Home on Android and iOS devices. We will learn to operate them using voice commands for Echo/Echo Dot and Google Home/Nest Mini speakers.
What Is a Smart Ceiling Fan?
Smart ceiling fans are IoT devices that extend the capabilities of traditional electric fans by connecting them to nearby Wi-Fi networks. They can be controlled by a proprietary Android/iOS app or using app and voice instructions on Alexa and Google Home. This means that they can connect to Amazon Echo/Echo Dot and Google Home/Nest Mini speakers.
1. Install the Smart Ceiling Fan
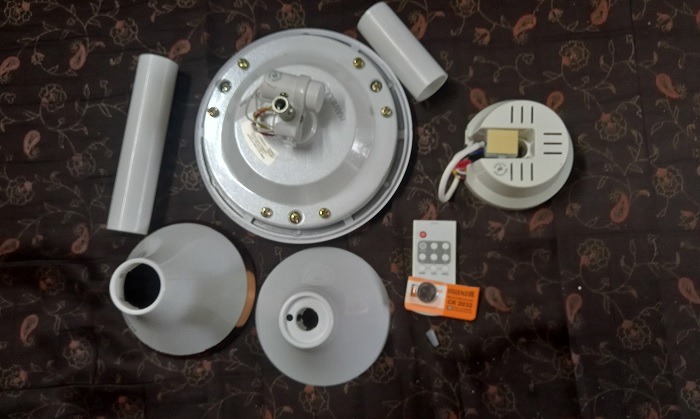
The following is an unassembled smart ceiling fan. It usually has three or four blades (not shown in the picture), remote control, bottom cover, microcontroller, rods, and canopies.
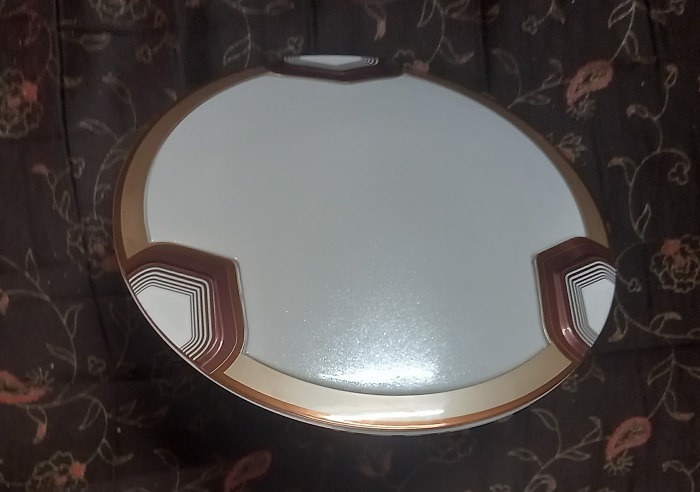
If you look at a ceiling fan from below, its bottom cover is the first visible component. A bottom cover houses the capacitors, rotating components, motors, and other electric parts.
You will also find a microcontroller which contains the temperature and humidity sensors, and other sophisticated electronics such as Wi-Fi modules. A microcontroller might come separate or is fitted within the bottom cover.
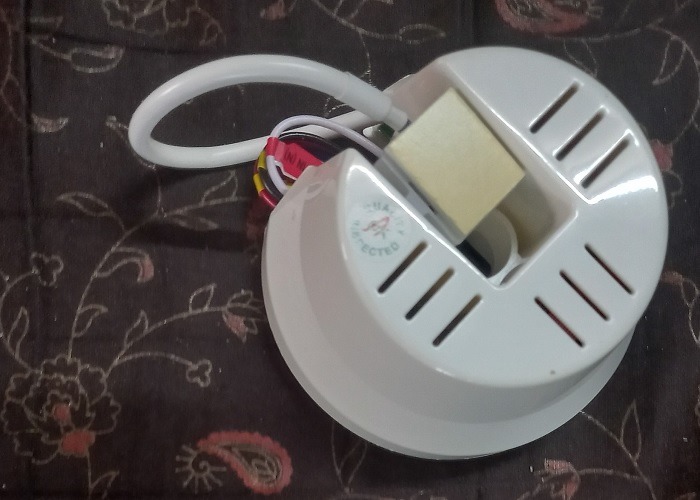
The bottom cover and microcontroller have to be connected in a simple assembly demonstrated below.
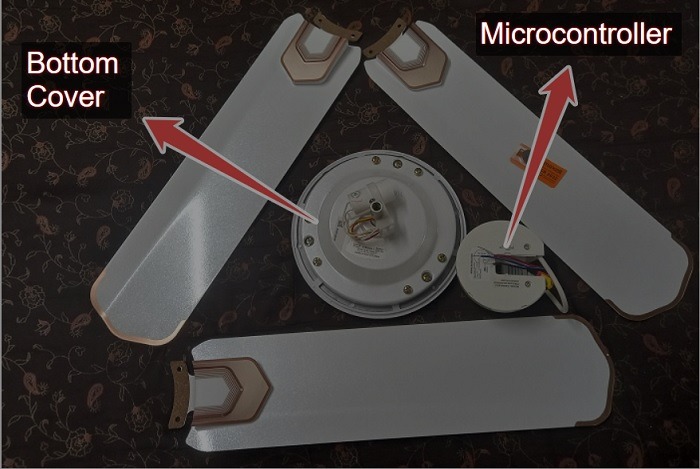
- Connect the fan blades to the bottom cover by screwing in the flanges on each blade.
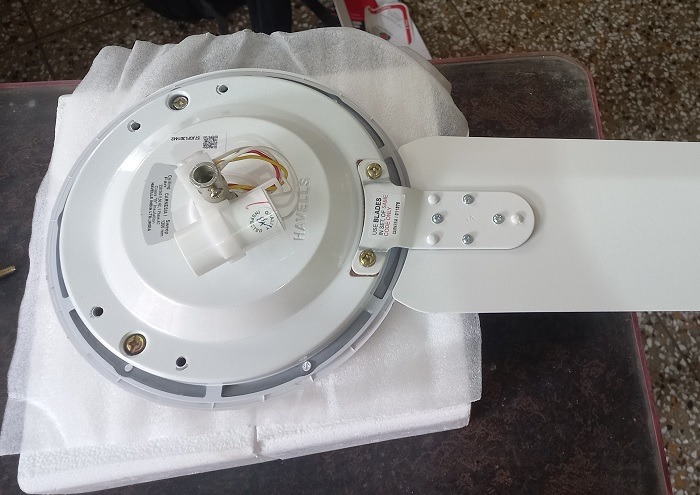
- Insert the rod into a canopy for housing the microcontroller.
- Likewise, integrate a rod and canopy assembly for the bottom cover.
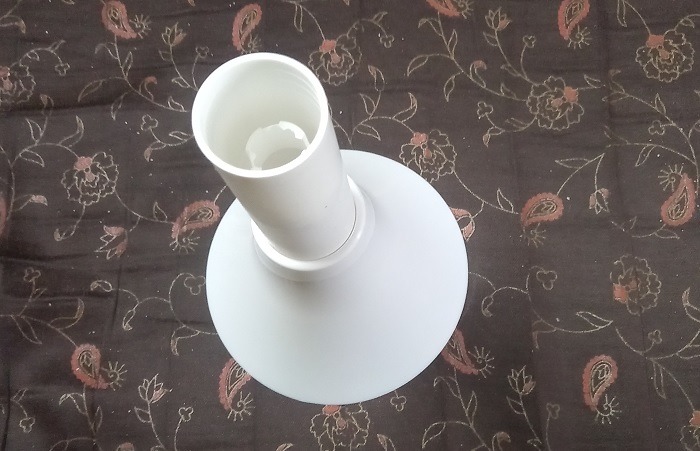
- Once the rod-canopy arrangements are made, pile them on top of one another with the microcontroller on top.
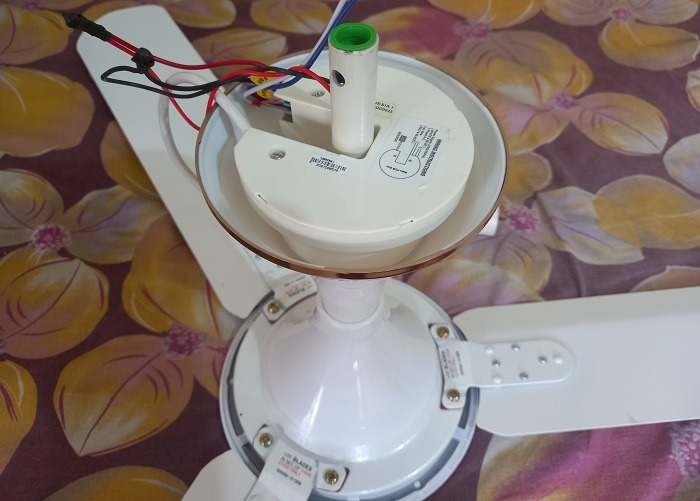
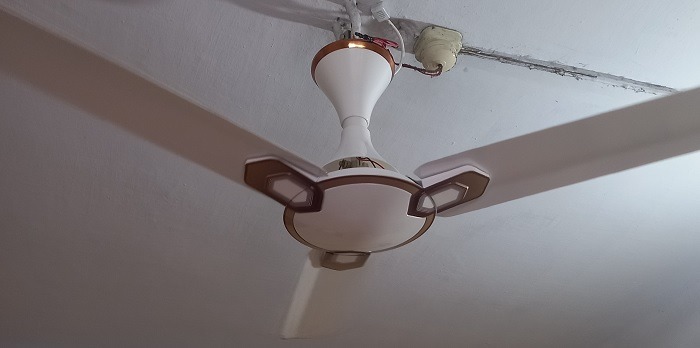
- Connect the top end of the fan assembly to the electrical wiring on the ceiling area.
- Turn the fan on with the remote control to see if it’s working properly. If it isn’t, check the power supply and wiring. Each time a smart fan is turned on or off using a remote, you should hear a “beep” sound.
2. Download and Install Smart Fan Companion App Using Alexa Recommendation
Your fan maker will have an iOS/Android companion app for Wi-Fi controls. If you don’t know the app’s name, Amazon Alexa can identify it (see below section).
- Download the app from Google Play or App Store to your Android phone or tablet, iPhone, or iPad.
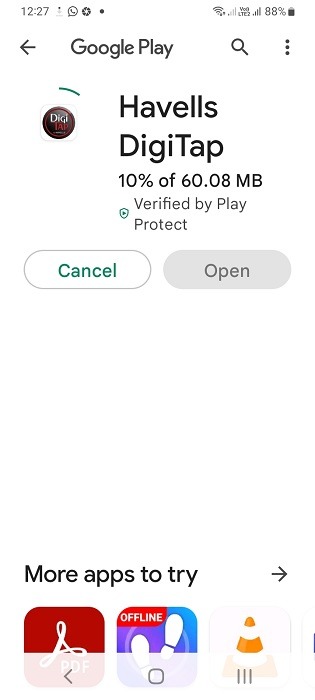
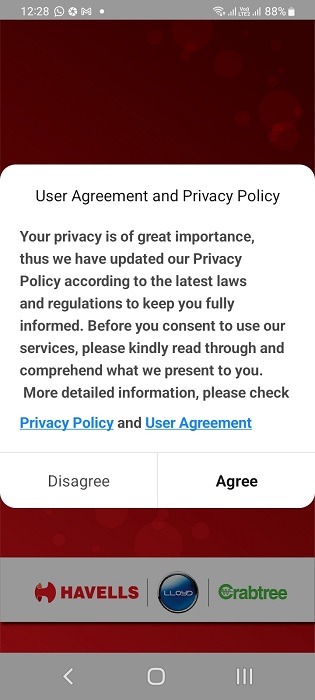
- Consent to any user agreement policies.
- The companion app will have a plus button or something similar to add new devices into the network.
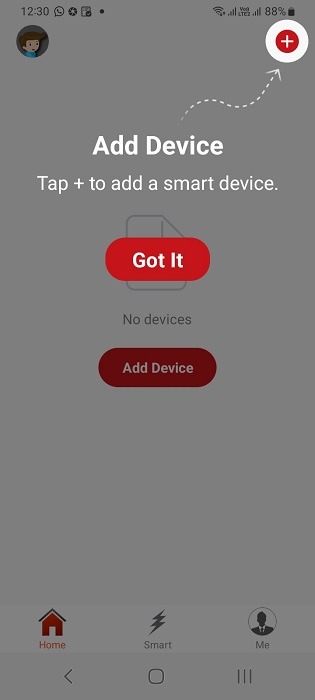
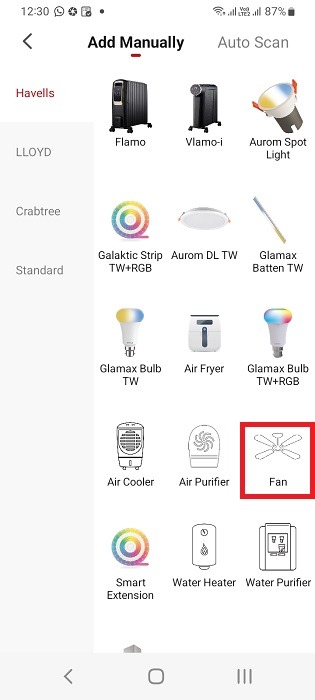
- The companion app may have other devices too. Choose your device category as “fan.”
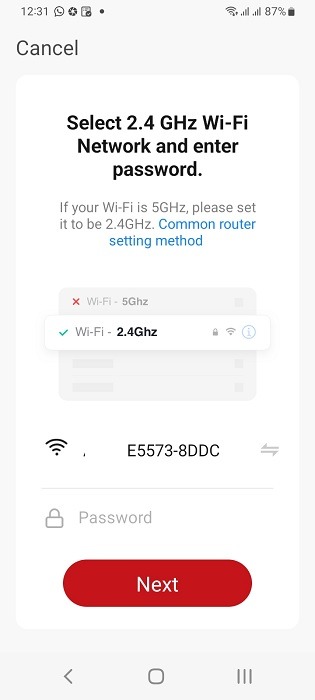
- Select your home’s Wi-Fi network SSID and password, and whether it is a 2.4 GHz or 5 GHz connection.
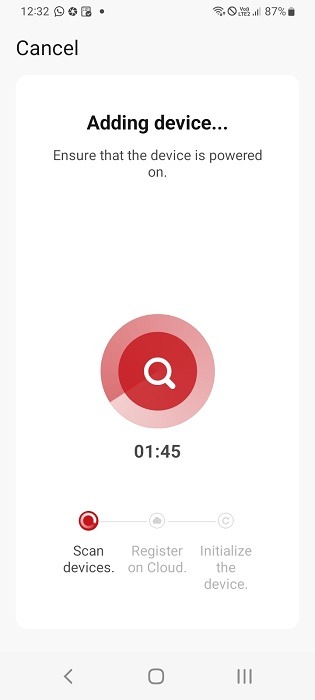
- Wait for the fan to be added to the companion app network.
- You will see a success message once the fan is added successfully.
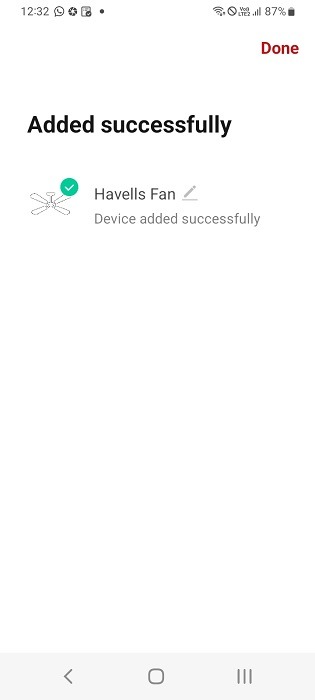
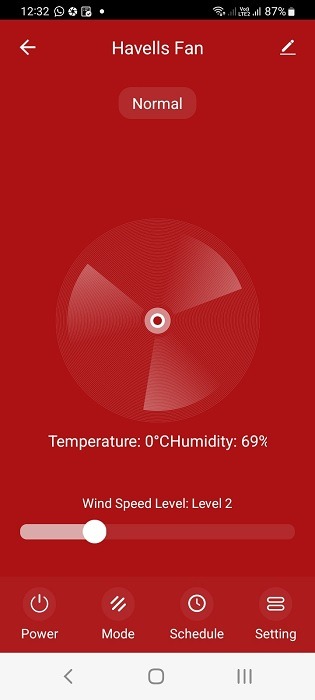
- You can now use a proprietary app on your phone or tablet to control the fan speeds, modes, and power functions.
3. Connect Smart Fan to Amazon Alexa and Echo Speaker
Once the companion app connects to your smart fan, you can extend the connectivity to Amazon Alexa assistant and the Echo/Echo Dot speakers.
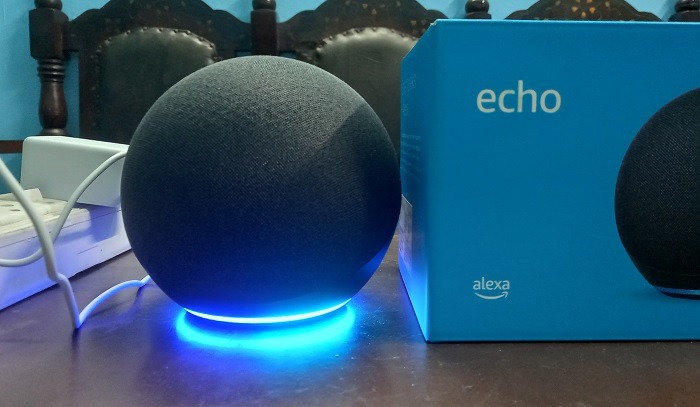
- Turn the Echo speaker on and wait for the lights to turn blue and fade away. This would put the Echo speaker in listening mode.
- From the Alexa app homescreen, use “More -> Add a device” to go to device setup.
- Select “Fan” as the device.
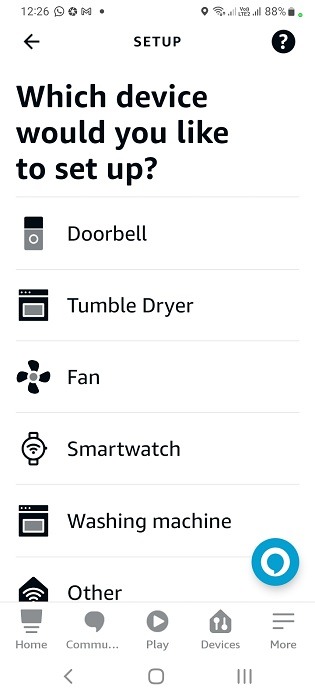
- Choose your fan brand.
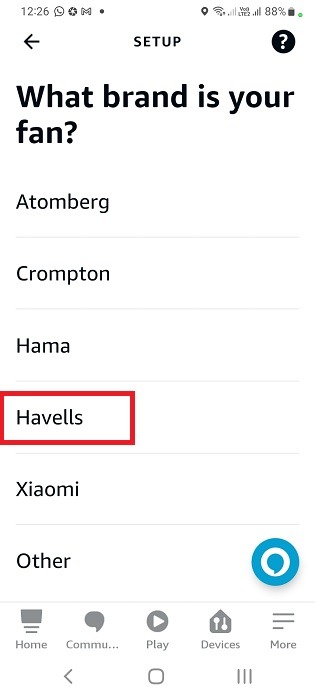
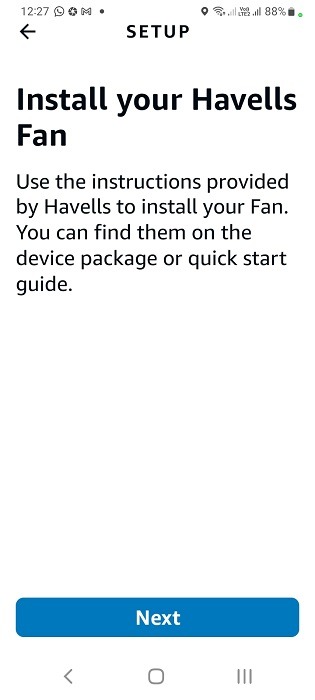
- Alexa will recommend you a fan companion app that must be installed as shown in previous section.
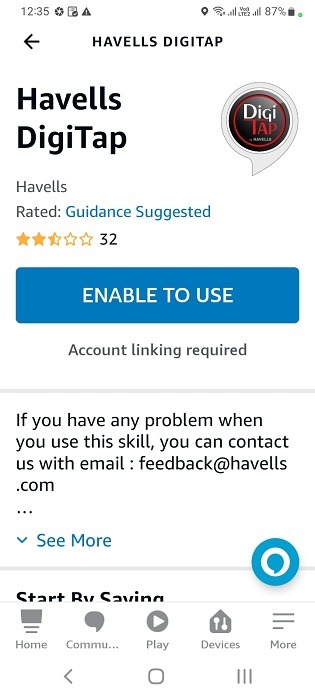
- After installing the companion app and making sure it works, you must enable that app to be used as an Alexa skill. This will require account linking.
- You may need to solve a puzzle or complete other authentication queries to link your Amazon Alexa account with the companion app account.

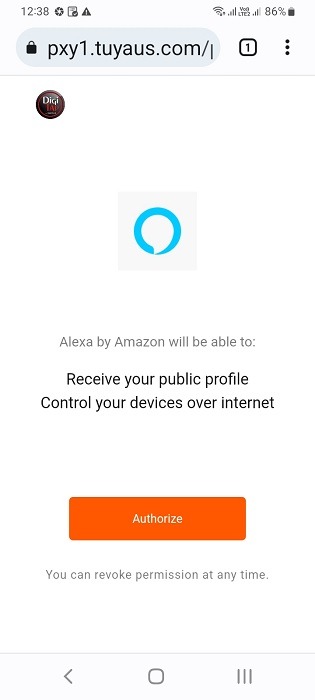
- Authorize Alexa to receive the companion app profile details and connect it to your Alexa account.
- Once the companion app account has been connected to Alexa, you will be asked to discover the fan device (on your Alexa).
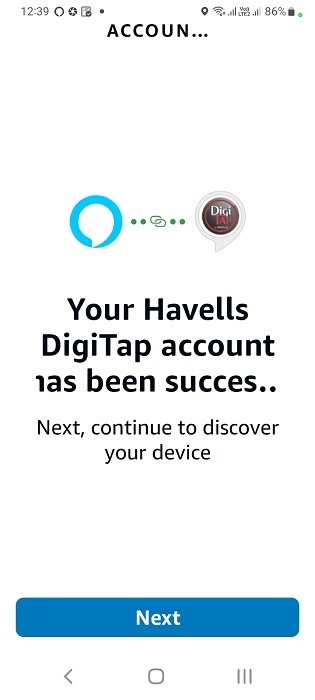
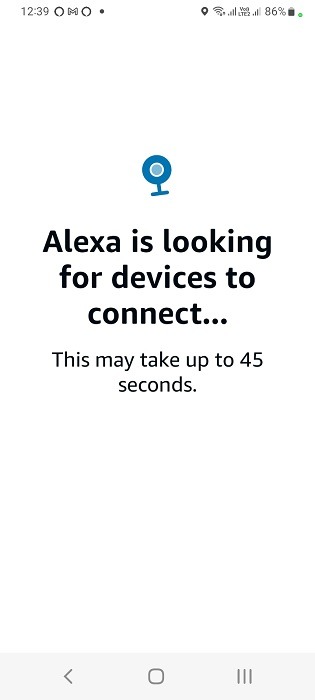
- Wait up to 45 seconds for Alexa to connect to the new device in the network and show it in the app.
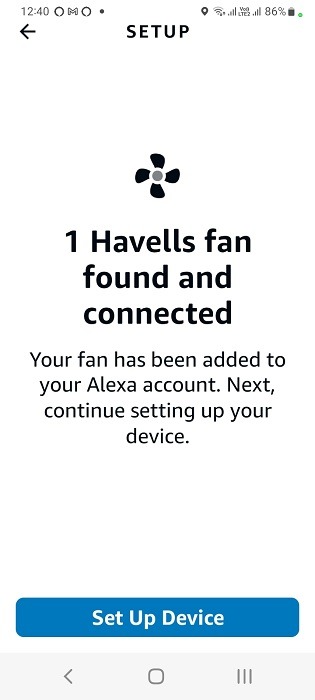
- You will see a success message that the fan has been found and connected to the Alexa app.
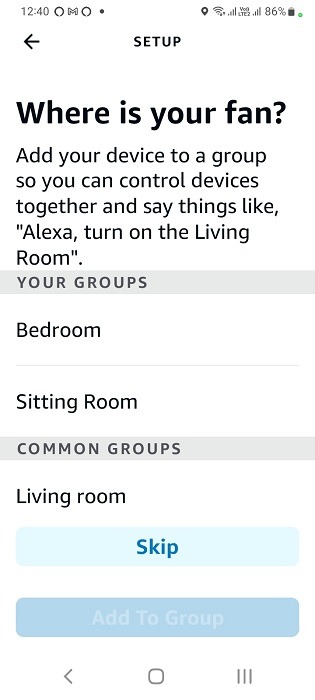
- Identify your fan’s location inside the house, which can be a bedroom, living room, kitchen, or any other room. You can change this later in the app.
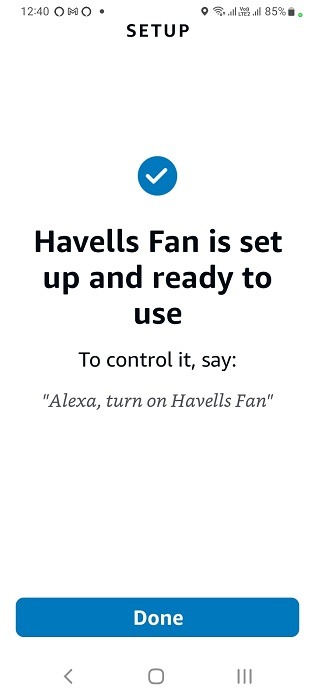
- You should see a message that the smart fan has is set up and ready to be used. It also means that you can use it with the voice commands shared on Echo/Echo Dot speakers.
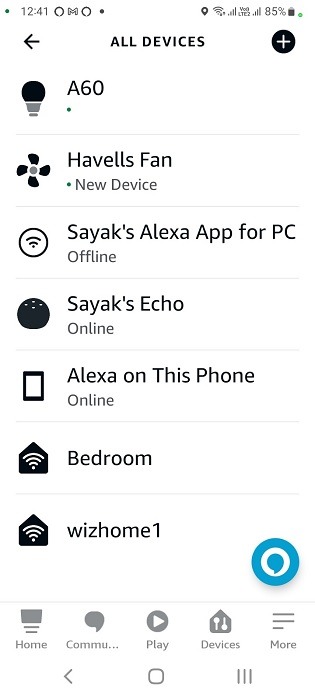
- Check if the fan device is available in a list of devices connected to your Alexa app.
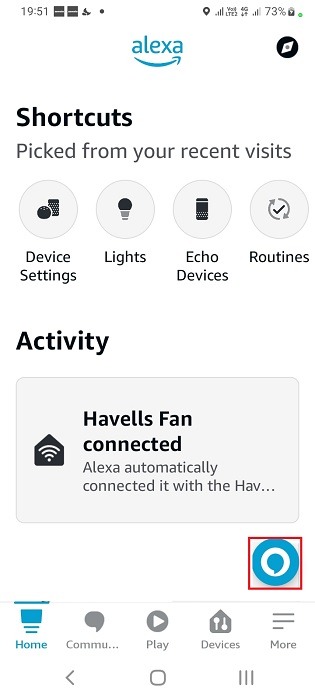
- You can use a voice command such as “Alexa, turn on/off the fan” using the Alexa assistant icon visible on the iOS/Android apps. You don’t need the Echo speaker to be turned on for this.
- Likewise, you can use the Amazon Echo/Echo Dot speakers to turn the fan off or on using simple voice commands such as “Alexa, switch off/on the fan.” Even if the phone or tablet is offline.
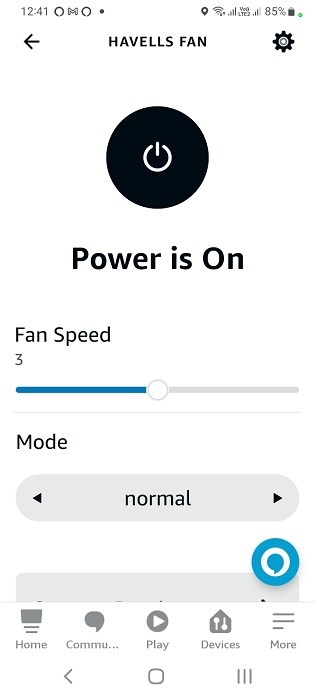
- Using both Alexa app and Amazon Echo speakers, you can switch between different fan speeds and modes such as normal, sleep, smart, and any other provided in the app.
- If you prefer voice commands, say: “Alexa, increase the fan speed to 3,” “Alexa, decrease the fan speed to 2” or “Alexa, change the fan mode to sleep.”
4. Connect Smart Fan to Google Assistant and Google Home Speaker
To connect Google Assistant and Google Home speakers to your smart fan, follow the instructions.
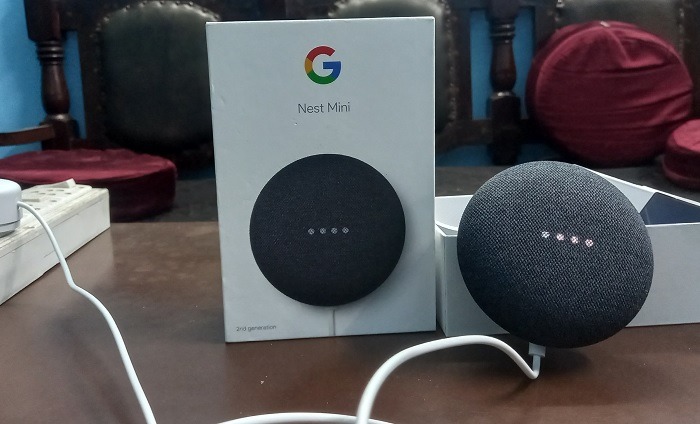
- Power on your Nest Mini/Google Home speakers and wait for the four white lights to show up and fade away. This keeps your Google Assistant speaker in listening mode.
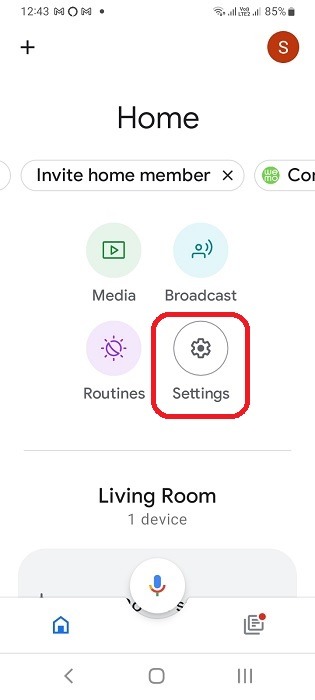
- Go to Google Home app in your Android or iPhone and visit its homescreen page.
- Click the “Settings” gear icon.
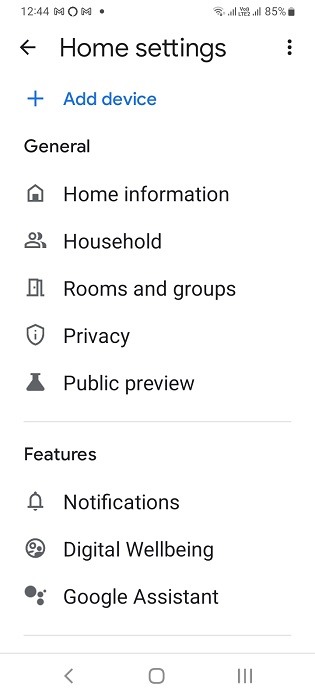
- Click “Add device” in Home settings.
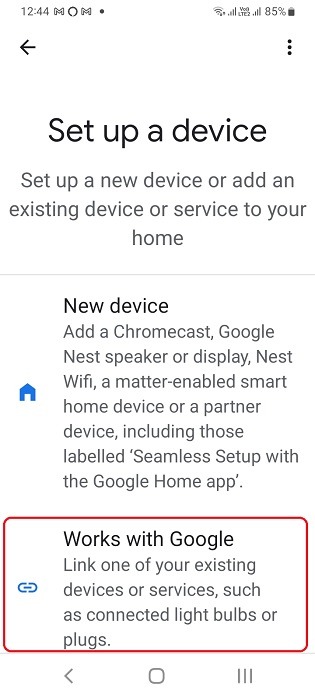
- There are two categories of devices that can be added to Google Assistant: a new device consisting of Chromecast, other Nest speakers, and a few partner apps. The other category consists of devices that display a prominent “Works with Google” label. We need to choose the second category.
- Scroll down to find your smart fan app in Home control.
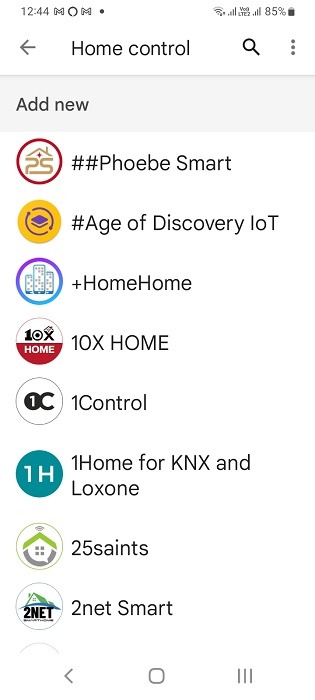
- You can also search for the companion app to select it.

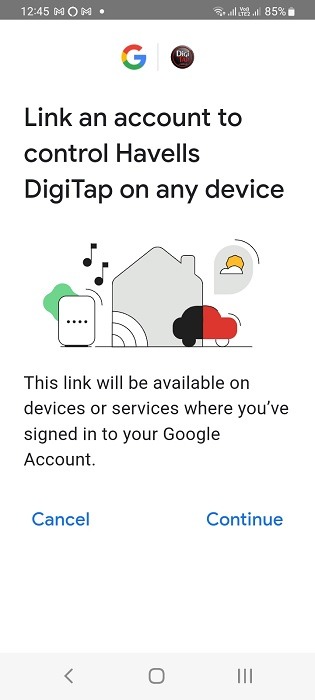
- Press “continue” to link your Google account with the smart fan companion app account.
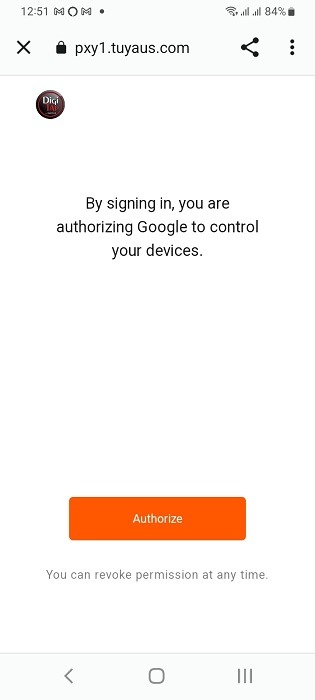
- Complete authentication formalities which authorize Google to control your companion app devices. This requires you to sign into your companion app.
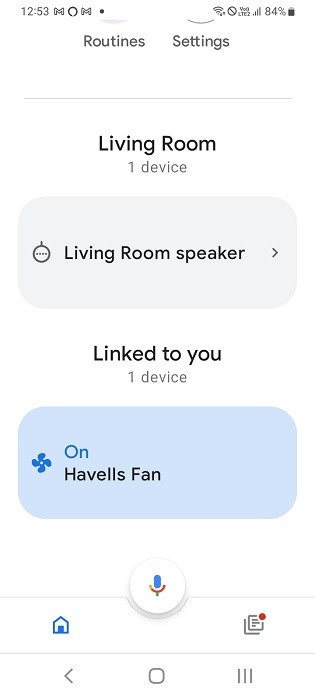
- Once connected, the smart fan should be visible and can be turned on/off from Google Home app homescreen.
- Long press the fan button on Google Home app homescreen. This will take you to another screen where you can control the other settings for the companion app, including unlinking it from Google Assistant.
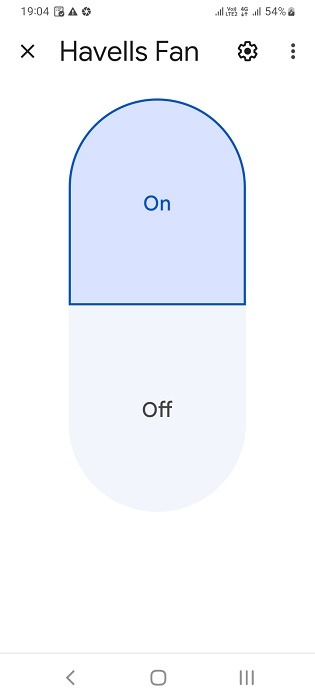
You can now use any of the following voice commands to control the smart fan using Google Assistant, on a Nest Mini/Google Home speaker.
- “Hey Google, turn on the fan.”
- “Hey Google, turn off the fan.”
- “Hey Google, increase the fan speed to 4.”
- “Hey Google, change the fan mode to smart.”
- “Hey Google, unlink the fan app.”
Frequently Asked Questions
How do I convert my normal fan to a smart fan?
To convert a normal fan into a smart fan that runs with Alexa or Google Assistant, find and connect it with a microcontroller assembly which has the required temperature and humidity sensors. However, if you don’t need sophisticated fan controls, just purchase a smart Wi-Fi switch. It will at least turn on and off the fan device.
Are smart ceiling fans worth it?
Smart ceiling fans are a huge improvement over traditional electric fans due to sophisticated sensors that distribute cooled air more evenly across the room. That may help you save energy as you can optimize fan speeds based on ambient weather conditions, such as temperature and relative humidity.
As smart fans can pair with other IoT devices such as a smart bulb or smart air-conditioners, they can operate within predefined schedules and routines. You can switch these fans off or on from outside your home.
What are the disadvantages of smart fans?
At the moment, smart fans cost a lot more than traditional electric fans. They also require continuous access to Wi-Fi to operate smoothly with Alexa or Google Assistant. This can be a problem in locations with poor Internet access. However, you can turn them off or on as needed with regular switches too.
Image Credit: Pexels. All screenshots are by Sayak Boral.
Get the best of IoT Tech Trends delivered right to your inbox!
