
If you are a new Arduino user, you might be interested in a list of commands that are useful for the most important activities. You need them to control the Arduino board and define simple logical operations.
The good thing about Arduino is that you don’t really have to learn much programming. Just invest in an Arduino board kit and install the IDE. Most command examples are readily available in the examples library. If you wish to follow existing reference examples, all you have to do is modify the code a bit and create your own sketches.
The goal of this article is not to present a complete list of cheats but to understand the logic behind the codes. It is important to know how to implement them in any situation.
The Basics
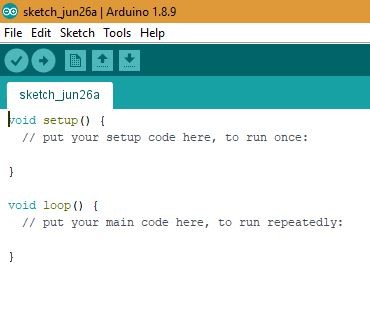
As soon as you open the Arduino IDE, you will be greeted by the setup() and loop() commands. These are the only two examples of “sketches” you will find in almost all Arduino codes.
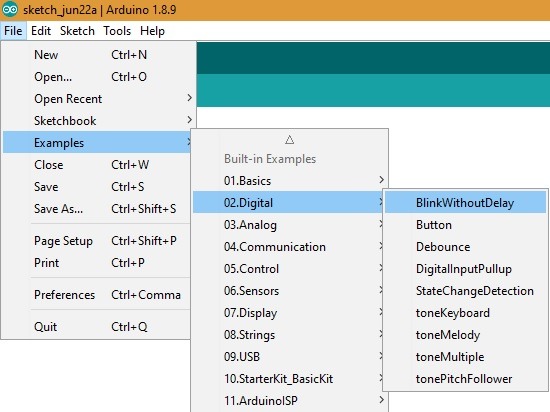
Setup(): every time a sketch starts, there is a setup command which will help you initialize the variables, start using libraries and such. Refer the previous example of digital LED blinking without delay in the article on Arduino IDE installation.
void setup() {
   // set the digital pin as output:
   pinMode(ledPin, OUTPUT);
 }
Loop(): a loop follows setup and is really the heart of the program, making it respond infinitely to any logic. For example, the above example is about LED blinking infinitely without delay.
void loop() {
   // here is where you'd put code that needs to be running all the time.
// check to see if it's time to blink the LED...
}
After you become familiar with the sketches, you need to know the control commands. The most important ones are:
Break: if you want to exit from a command, you need to hit break.
if (sens > threshold) {
    // bail out on sensor detect   x = 0;     break;
}
If or else: logical commands that initiate an action each time a condition is fulfilled. Again, go back to the example of digital LED blinking. Remember the loop() instruction where a code has to run infinitely.
Other useful control commands which can deliver certain logic, and which you might use, include:
- return: return a certain value.
- while: another loop that goes on continuously for a certain condition. For example,
while (dist <3 cm) do something repetitive 200 times) - goto: as the name obviously suggests, this command lets you go to a certain line in the code.
The Booleans and the Arithmetic Operators
Next to sketch and control, you must know some Boolean and arithmetic operators to command the programs.
The operands: is equal to (=), addition (+), subtraction (-), multiplication (*) and division (/).
Advanced operands: is not equal to (!=), less than or equal to (<=), greater than or equal to (>=), remainder (%).
Important Variables
At some point, you need to introduce a few variables to deal with the various logical operations. The important ones are:
HIGH|LOW: This gives the high and low end values of the constants.
// Variables will change:
 int ledState = LOW;
LED_BUILTIN: gives the number of LED pins. In the above example of on-board LED light blinking in Uno, that would be LED pin number 13.
Other important variables to remember include True/False, sizeof(), void, int and string. They follow the same meaning as any other conventional program including Python, C++, etc.
Advanced Functions
Finally, you need to know a few advanced functions that control the Arduino board. These include:
digitalRead(): reads the value from a given digital pin. There is also digitalWrite().
random(): this helps generate random numbers.
Tone() and notone(): do you want a tone sound in your pin? Then this command will take care of that, whereas the notone() will keep things silent.
Delay(): recall the example of LED light blinking. You can introduce a delay into it.
In Summary
The above commands are some of the most useful in dealing with Arduino boards on your IDE. The list is very small and not exhaustive, but it can help you get started with your projects. For details, you need to study the sketches by other Arduino hobbyists to understand what you can learn from them.
Get the best of IoT Tech Trends delivered right to your inbox!


