
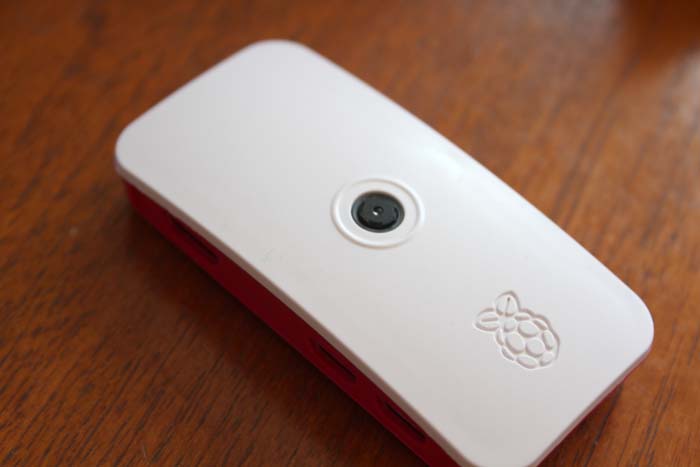
One of the most useful add-ons you can get for the Raspberry Pi single board computer is the official Raspberry Pi camera module. This was recently upgraded to a new improved version and, long story short, while it was worth waiting for the extra still image resolution and efficient new design, little else has changed from a technical standpoint.
But how do you use it? In this article you’ll be taken through everything from unboxing to setting up your own remote camera.
Attaching the Camera Module
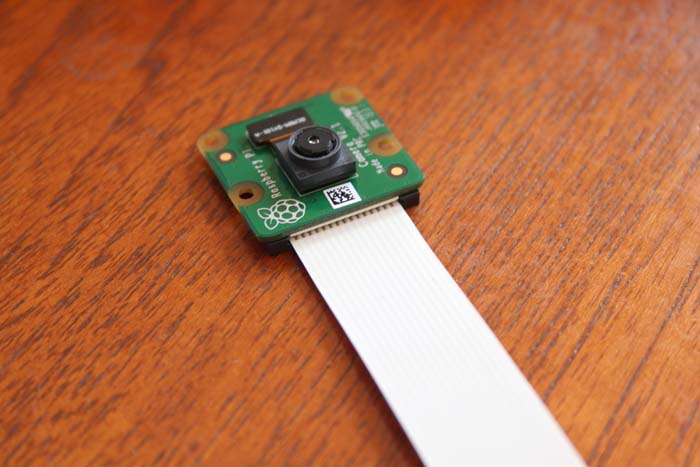
Inside the box you get the camera and a flat flexible cable (or FFC). For your convenience and comfort, the cable is already inserted into the camera end, but this is actually removable should you need to change it for an adapter cable. More about that later when we talk about Raspberry Pi Zero.
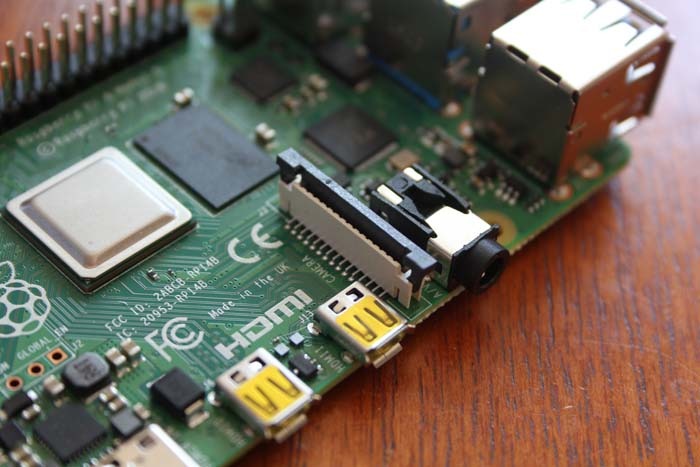
The first step to attaching the camera is to find the camera port. This is an FFC connector marked CAMERA between the Audio jack and the HDMI port(s) on the larger Pi boards.
First you have to raise the lock on the connector, which when closed traps the ribbon in the slot so it won’t come out. Use a fingernail or a micro screwdriver to gently raise both sides of the lock. It should come up on both sides with a definite snap.
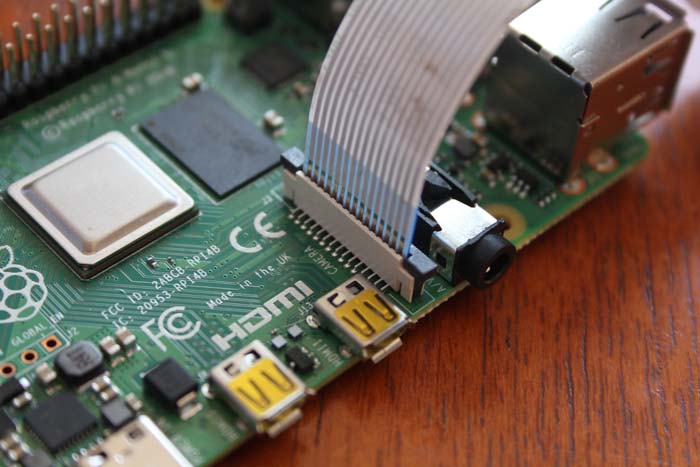
Inserting the ribbon cable (blue side toward the audio jack) can be a little fiddly as you have to insert the cable but not bend it. The force required to insert it is not huge, but you do have to make sure that enough of the metal contacts on the shiny side are inside the connector before you close the lock and trap the cable inside. Once that’s done, the hardware is installed.
Also read:8 IoT Projects You Can Do Yourself on a Raspberry Pi
Using with Pi Zero
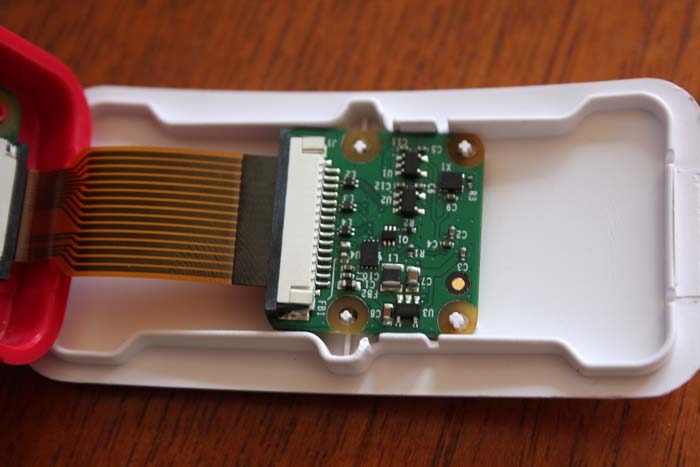
Fitting a camera module to a Pi Zero is a little more complex. First of all, the FFC connector (located on the end of the board on a Pi Zero) is narrower than the standard connector on the larger boards. In order to fit a camera, you have to use an adapter cable.

Generally, these are quite short because the camera needs to fit inside a Zero case, and these tend to be very petite. In fact, the official Pi Zero case set comes with alternate lids, one of which is a mounting point for the camera and a hole so the camera can protrude.
It also comes with the adapter cable, which is the perfect length so the camera can fold over and fit perfectly in the hole in the lid. The lid contains locating pins to securely hold the camera in place when the lid is closed.
The only other hardware setup you need to do with either RasPi board is to focus the lens. It may be preset at the factory to 1 to 2m, so your photos of distant objects will be soft if you don’t take some test shots and adjust the focus with a pair of tweezers.
Taking Pictures
Before you can use the hardware, you have to make sure that the camera software is up to date and you have activated the camera module in the RasPi settings. If the camera is not shown in the settings, run the following in terminal to update the software:
sudo apt-get update
sudo apt-get upgrade
When these have completed (entering your password when prompted), you can run the configuration program with:
sudo raspi-configSelect the camera option and enable it, then reboot the Pi to apply the changes. You are then ready to take some photos.
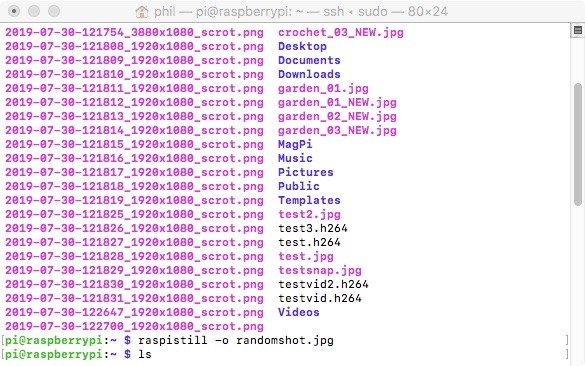
The simplest way of doing this is with the Terminal. The syntax is:
raspistill -o <path and filename>.jpg
Once you press return, you will see a preview window with a live feed from the camera. After a few seconds to allow you to frame the shot, the picture will be taken and saved to the filename and path you specified.
The -o flag is for output. There are some other flags you can use. In most circumstances, you can go with the defaults and be perfectly happy, but it’s good to know you can tweak things for better images if you need to. I’ll give some specific examples in a moment, but to give you a flavour of what’s available, here are some of the most common control options:
-fsets the preview window to full screen-nturns the preview window off (pointless having it on if the camera is fixed or you are working headerless)-esets the encoding to use for output file. Options are jpg, bmp, gif, and png. Default is jpg.-shsets the image sharpness (in the range of -100 to 100)-cosets the contrast of the image (in the range of -100 to 100). 0 is the default.-brsets the brightness of the image. 50 is the default. 0 is black, 100 is white.-sasets colour saturation between -100 and 100. Default is 0.-exallows you to set the exposure mode appropriate to your scene. Default is auto, but you can set modes like night, sports, snow, beach etc.-awblets you customise the Automatic White Balance (AWB) mode: valid options include sun, cloud, shade, tungsten etc. Light has different colours: outdoor light is more blue, and indoor light is more orange. (We don’t detect this in life because unlike cameras, our eyes are very good at auto white balance.)
Also there is a range of really fun special effects built into the software. If you use the -ifx flag, you can use options like negative, solarise, posterise, oilpaint and sketch. As you can see, it’s not just a simple camera, it’s a full-featured modern camera with all mod cons.
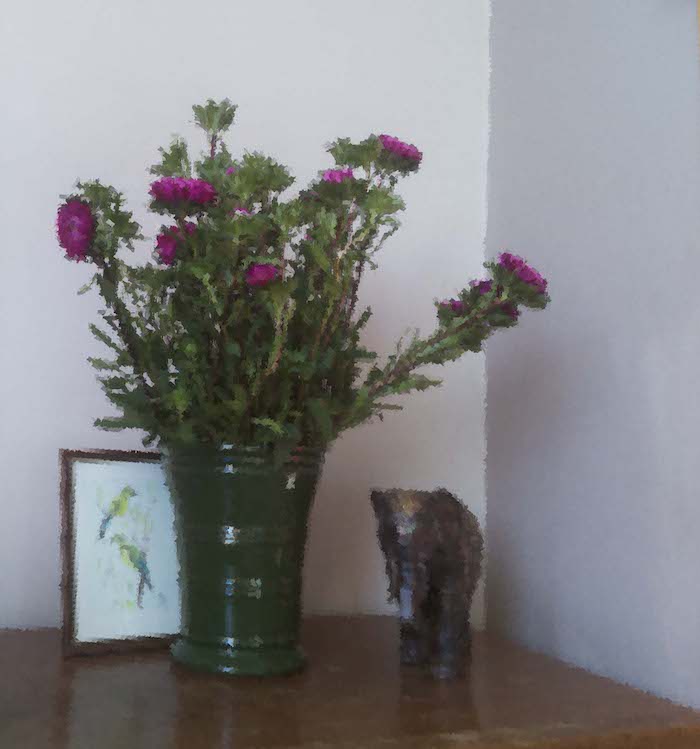
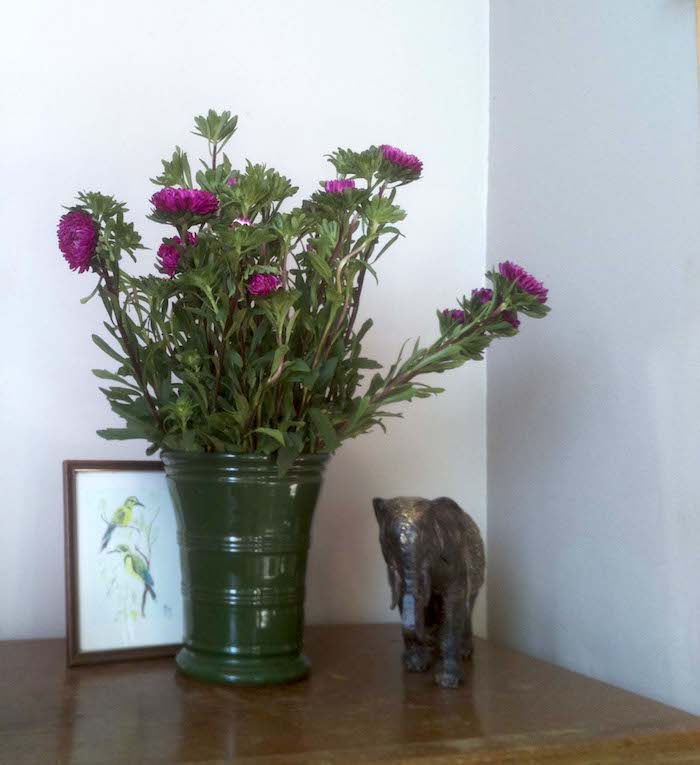
So, for example, you could type any of the following:
raspistill -ifx oilpaint -e png -o MTE_oilpainting.png
raspistill -n -ifx negative -e bmp -o MTE_negative_nopreview.bmp
raspistill -br 65 -ifx watercolour -sh 25 -o MTE_sharpened_watercolour_brighter.jpg
raspistill -sh 50 -awb tungsten -o MTE_sharpened_indoor_picture.jpg
and so on.

There are lots of modes in the camera, so it’s worth delving into this with the documentation and experimenting with the different modes. They put more in this board than you’ll ever really practically use.

Obviously, as well as typing in these lines manually for single shots, you can program Python scripts to automatically take a shot at intervals if you want your Pi camera to be a security device.
Moving Pictures
The basic method of taking video footage with the Pi camera is with this syntax:
raspivid -o <filename>.h264 -t <time in milliseconds>
Clearly, -o performs the same function as it does with stills, but you have a new option on the end, the amount of time you want the video to shoot for. There’s 1000 milliseconds every second, so for 10 seconds you would type:
raspivid -o MTE_10second_video.h264 -t 10000
All of the still picture adjustments and special effects option flags will work with video, too, so you can set the brightness and contrast and make it look like an oilpainting too. There are also advanced options, and pretty much every aspect of the camera – image size, quality, exposure, colour temperature, timelapse etc. – can be adjusted.
Practical Use
The first problem you encounter when you try to take photographs with the Pi is that it’s not really a snapshot camera. There is no viewfinder or shutter button. So its uses are going to be static and probably what you call “headerless,” that is to say no live monitor to view your images. You are basically going to set it up, write a python script to detect movement and take video or pictures and store them either on the Pi or send them down the network to a server.
However, having a headerless camera/computer in your house (however clever your scripting) is hard to control or maintain unless you have SSH access to the Pi. You can set up SSH access quite simply by enabling SSH in raspi-config. Enter
sudo raspi-configin a terminal window and select Interfacing Options. Navigate to and select SSH. Choose Yes, OK, then Finish. After rebooting the Pi (just to be sure), you can port into the Pi via SSH and control it remotely by opening a terminal window on your laptop and typing:
ssh pi@raspberrypi
(You may have to prefix sudo if your security permissions are set high, and make sure your Pi is on the same network as your desktop/laptop.)
You will have to put in the Pi password, but then it will present you with a Pi prompt, as if you are typing directly into the terminal on the Pi. Now you can check that the Pi is still working or take pictures and video remotely by typing into the your laptop Terminal, wherever the camera might be, without being tethered to a monitor. Or you can copy pictures being produced by the camera to a location where you can view them. You have full remote control of the Pi.
There’s a lot more that you can do with scripting and installing in waterproof housings, etc., but I’ll save that for another time.
That’s the get-you-started basics on everything you need to know about fitting a camera to your Raspberry Pi. If you want all the data about the settings and flags for all the extended camera commands beyond the default, then all of these are detailed in the official documentation.
As usual, if you have any comments or questions, please let us know in the comment section below.


