
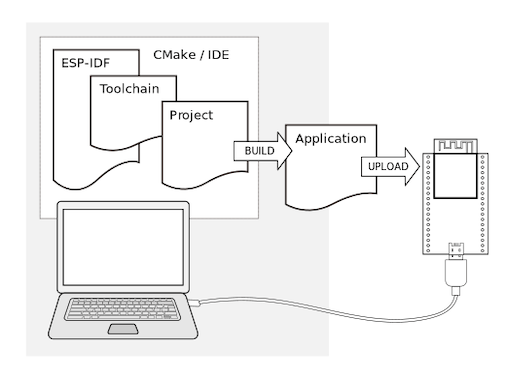
Espressif’s IoT Development Framework (ESP-IDF) is the native software development framework for the ESP-32. It contains software libraries and source code in an application program interface for ESP32 and scripts to operate the Toolchain. ESP-IDF gives a classy approach to writing a program with its Command Line Interface (CLI). In this tutorial, we show you how to set up the ESP-IDF on Windows.
ESP-IDF is compatible with following boards of Espressif Systems:
- ESP32-DevKitC
- ESP-WROVER-KIT
- ESP32-PICO-KIT
- ESP32-Ethernet-Kit
- ESP32-DevKit-S(-R)
- ESP32-PICO-KIT-1
- ESP32-PICO-DevKitM-2
- ESP32-DevKitM-1
Prerequisites Before Getting Started
- An ESP32 board
- USB cable – USB A to micro USB B
- A computer running Windows
Note: only 64-bit versions of Windows are supported.
You have a choice to either download and install the following software manually:
- Toolchain to compile code for ESP32
- Build tools – CMake and Ninja to build a full application for ESP32
- ESP-IDF containing API for ESP32 and scripts to operate the Toolchain
Or get through the onboarding process using the following official plugins for integrated development environments (IDE)
- Eclipse Plugin
- VS Code Extension
Installing ESP-IDF
Download the ESP-IDF Tools Installer here. You can choose either Online Installer or Offline installer, whichever you prefer. Online Installer is smaller (3.1MB) and allows the installation of all available releases of ESP-IDF. The installer will download only necessary dependencies, including Git for Windows, during the installation process.
Offline Installer (1.2 GB) does not require any network connection. The installer contains all required dependencies, including Git for Windows.
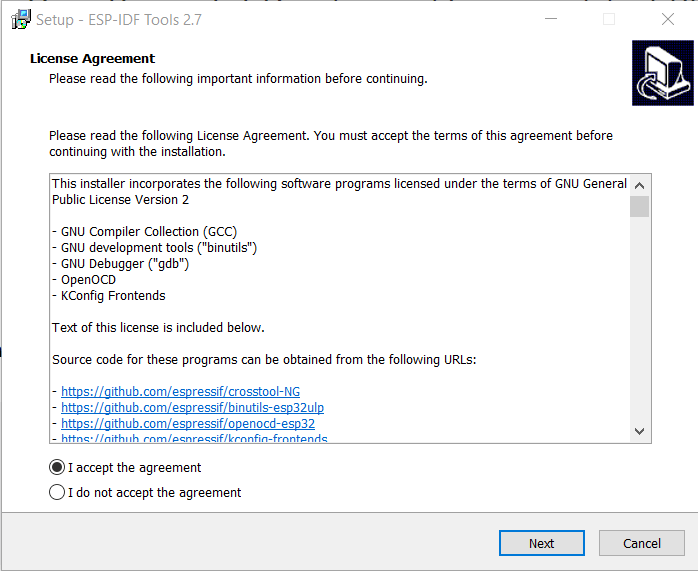
In this article, we use the online installer for further demonstration. Once you download the installer, read and accept the license agreement, then click on the “Next” button.
The setup will perform a pre-installation check on your system. You will see this process in a window where the installation process is taking place. Click on the “Next” button to proceed further once the pre-installation check is done.
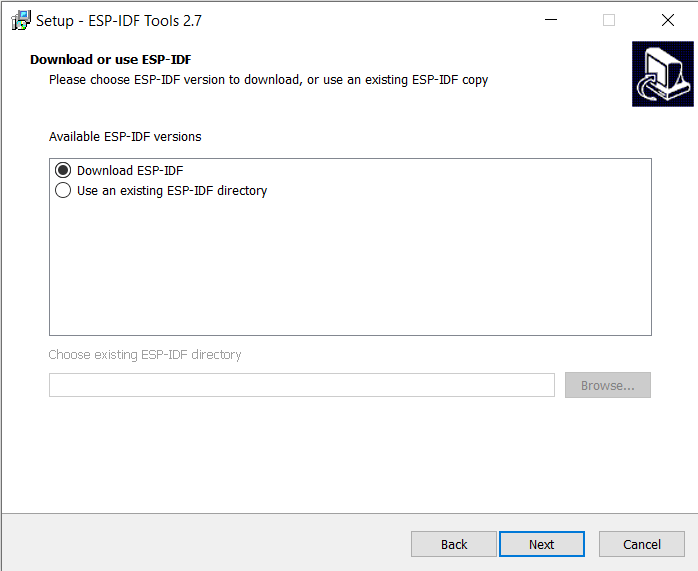
Select the “Download ESP-IDF” option, then click on the “Next” button. You can refer to the below image for the same. Additionally, the setup itself provides the option to download and install recommended Python and Git versions during the installation procedure, in case the dependencies are not present on your local machine. If prompted, allow the installation of embedded Python 3.8.7 or greater and Git version 2.30.1 or greater.
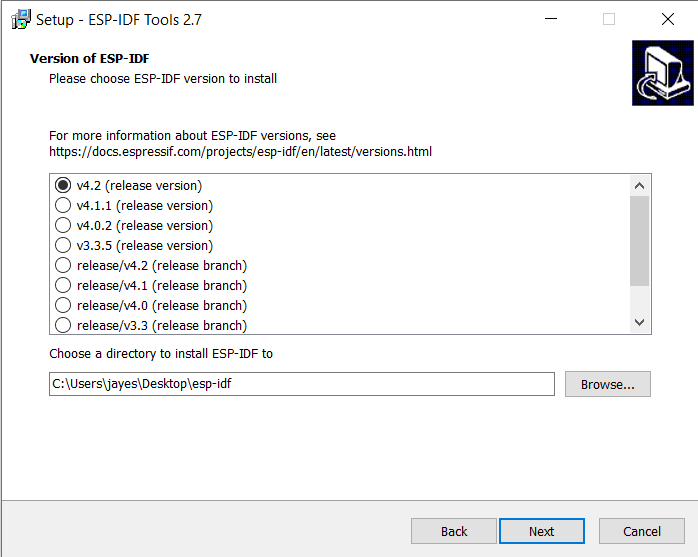
Now, select an appropriate build version with a proper path for installation. Click on the “Next” button to select the location to install the toolchain.
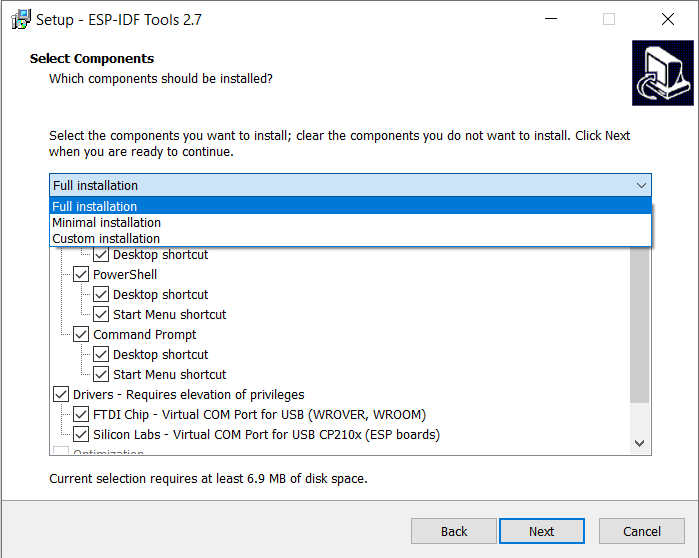
You will see a “Select Components” window on your screen. Select the type of installation according to your choice and set your preferences to proceed further.
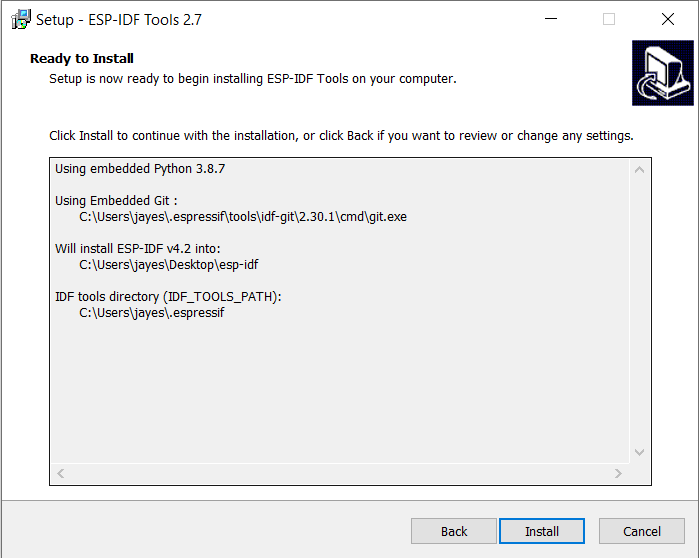
Please note that at least 8.5 MB of free disk space is required for the setup files. Also, the online setup will download additional files of around 979.62 MB during the installation process. The size is may vary depending on the installation preferences set by you. You will see a summary of things for installation, as you can see in the below image. Confirm the choices you made during the process and click on the “Install” button.
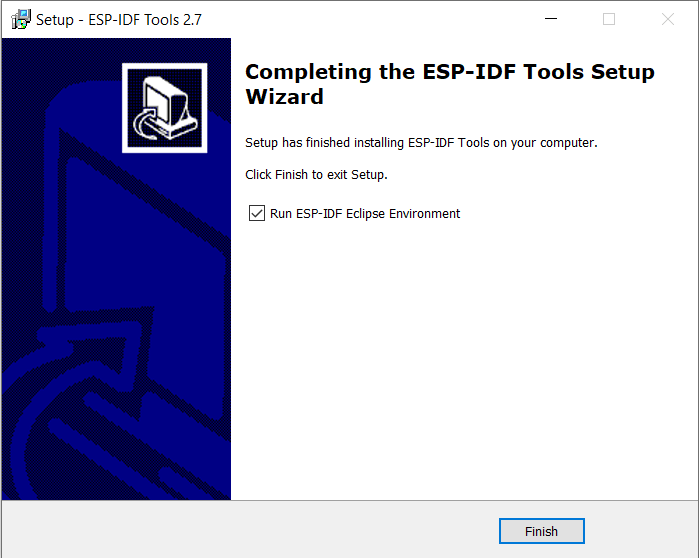
The installation process may take some time. Click on the “Finish” button once the installation process is over. You can deselect the “Run ESP-IDF Eclipse Environment” option before clicking the “Finish” button if you don’t want to launch the program immediately.
Setting Up the Programming Environment
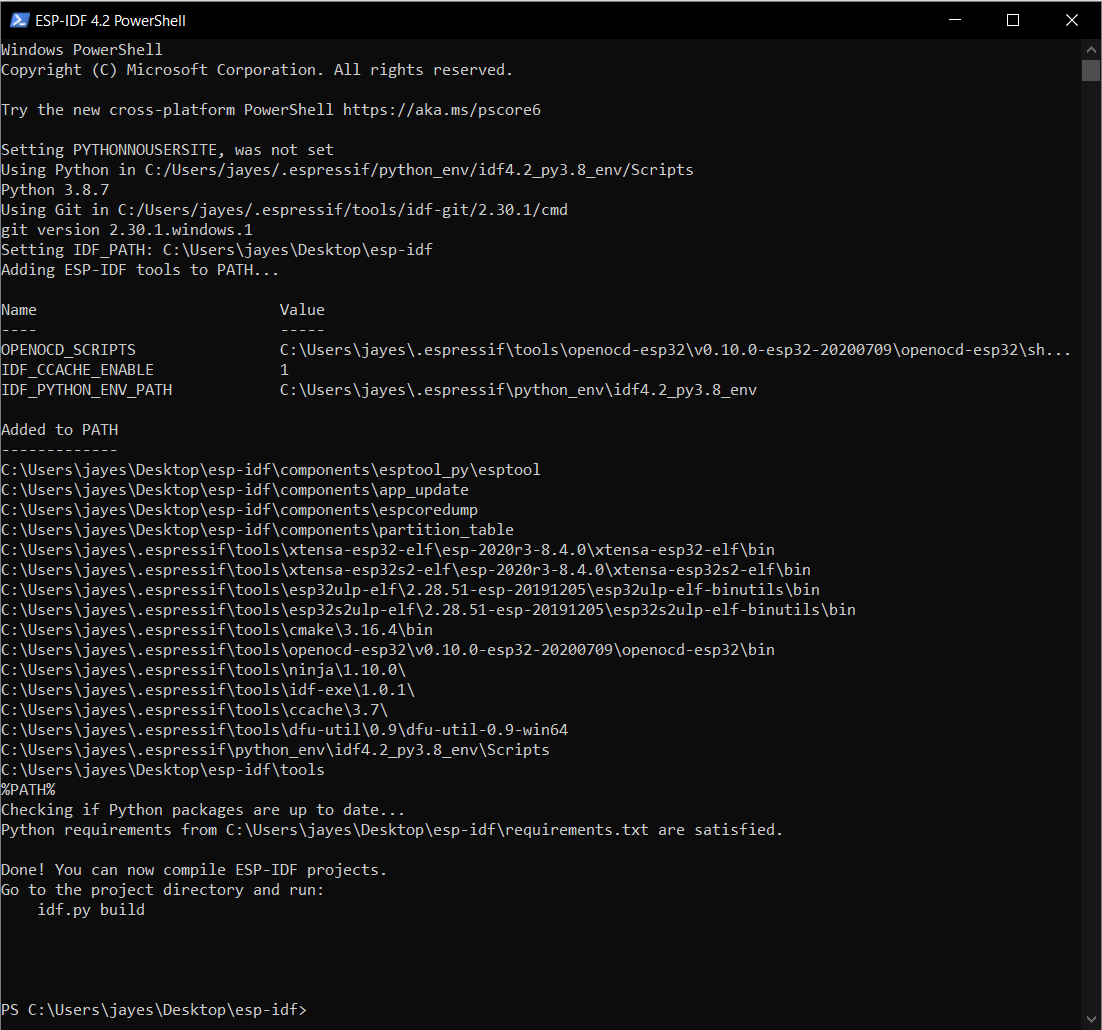
Once the installation is complete, you can choose between the “ESP-IDF PowerShell Environment” or the “ESP-IDF Command Prompt (cmd.exe) Environment.”
The following is the ESP-IDF 4.2 PowerShell Environment.
For the remaining steps in this tutorial, we we use the Command Prompt Environment.
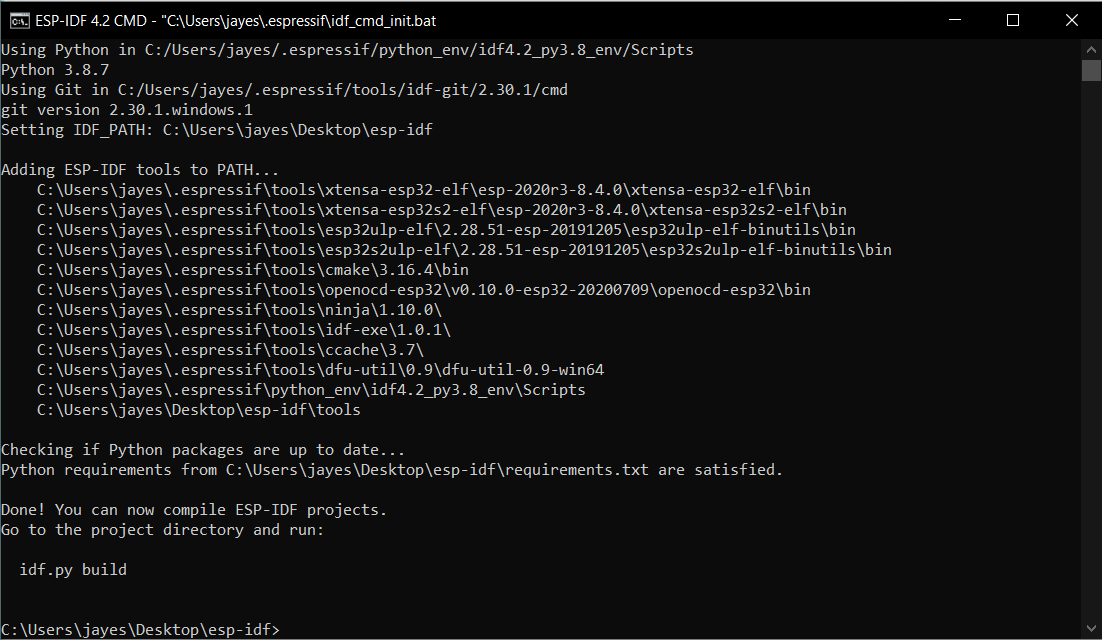
To build with the framework, run “ESP-IDF 4.2 CMD” from the start menu. ESP-IDF 4.2 CMD will have all the necessary environment variables.
When ESP-IDF 4.2 CMD is launched, the environment is set up automatically with all the tools added to proper paths.
Running the Hello World Program with ESP-IDF
Assuming you are in the ESP-IDF directory, change the directory using cd, then navigate to the desired directory.
Copy the Hello World program files from the program directory to the current directory using the xcopy /e /i %IDF_PATH%\examples\get-started\hello_world hello_world command.
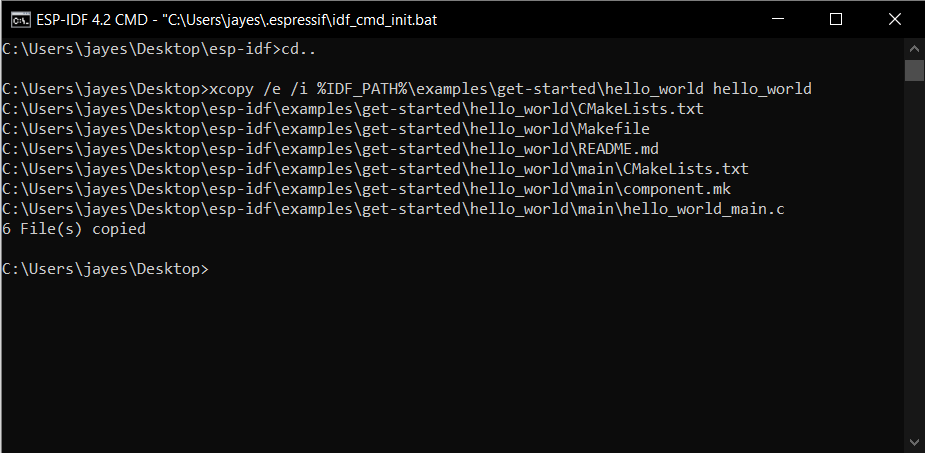
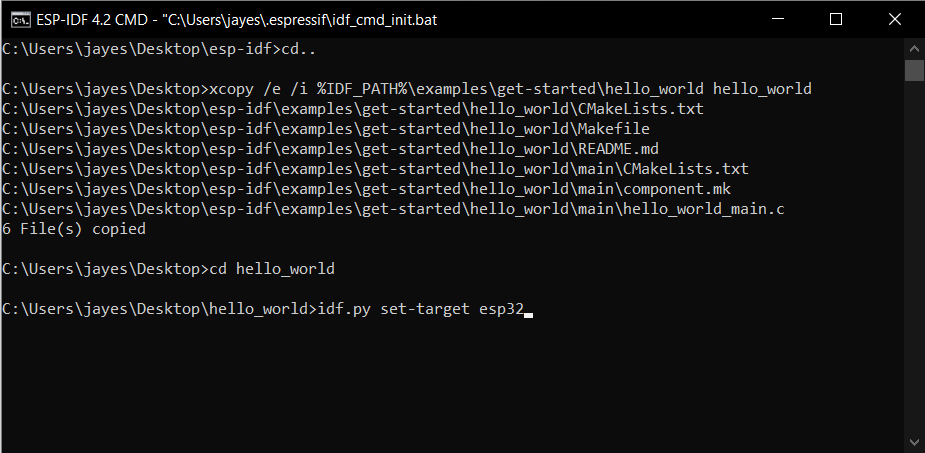
Now, change the directory to get into the newly made hello world folder.
Instruct the compiler to run the code with the command idf.py set-target esp32. You can refer to the below image.
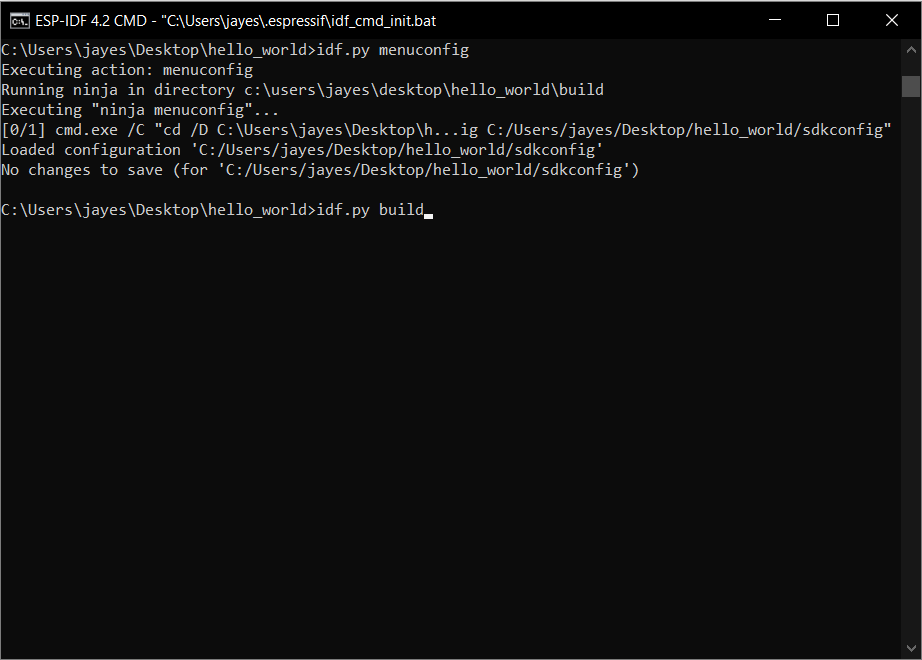
Now run the configuration using theidf.py menuconfig command. You will see the executing action of “menuconfig,” and it will run a ninja operation in the build directory.

You can play around with the Menu Config window. After exploring, leave the settings as default, press S to save, and Esc to leave the configuration.
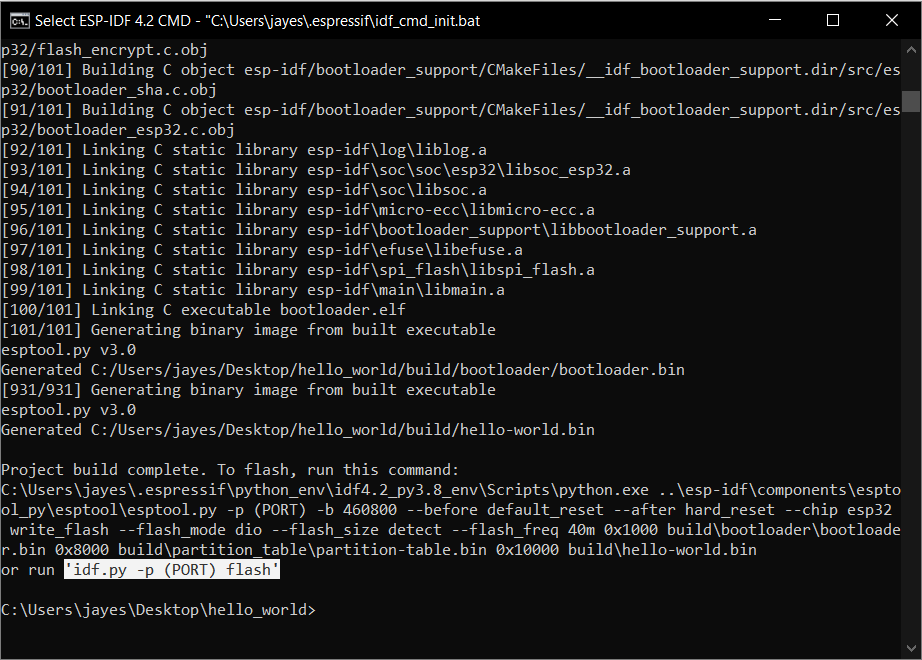
Now, build the code using the idf.py build command.
Once the build process is complete, the ESP32 can now be flashed using the command idf.py -p (PORT) flash.
You can find the port name from the device manager after connecting the ESP32 via USB and installing proper drivers.
Before flashing, don’t forget to put the ESP32 in programming mode by long-pressing the boot button and simultaneously pressing the reset button once, then releasing the boot button.
In this way, the ESP-IDF for ESP32 Boards was completely configured with the installation of ESP-IDF 4.2 CMD Environment and the setting of tools in proper paths, necessary environment variables, the addition of toolchains, and building/flashing of the Hello World program.
Coding in ESP-IDF provides an insight into the inner workings of the code and the nuances in the flow structure, unlike Eclipse IDE for ESP and VS Code Extension, which has an IDE built to simplify the coding experience. Also, troubleshooting and debugging are easy as we follow a line-by-line or command-by-command approach in the coding procedure. If you don’t want to work with ESP-IDF and still want to use the ESP boards, follow this tutorial for working with the ESP32-WROOM board on Arduino IDE.
Get the best of IoT Tech Trends delivered right to your inbox!


