
First released in 2013, Kali Linux is a Debian-based security program by Offensive Security. If you are an ethical hacker, you may have come across this Linux distribution, as it is considered one of the most advanced tools for penetration testing.
While there are many hacking tutorials online, the information security legacy of this Linux distribution is proving to be real handy in IoT security.
To start using Kali Linux, you have to learn to install it in your system or removable media. We will discuss both methods here.
Mac users can install the program on their hard disks. Note that for pre-2012 hardware, you have to burn it on a DVD, and USB booting may not work without rEFInd installed.
Installation Method 1: Run on a Windows Machine without Dual Boot
It is very easy to run Kali Linux on a Windows 10 machine, and you don’t need to use the ISO file or deal with dual-boot issues. Microsoft Store supports the installation through a subsystem for Linux which has to be first installed as shown here.
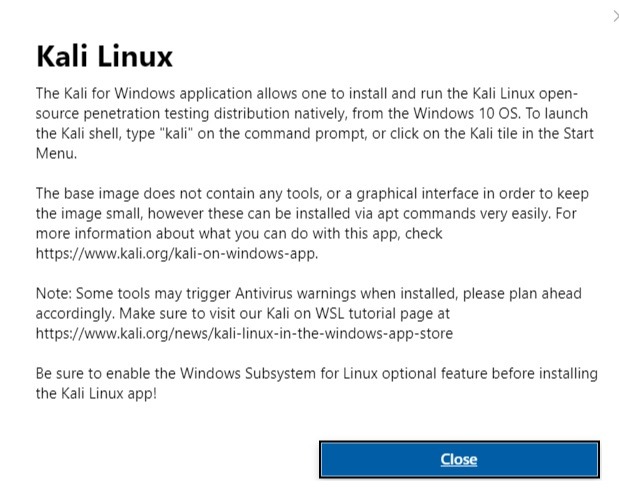
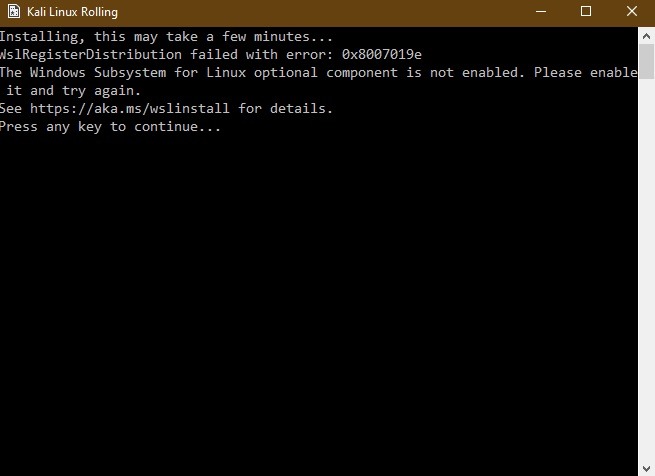
Initially, you may encounter an error if the Windows subsystem for Linux is not installed. It is no trouble to get it, as you only have to visit the link shown in the error screen for further guidance.
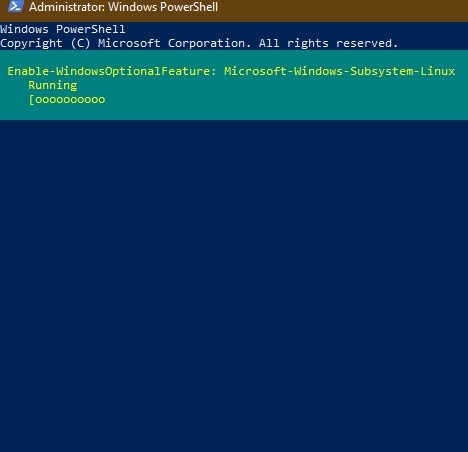
To install Kali Linux, run your Windows PowerShell as an administrator and insert the following command:
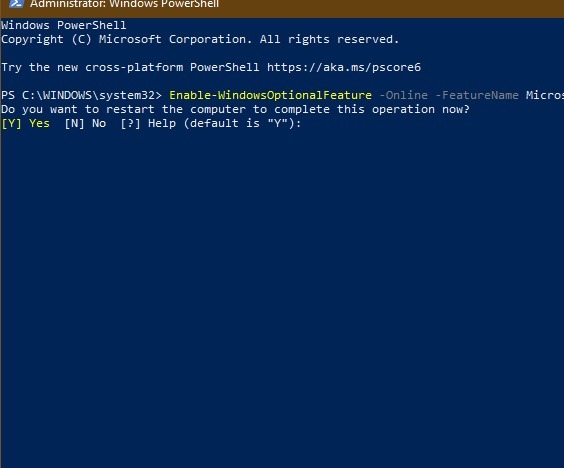
Enable-WindowsOptionalFeature -Online -FeatureName Microsoft-Windows-Subsystem-Linux
After it prompts you, click “Y” to restart your computer. This will install the Windows subsystem for Linux.
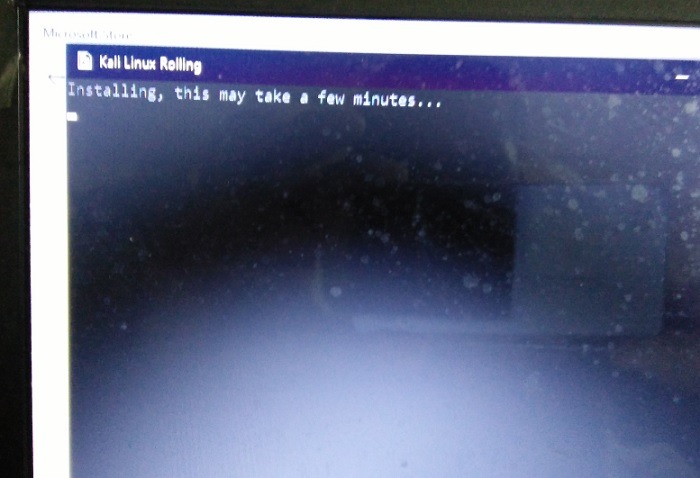
In the meantime, you will also have installed Kali Linux from Microsoft Store. The application is run from the command terminal.
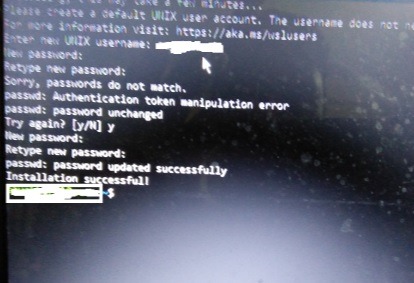
In the next step you will be asked to create a UNIX username and password. Once you do this, you will see an “installation successful” message.
Installation Method 2: Make a Kali Bootable USB Drive
You might want to make a Kali bootable USB drive, as it’s non-destructive and portable. Before you do it, download and install BalenaEtcher on your computer. It’s an excellent program to flash images on SD cards and USB drives.

Next, you will need a verified copy of the appropriate ISO image of the latest Kali build image. This will be installed for the system you’ll be running it on, as well as a USB drive to boot it from. The downloads are supported for Windows, Linux, and macOS on the official website.
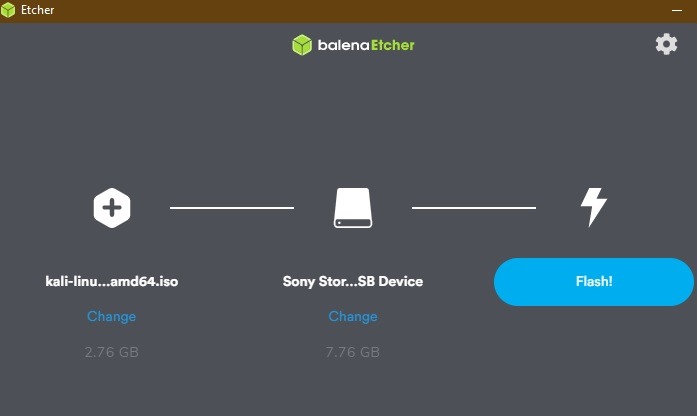
The ISO is nearly a 2.8 GB download. Flash it on your storage device.
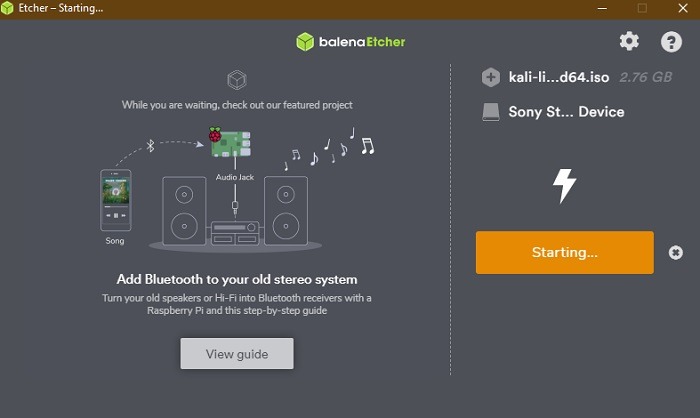
Very soon the flash program will start burning the image on your bootable disk.
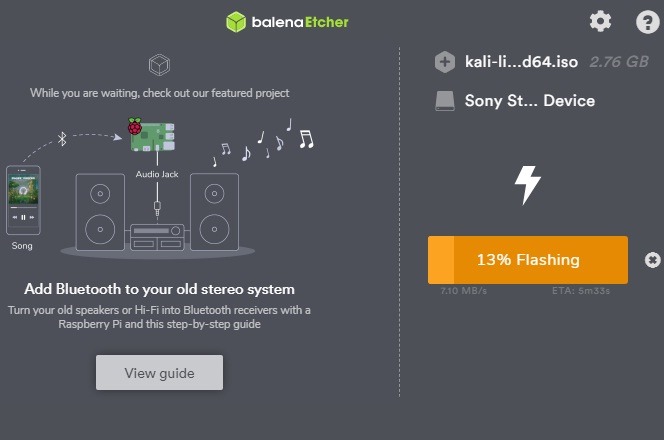
The flashing will take a while. Do not eject the removable media.
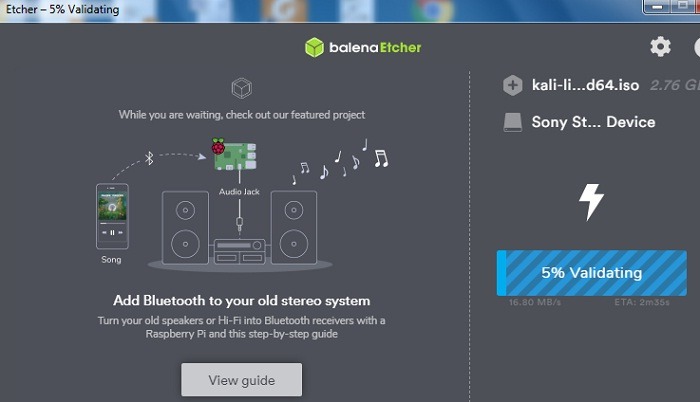
It will be soon followed by a validation of the Kali Linux program on your storage media.
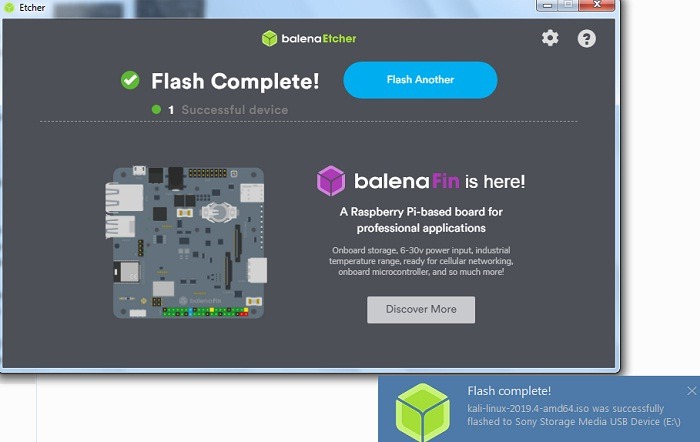
If there are no errors in your bootable drive, you should see a success notification. Your new USB media device can now be used to boot Kali Linux remotely.
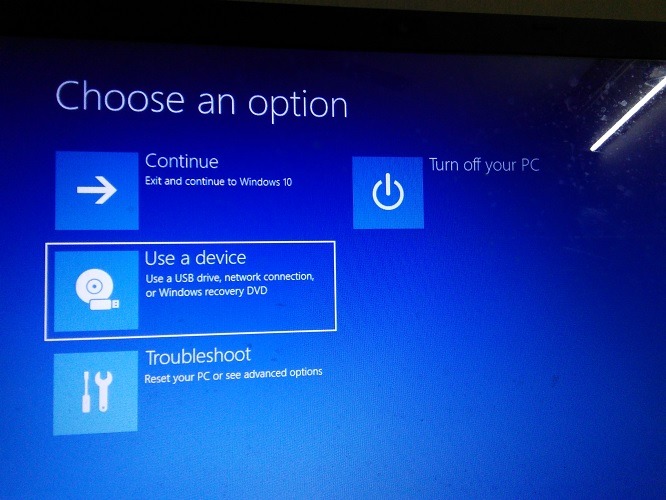
Use “Advanced startup” on a Windows 10 PC to boot Kali Linux from a USB drive in the future.
How to Start Using Kali Linux
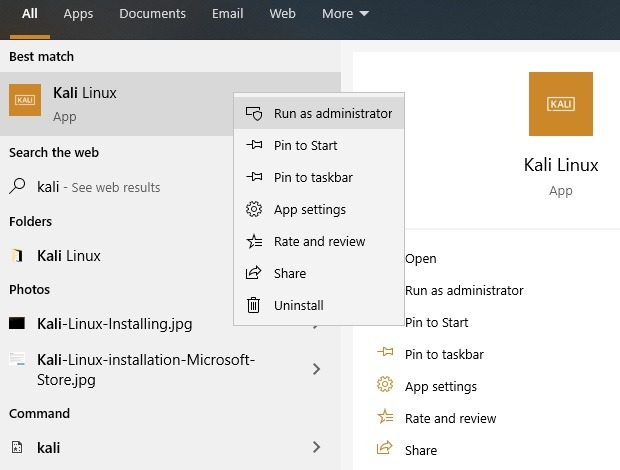
Once installed on a Windows PC, you can directly run the Kali Linux app from the search menu. It can’t be easier than this.
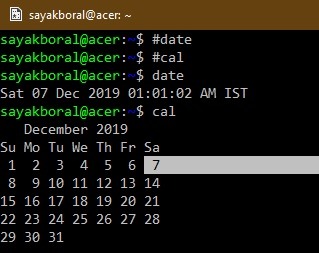
To test the interface, you can run simple commands such as for date and calendar.
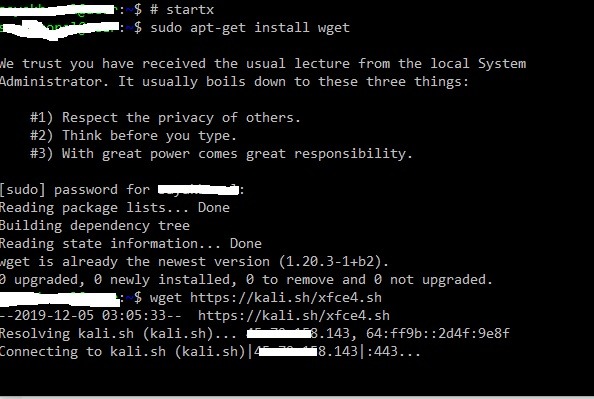
If you boot from a removable media, you get a choice to launch the GUI. However, it can also be launched from the command terminal using #startx and sudo apt-get install wget.
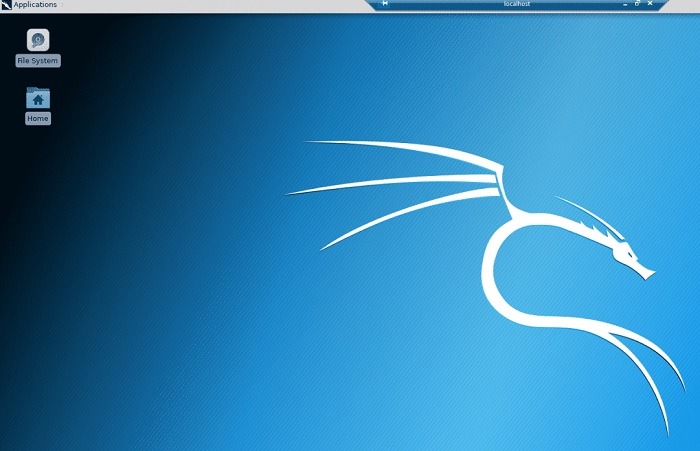
Kali Linux GUI is simple barebones, and you can do regular browsing, etc. However the main uses of Kali Linux are more than just for regular work. It is used in advanced penetration testing which will be a focus of another article.
IoT Applications with Kali Linux
There are many IoT applications. For example, you can use Kali Linux Docker images for containers which are available at this link. You can add VMware tools as a Kali guest.
From virtual machines to containers and ARM devices, and integrating with AWS, Azure, & Linode, Kali Linux finds applications in many IoT designs. So whether you want to detect malicious malware in smart homes, or do some network analysis, Kali Linux offers extensive support with over 600 penetration tools.
Conclusion
Kali Linux is a dependable distribution to run penetration testing for IoT devices. If you are considering buying a smart home and want to do your own DIY testing for foolproof security, you may find it very useful. There is a large resourceful online community to help you deal with the security challenges you consider important.
Have you used Kali Linux recently? Do let us know in the comments.
Get the best of IoT Tech Trends delivered right to your inbox!


