
Lighting vendors compete to offer home automation products, but many of them are extremely expensive. It is a great idea to control a light bulb with a phone. The lights can be dimmed, made to glow with a different warm tone, and be turned on and off through the phone. The Wi-Fi system enables those bulbs to be controlled from a different part of the home, or even by connecting to the light over the Internet from a different part of the world.
Expensive Bulbs
The prices for home automation bulbs are very high. For example, the Philips Hue, which is the market leader, markets a single light bulb in the range for $23.99.
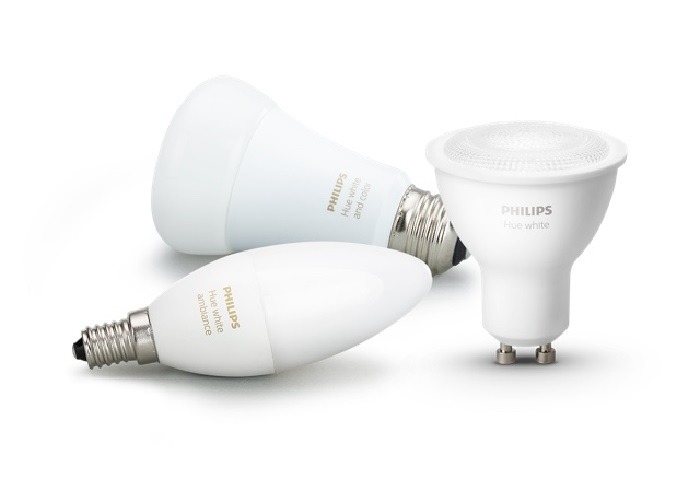
Not only are these smart bulbs expensive, but they can’t be used by themselves if you want to control them from a remote location.
While you can control each individual Philips Hue bulb with Bluetooth connection, it means that controlling the bulb outside the Bluetooth connection distance is impossible. Controlling the bulb from a distance via your phone requires the presence of a hub.
The hub isn’t a console, but it allows the controlling software, resident on a smart phone to communicate with the bulbs. That hub, which Philips terms a bridge costs $59.99. So, that’s a total of $83.98 in order to control light bulbs from a phone outside of the room. That price isn’t accessible to most households in the world.
Cheaper Bulbs
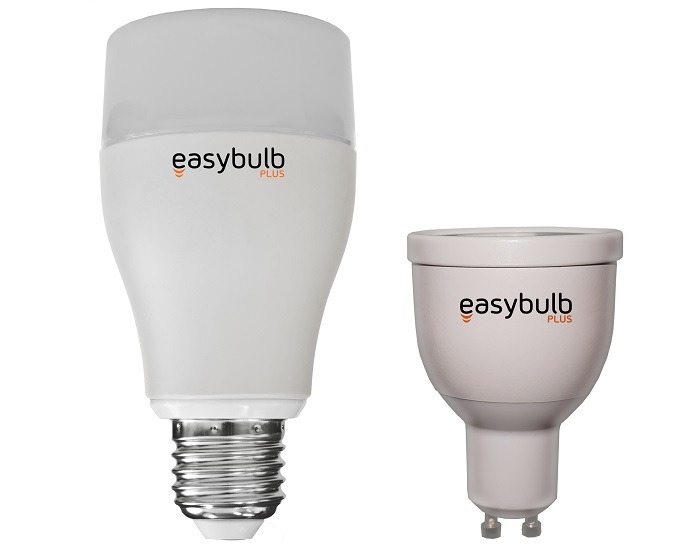
There are cheaper smart lightbulbs available. For example, easybulb a British company, sells its bulbs at prices from £13 ($16.82). You can control the bulb from within the room with a special remote (retails at £7.04, $9.07). However, the easybulb system requires a hub in the house if you want to use your phone to control the bulb. That hub is only usable as a router for the easybulb products – it can’t be used for other smart devices in the home. The easybulb Wi-Fi box costs £29.99 ($38.81). So, before you can control one bulb with your phone, you need to pay $55.63.
In all cases, you also need to have a Wi-Fi router because the bulbs and their bridges communicate through the controlling phone through that network. You can also command these bulbs through a voice commanded hub, such as Google Nest or Amazon Alexa. In which case you increase the cost of home automation lighting by $49 for a Nest Mini speaker and $129 for a Nest Hub. For Alexa, you will be paying $89.99 for the controller and $39.99 for an Echo Dot.
Even Cheaper Bulbs
For my own home automation project, I was determined to find a reasonably priced bulb that I could control with my phone from another room without having to pay out as much as $55.63. I found one. I bought the Wifibulb on eBay for £5.99 ($7.75). So, I scored a savings of $47.88 over the easybulb option and a whopping $76.23 by buying this bulb instead of the Philips Hue.
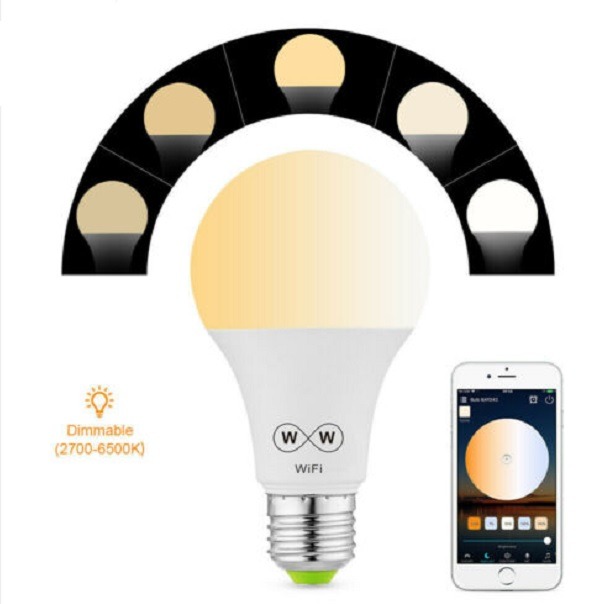
This bulb does not require a hub to be present in order to connect to the home Wi-Fi network. It can be controlled by a free app on a smart phone, called Magic Home Pro. So, the only cost is the price of the bulb. The bulb has a three-year service life and an Energy Efficiency Rating of A+++.
Install the Wifibulb
If you buy the Wifibulb, here’s how to install it.
1. Screw in the bulb and turn the light on.
2. Install the Magic Home Pro on your phone from Google Play or the Apple iPhone Store for free. Start the app.
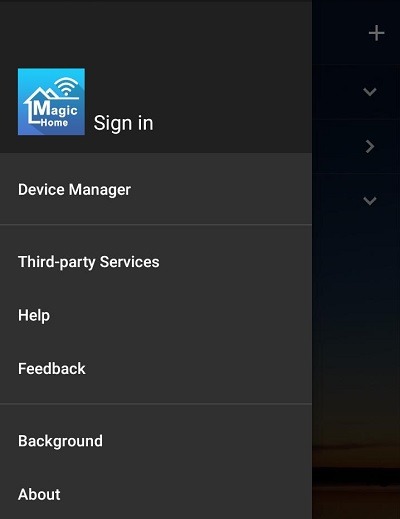
3. Tap on the hamburger menu at the top-right of the app. This opens up the menu of the system. Tap on “Sign In.”
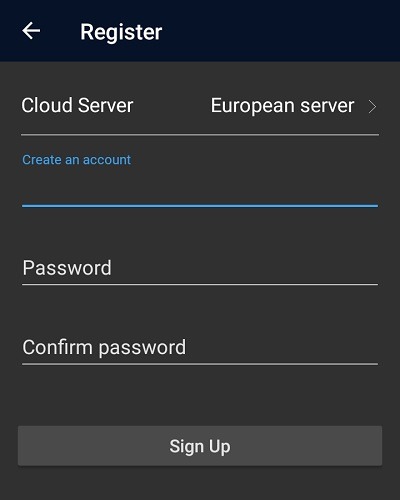
In the next screen tap on the “Sign Up” button.
4. Create an account in the Register screen. An account is free to open and use.
You will be returned to the system menu. Swipe to the right to remove this and get back to the Home screen.
5. Click on the plus symbol (+) in the top left of the app. Select “Add Device” from the popup menu. The next screen should list the devices available to be added. You should only see one device listed, and its name will begin with “LEDnet.” Click on the device name. and you will then be taken to the Wi-Fi network page.
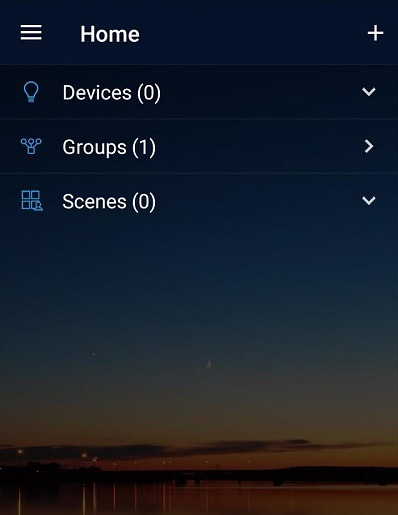
6. Select your home Wi-Fi network from the list of routers within range. Enter the password for the network. Once the setup completes, you will be returned to the Home screen with your bulb shown in the list of devices.
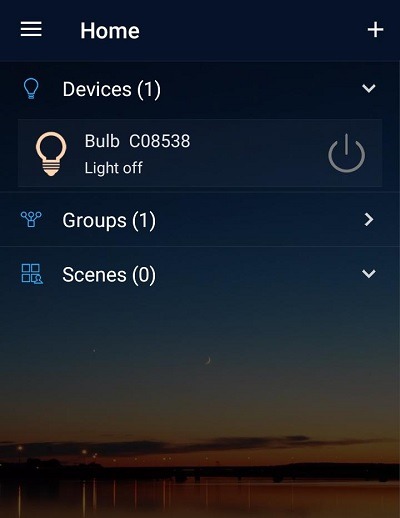
7. Tap on the power symbol on the left of the device record to turn the bulb off. Click on it again to turn it off. Tap on the name of the bulb to get controller functions.

The controller screen allows you to set the brightness of the bulb, change its hue, and also set a timer to turn the bulb on and off automatically.
Notes on the Wifibulb
The setup process can take a very long time to complete after you enter the Wi-Fi router password. You might also see an error message saying that the software can’t work with a 5 GHz Wi-Fi router, only a 2.4 GHz router. Ignore these problems, the bulb will be set up anyway.
Although some smart bulbs enable users to control the bulb from outside the house, the Magic Home Pro will only access the bulb while your phone is connected to your home Wifi network. The Wifibulb is also available in a color version.
Get the best of IoT Tech Trends delivered right to your inbox!


